About TRQ: TRQ is a trusted brand dedicated to making every repair a success story by combining premium parts with easy installation. Each TRQ part is engineered by a team of automotive experts to meet or exceed OEM standards, delivering enhanced performance and maximum longevity. With rigorous in-house testing, the brand ensures superior fit and function across every product line. TRQ also provides customers with best-in-class, step-by-step installation videos—so you can complete repairs with confidence, whether you're a first-time DIYer or an industry professional.
Returns: Parts with electrical components cannot be returned once installed.
Left Hand Drive:
All of our auto parts are intended for Left Hand Drive USDM vehicles. If your vehicle is Right Hand Drive, please ensure the part is correct for your specific vehicle.
Attention California Customers:
WARNING: This product can expose you to chemicals including Di(2-ethylhexyl)phthalate (DEHP), which is known to the State of California to cause cancer, and birth defects or other reproductive harm. For more information, go to www.P65Warnings.ca.gov.
Lifetime Warranty
This item is backed by our limited lifetime warranty. In the event that this item should fail due to manufacturing defects during intended use, we will replace the part free of charge. This warranty covers the cost of the part only.
Returns: Parts with electrical components cannot be returned once installed.
FREE Shipping is standard on orders shipped to the lower 48 States (Contiguous United States). Standard shipping charges apply to Hawaii and Alaska.
Shipping is not available to a P.O. Box, APO/FPO/DPO addresses, US Territories, or Canada for this item.
Expedited is available on checkout to the United States, excluding Alaska, Hawaii.
Final shipping costs are available at checkout.
How to Replace Blower Motor 2014-19 Toyota Tundra
Created on:
Tools used
Socket Extensions
Trim Tool Set
T25 Torx Driver
1. Removing the Blower Motor
Press the four plastic tabs holding the lower trim panel from beneath the glove box
Pry the lower trim panel down and out
Remove the three 8mm screws from the blower motor
Disconnect the wiring harness
Remove the blower motor
2. Installing the Blower Motor
Insert the blower motor into place
Tighten the 8mm screws to the motor
Connect the wiring harness
Press the lower trim panel on
Hi, I’m Mike from 1A Auto. We’ve been selling auto parts for over 30 years!
There's four plastic tabs holding this lower trim panel on. Right here, over here, right over here, and one over here. Going to reach in sort of pull this down and reach up and push the tab towards the front of the vehicle to unlock it. Save all of them. This one and then it also has a push clip in here. Right there and there's two tabs that this is sitting on in the back so pop it out.
Here are three screws holding the blow motor in. You can either use the eight millimeter or a T25 Torx bit, using that on my extension here. This one here. This one here. This one here. And then this one over here. Start on the one closest to the firewall here. Extension's kind of getting in the way. Get it loose, pull it out with my fingers, and put the other one on here. Before I get too far, we'll unplug the connector which is locking, pull the plug out. The last one here. Hold the blower motor up and place behind the wires. We have the blower motor.
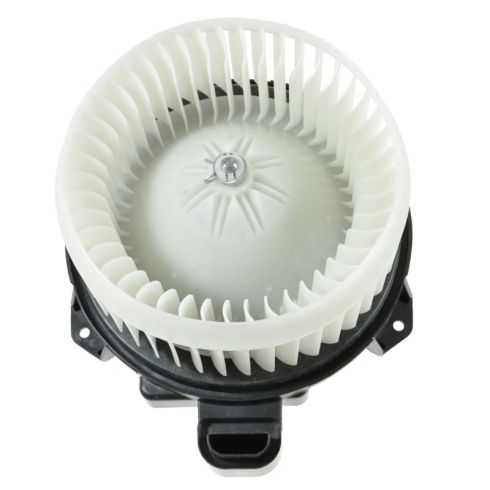
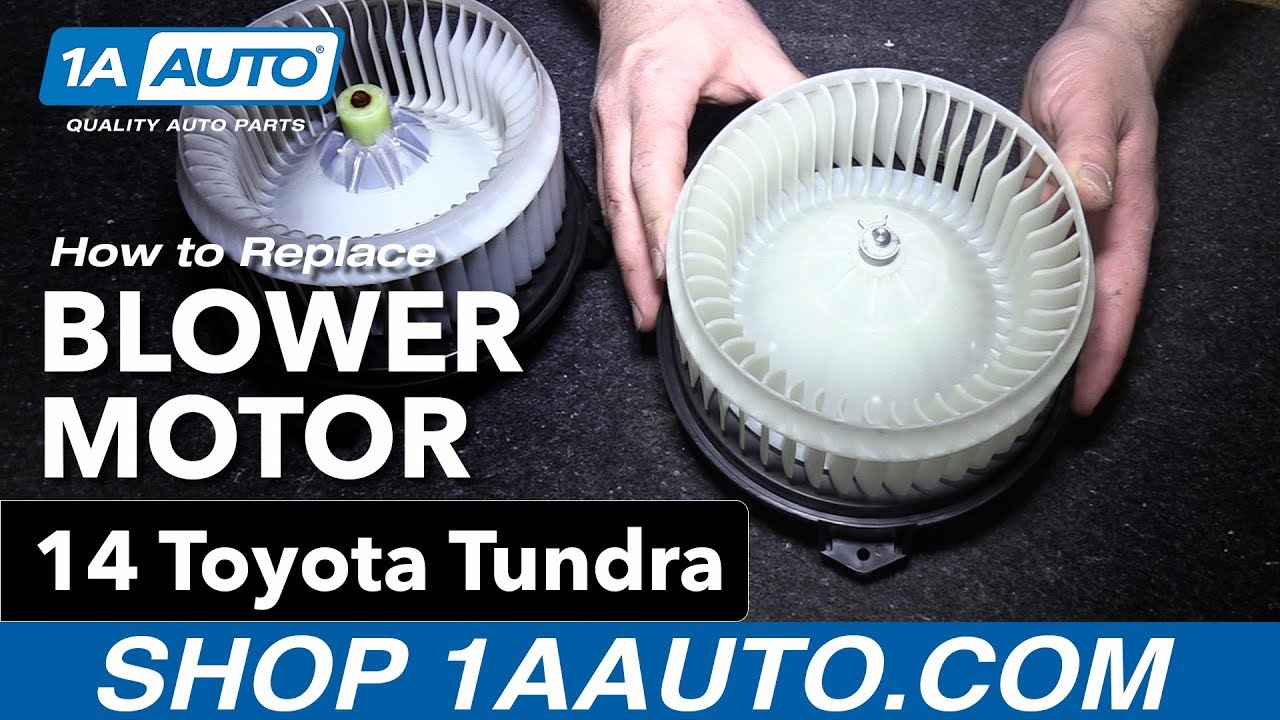
Here is the original blower motor assembly and here is the brand new one from 1Aauto.com. Same exact, style design. Just like the original the new one has the blow motor resistor, it's integrated inside of here. So if you're looking for the resistor, it is contained in the blow motor. Same mounting tabs, same electrical connector plug. This will work great and fit great in your vehicle.
Blower motor back in place. Line up this part of the blow motor with the opening right here. Set it up toward the heater box, past the harness wiring here. This screw caught here. this other caught on the other side. They're just self-tappers going right into plastic, so don't over tighten them, then the final one here behind the harness. And plug it all back in. The blower motor is replaced. We'll reinstall this cover. So these two pins in the corresponding holes where at the firewall, so we push them in there and then lift it up and clip it in place.
Thanks for watching. Visit us at 1AAuto.com for quality auto parts, fast and free shipping, and the best customer service in the industry.
HMA84767
In Stock
Product Reviews
Loading reviews
Customer Q&A
No questions have been asked about this item.
Customer service
877-844-3393
Monday - Friday 8:00am - 9:30pm ET Saturday - Sunday 8:00am - 4:30pm ET
Toyota is a registered trademark of Toyota Motor Corporation. 1A Auto is not affiliated with or sponsored by Toyota or Toyota Motor Corporation.See all trademarks.
Enter Vehicle Year Make Model
Specify your vehicle's year, make and model to guarantee fit.
Year
Make
Model
Options
Drivetrain
This part doesn’t fit a . Select from parts that fit.