Replaces


Frequently bought together
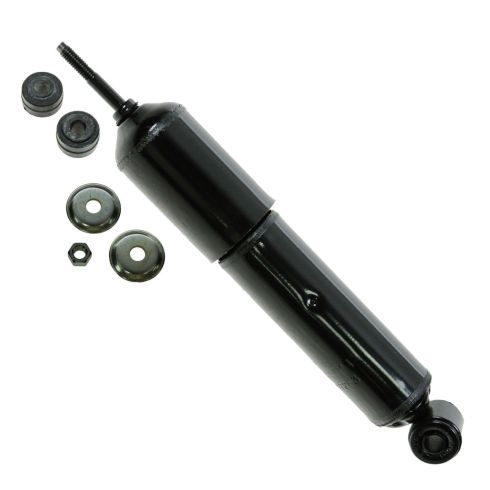
Why Buy Monroe OESpectrum Shock and Struts?
Monroe OESpectrum Shock Absorbers and Struts are designed to be direct replacements while improving handling. Some of their benefits include:
Lifetime Warranty
This item is backed by our limited lifetime warranty. In the event this item should fail due to manufacturing defects during intended use, we will replace the part free of charge. This warranty covers the cost of the part only.
FREE Shipping is standard on orders shipped to the lower 48 States (Contiguous United States). Standard shipping charges apply to Hawaii and Alaska.
Shipping is not available to a P.O. Box, APO/FPO/DPO addresses, US Territories, or Canada for this item.
Expedited is available on checkout to the United States, excluding Alaska, Hawaii.
Final shipping costs are available at checkout.
Created on:
Tools used
Brought to you by 1AAuto.com, your source for quality replacement parts and the best service on the Internet.
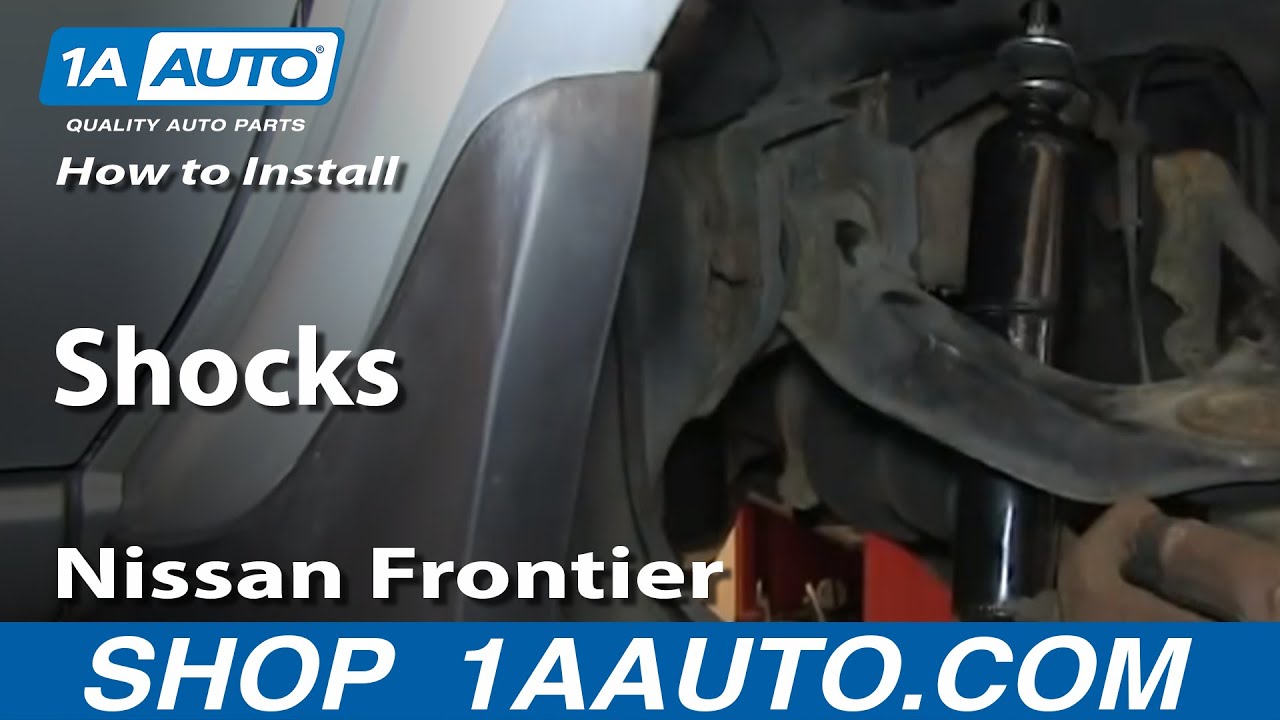
Hi, I'm Mike from 1A Auto. I hope this how-to video helps you out, and next time you need parts for your vehicle, think of 1AAuto.com. Thanks.
In this video, we're going to show you how to replace the front shock absorbers in this 2003 Nissan Frontier. It's pretty much the same operation for model years 2001 through 2004, as well as for the left side and the right side. Items needed are new shocks from 1AAuto.com; 21, 18, and 14mm sockets with a ratchet; 14mm wrench; pliers or vise grip pliers; a pipe for some extra leverage for a couple of those bolts, and jack and jack stands.
We're going to remove the wheel and tire. If you don't have the benefit of air tools, loosen the lug nuts with the vehicle on the ground first, raise and secure the vehicle, and then remove the wheel tire the rest of the way. We use a pry bar for some extra leverage to break the wheel free.
Locate the top mounting point and spray it down with some penetrating oil, and then the bottom mounting point on the lower control arm there. I'm using a vise grip to hold the very top portion of the shock, because if I don't it's going to spin while I turn the 14mm nut. I'm going to use a 14mm wrench and loosen it as I hold the top, and I'm going to go ahead and fast forward as I do that. Go ahead and remove the upper bushing and washer. Here, I'm using an 18mm socket and ratchet, along with a pipe to loosen up the lower mounting point there. That's a bolt that goes through that lower control arm, with a captive nut on the other side, and I'll fast forward as I take that out.
Here's a shot of the shock that we just took out, and you can see when it's compressed, it does not come back up. You can see with the new shock, when you do compress it, it's going to spring back out, which is exactly what you want. This just goes to show that the old shock was worn out.
Put a metal washer and the bushing on the top, and then take the shock and push it through the upper control arm, down into its mounting point on the lower control arm, and reinstall that 18mm bolt. I'm going to go ahead and fast forward as I tighten that up. I'm not going to fully tighten it, I'm going to come back and finish that up later. From underneath, pull down on the shock to compress it, and let it go into the hole where it mounts up top. Put the rubber bushing, and then your last metal washer, and then the 14mm nut on top. Here I'll be able to use a 14mm socket and ratchet to tighten it up, and I'll go ahead and fast forward as I do that. Now, I can go ahead and finish fully tightening that lower bolt, and I'll go ahead and fast forward as I do that.
Now go ahead and reinstall your wheel, and start your lug nuts by hand. I'll go ahead and fast forward as I do that. Now go ahead and re-tighten them back up. Now with the vehicle on the ground, you can go ahead and torque your lug nuts in a star pattern to 100 foot-pounds.
We hope this video helps you out. Brought to you by www.1AAuto.com, your source for quality replacement parts and the best service on the Internet. Please feel free to call us toll-free, 888-844-3393. We're the company that's here for you on the Internet and in person.

37245


