Replaces


Frequently bought together
Part Details
About TRQ:
TRQ is a trusted brand dedicated to making every repair a success story by combining premium parts with easy installation. Each TRQ part is engineered by a team of automotive experts to meet or exceed OEM standards, delivering enhanced performance and maximum longevity. With rigorous in-house testing, the brand ensures superior fit and function across every product line. TRQ also provides customers with best-in-class, step-by-step installation videos—so you can complete repairs with confidence, whether you're a first-time DIYer or an industry professional.
Attention California Customers:
 WARNING: This product can expose you to chemicals including Lead and Lead Compounds, which are known to the State of California to cause cancer, and birth defects or other reproductive harm. For more information, go to www.P65Warnings.ca.gov.
Lifetime Warranty
This item is backed by our limited lifetime warranty. In the event that this item should fail due to manufacturing defects during intended use, we will replace the part free of charge. This warranty covers the cost of the part only.
FREE Shipping is standard on orders shipped to the lower 48 States (Contiguous United States). Standard shipping charges apply to Hawaii and Alaska.
Shipping is not available to a P.O. Box, APO/FPO/DPO addresses, US Territories, or Canada for this item.
Expedited is available on checkout to the United States, excluding Alaska, Hawaii.
Final shipping costs are available at checkout.

Created on:
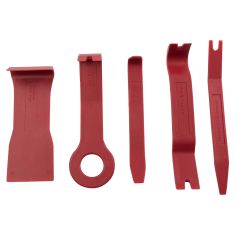
Tools used
Brought to you by 1AAuto.com, your source for quality replacement parts and the best service on the Internet.
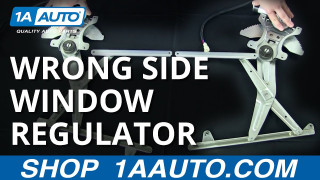
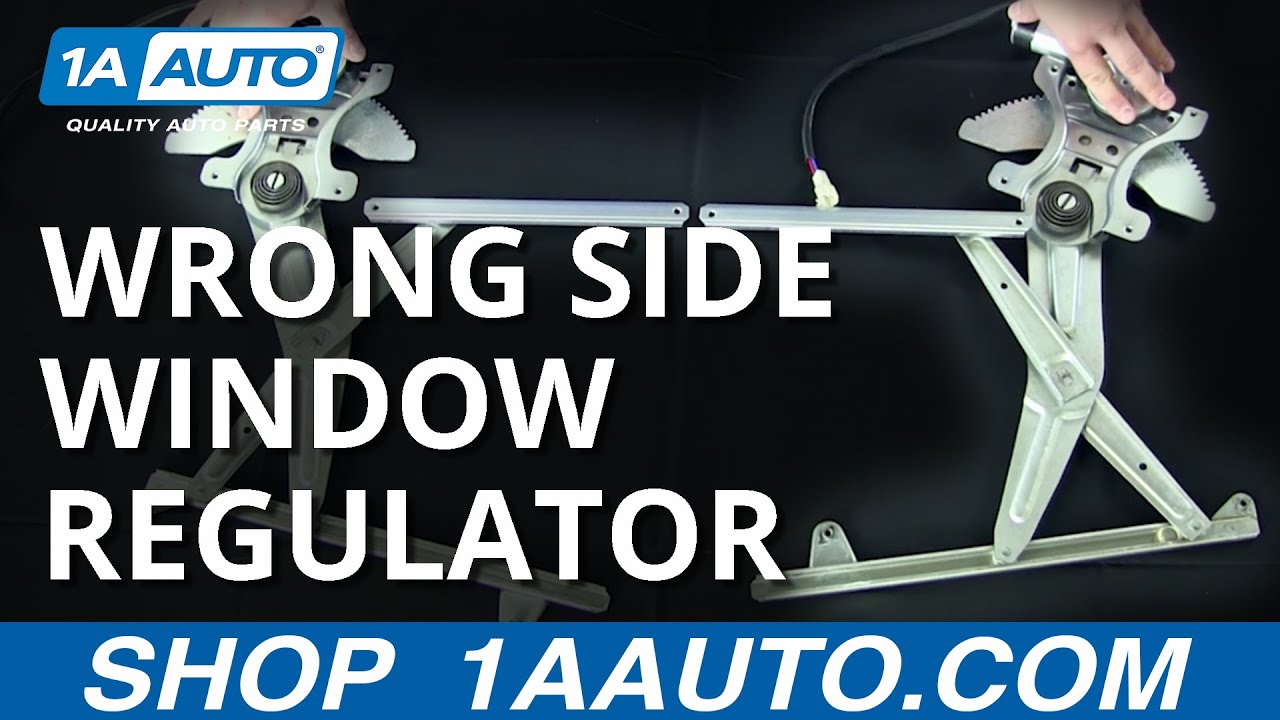
Hey, I'm Brian, I'm here to give you guys a little tutorial on some window regulators. The specific design is the scissor design. We actually get a lot of calls on these products here and the common question is: The part I received seems different than the part in my vehicle.
The scissor design actually has a flip design and we're actually going to show you how to fix this here. The most common thing that you want to do, or the first step you want to do is lay the parts out side by side. Try not to match them up in the car because this can get confusing. Take it out, lay them side by side, and what you actually see here is a same exact part for the same model vehicle in the same door. As the appearance shows here, they seem to be mirrored.
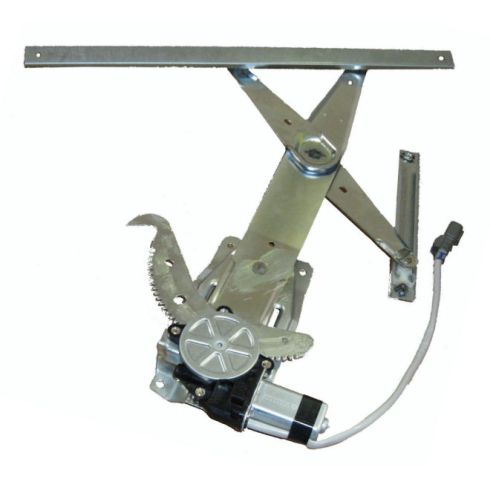
If you look down at the bottom here, we have the power window motor. This is the piece that is actually powered to lift and lower your glass. The next section down here is . you actually have your gear drive. Here's your mounting plates on both. As you can see, it's identical. You have your tension spring here. If you notice on the upper section here, it's kind of reversed. You're going to think normally, I get the wrong side door. You're going to give us a call and you want to express that to one of our customer service reps. I'm going to show you how to fix this.
Basically, pick this up by the base and you want to scissor or flip. This is how you're going to fix the issue. It's going to actually match the component as shown there. You can now see that both of these components here are the same part and you're ready for installation.
You should be good to go. Click on Subscribe or check us out at 1AAuto.com. We'd be more than happy to have you join on board and join the 1AAuto team.
Thanks for tuning in. We hope this video helps you out. Brought to you by www.1AAuto.com, your source for quality replacement parts and the best service on the Internet. Please feel free to call us toll-free, 888-844-3393. We're the company that's here for you on the Internet and in person.
Tools used
Brought to you by your source for quality replacement parts and the best service on the internet.
Hi I'm Mike. I'm one of the owners of 1A Auto. I want to help you save time and money repairing and maintaining your vehicle. I'm going to use my 20 plus years experience restoring and repairing cars and trucks like this to show you the correct way to install parts form 1A Auto.com. The right parts installed correctly, that's going to save you time and money. Thank you and enjoy the video.
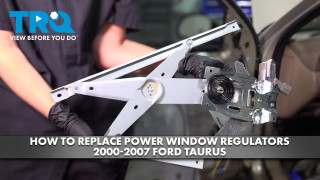
In this video we're going to show you how to remove and replace the window regulator on this 2001 Ford Taurus. The same as any '96 to '07 Taurus. The tools you'll need are a drill, 6/16in drill bit, safety wear for your eyes, 10mm and 11mm sockets and ratchet, bolts, locknuts, and nuts to replace rivets (or whatever size bolts, locknuts and nuts you have for the sockets),and then a hammer and punch. I'm going to try to keep it short and I'm going to fast forward through removing the door panel. If you want to see this in regular speed just check out our door panel remove and replace, it's one of our other videos. You can probably pick up enough here, seven screws and then pull the door panel off.
You can see I have the window right at this position here. What that does for you is it puts these rivets that you have to drill out; it puts them right in the right level of these holes. You can reach in and get it with a drill get to it. Now usually when your window motor breaks or your regulator breaks, and it's not in that position where you can reach everything - I'm going to put it down like that right now, what you want to do is you want to drill out your window regulator rivet first. Then there's four right here, you drill those out and then you can lift the window up and tap it up to the right level that you can reach those rivets.
Before we drill you, have to disconnect our window regulator which is right here. This little tab right here, pull it down and off. Some of these rivets you may need to use a punch to knock out the center of the rivet. These four are my window regulator rivets and that is nice big centering hole so I don't have to worry about it too much. We can drill out and then I've got a 5/16th bit on here. The rivets are made of aluminum so they actually drill pretty easily. Make sure you wear the protection because aluminum does fly around a little bit. Drill in to them and then sometimes the edges of the rivets will just kind of come off as a ring right off into your drill bit. Then you'll want to poke them through wants you get them out.
Here I am taking a hammer and a punch. You can use and hammer and a screw driver or whatever. You just kind of punch in the left over part of the rivet, through the back end of the door. You'll want to fish them out of the door so they don't jingle around or make a bunch of noise. Now you can lift the window up into position so you can see the rivets that hold the window to the regulator. I'm using a little bit if painters tape to tape it up into position. Now on these rivets you do want to knock the center out so I'm just using a punch and give it a good hard wrap, and that just pushes the center of the rivet back out. Now I've got my drill and I'll drill both those rivets out. Now actually our regulator is separate from our window. I can remove these 2/11 mm bolts that hold this bottom track on.
You can see this is our original regulator, the new one from 1A Auto. They're basically all the same. A little different. The original regulator has the connector on the motor, so it just has a little pig-tail the same connectors are going to plug in just a little bit of a difference. Although I showed you the one from 1A Auto there's nothing wrong with this one so I'm just going to put this original one back in. Just going to get this flat piece of rivet off here. Put the regulator right into the door. Put the bolt in the crack. Now you want to lift up your regulator and you keep this little clip here and you lift up into the back. That slot hand up right there. Then you can push. I'm rotating the regulator so I can get a hold, sorry, so I can get a bolt hold wind up. I've got the full wind up right here. Push this bolt through. This looks like kind of a tight space because it's got the motor on it. Something you might want to do is, just lifting up so I can see the hole really well right here. Put this bolt in. Then rotate the regulator down. Put the bolt through. Ok this is my last bolt so what you want to do is run your regulator up a little bit. Make sure your plug to your furnace is back in. Carefully running your regulator out a little bit. Then you can reach back in. Put the flat bolt in. Now tighten them up. And again you might to run the regulator down to get to some of the bolts on the other side.
You need a 10mm wrench on the back side and a 10mm socket. Possible that your bolts might not be 10mm. Ok so I will go through what I usually do is I kind of preliminary them up. I don't tighten them up all the way the first time around. Then I go back and firm up after all four are somewhat tight. That way if the regulator shifts or whatever you can get them so you can see it I'm just going through and tightening them up for the final run. As you can see the 11mm bolts here. Now that everything is tightened up you want to run your regulator up so that you can see those holes. Right through here. You can see the track. You can move it just a little bit over. You can see the track right through there. You're going to want to use about an inch long bolt. Feed up and thru. Then we will put a lock washer on. Then another one. And you repeat the same thing over here. A 1" bolt with a washer. You're going to take the tape off a little bit so you can slide the window down some.
When you've gotten everything tightened up we can test the window. Make sure it goes up and down nice and easy. Everything looks good. Now we're going to go speed through putting the water shield and the door panel back on. If you want to see this in regular motion just check out our other videos for the Taurus door panel remove and install. You'll see me fly through this. You've probably picked up enough to put it back together anyways since you took it apart. That's about it. We hope this helps you out.
We hope this helps you out brought to you by www.1AAuto.com. Your choice for quality replacement parts and the best service on the internet. Please feel free to call us toll-free, 888-884-3393. We're the company that serves you on the internet and in person.
Tools used
Brought to you by 1AAuto.com, your source for quality replacement parts and the best service on the Internet.
Hi, I'm Mike Green. I'm one of the owners of 1A Auto. I want to help you save time and money repairing or maintaining your vehicle. I'm going to use my 20-plus years experience restoring and repairing cars and trucks like this to show you the correct way to install parts from 1AAuto.com. The right parts installed correctly: that's going to save you time and money. Thank you and enjoy the video.
In this video, we're going to show you how to replace a front window regulator on this 2002 Mercury Sable. It's the same as any 2000 to 2005 Sable, and very similar for the 2000 to 2007 Taurus. The tools you'll need include a Phillips screwdriver, door panel clip tool or a putty knife, ratchet and extension with 6mm, 8mm, 10mm, and 11mm sockets. I have a star next to that 10mm because that fit the size bolts that I used to put it back together. You may use bolts or you may have a rivet gun and decide to put it together that way. You'll also need a hammer and punch, drill with 5/16 and 1/2 inch drill bits to drill out the rivets that hold the regulator in, pliers or small wire cutters, and painters tape.
Use an 8mm wrench to disconnect my negative battery cable, and this helps protect your battery from running down while your doors are open.
To remove your door panel you're going to start by removing a series of screws. In the front there is one here, there are two down below, two right behind the door pull there, and then there's also two on the back. You're probably going to have to use a shorter screwdriver for this one on the front. I'll just hit fast-forward as I remove the rest of them. They are all Phillips screws. Now you want to use a door panel clip tool. If you don't have one of these, a household putty knife will do the same thing. Put it in behind, and you slide it down until you come to one of the clips, and then pry it out. There is going to be a clip up higher as well. They might come out pretty easy because it feels like it's probably been off before. The door panel clip tool you kind of use the same way, put it in behind until you come to one of the clips, then pull off. Once you have it loose pull it straight out. Pull it up off of your door lock and then off of your door handle here. Now just reach in behind; each one of these has a little tab you press and disconnect. Down under here the tab is on the backside, so I'm actually kind of pulling with my finger like that and pulling down. Once those are all unplugged your door panel comes off. The 6mm socket; I'm going to fast-forward here as I use a 6mm socket and ratchet to remove that speaker. In behind, you unplug it by pressing a tab and pulling. Now I'll pull the wire harness clips out of the door and pull your water shield back.
On this side you've got four rivets that hold the regulator to the door, and on this side you've got two bolts that hold it on there. For these rivets I'm going to use a punch and punch out the very center of the rivet. After it's punched it looks like that. I'll do all four. Now I'm using a 5/16 drill bit and I'm putting it right into the rivet and slowly drilling away the rivet. Here you can see the head of my rivet comes off, and it could be hot so be careful. Now I'll just repeat that for all four. Now I'm going to remove these two 11mm bolts over here. I'm going to speed it up here as I remove those two 11mm bolts.
You can see me, just for safety sake, hold the window with the other hand, just to make sure it doesn't drop down when I take those bolts out. Holding onto the window, you want to push your regulator out. Now your window will go down. Now what I've done is I've lifted the window up, or actually let it down a little bit, and supported it in this semi-open position. Now we can look right through here and we can see a rivet that holds the track to the window there, and a rivet that holds the track to the window right there. Now I'm going to repeat the process of punching out the middle of those rivets.
One tip here: if you have an assistant, hold the bottom of the window, it'll help keep it steady to punch out those rivets and then drill them. I do have an issue on this one where I can't punch out the rivet in the front, so I basically just use the drill and file it down as much as possible and then take it apart. You will want to use a larger drill bit, probably a 3/8 or 7/16. Once you have the rivets drilled out, you'll probably want to take the window out so you can get the remainder of the rivets out of the window. Pull off the trim on the back of the window opening, and then pull up the weather strip that's on the window ledge. Just move that out of your way, and then you can tilt the window forward and bring it up and out.
You can see I kind of mutilated this when I basically filed it down with the drill, so I've got to take some wire cutters and cut off some of the rivet so it'll go through. Then I can just come on this other side. First I'll finish pulling the middle of the rivet out, then grab hold of this and work it out. Then this one up here. These just go back in and snap together. Then we'll put the window back down in. Make sure you get the rear under the channel, pull the front up in, then you can pull it all the way up. Once you pull it up, use some painter's tape and just use a few strands to hold it in place. Now put the window seal weather strip back in place. Put the back down in first, then press the middle down, and then put the window trim back in place.
Here's the new regulator from 1AAuto. Really it's the same as the old one, the only difference is it does have a little pigtail for the connection. It's not that big of a deal. You can feed it right in, just like the other one came out. Get it in place and we'll use some M6 bolts, 10mm with a washer on them, and I'll put this first one into the regulator. It'll just be a little easier. I'm just reaching in here and putting it in this upper hole, bolt it in there. Take the regulator, there's a little slot here that comes through and holds it, add that little serrated nut to the other side, get that one started. I can reach through up here, I'll do this top one. That one's through.
Even though these are sticking through, they're not going to interfere with anything. Then I use a 10mm socket. Basically, I'm using nuts and bolts to replace the rivets. If you have a rivet gun and the correct size rivets, obviously you can put it together that way. I'm just speeding up here as I put the rest of the bolts and nuts in, and then tighten then up nice and firm with a socket and ratchet. Then re-position the arm of the regulator and put the other bracket in place, and bolt that in place with the 11mm bolts. Reconnect our window motor, just so I know it's up out the way I'm just going to pinch it right in here a little bit.
Okay, so now it's pretty wound up, you can see there are one of the holes for the window track and the other one. I'll slide the window down and hold it. You're going to want to use some longer, 2cm long bolts. What I'm doing here is feeding the bolt through the window first and then positioning the window and getting the bolt through the track. Then obviously repeat that for the rear mounting point. So I've got those bolts started in.
Here I'm using my socket with my extension, inserting a 10mm nut, and getting it on to the bolt that is through the window and the regulator. A tip here: if your regulator, when you put it in, does not line up perfectly with those access holes in the door, so you can always reconnect your window switch, reconnect your battery, and move the regulator a little bit to line it up better with the access holes. You want to tighten those up nice and firm. You might need a 10mm wrench as well or whatever size nut and bolt you might use.
Here with the battery could be reconnected, I reconnect my car window switch and just run a quick test. It looks like [inaudible 00:15:06] everything is working okay. I can start putting the door back together. We'll fast-forward through this. Make sure our connection is solid. Put the water shield back and bolt back in the speaker. Make sure you reconnect the speaker, then bolt it back in. Put the harness clips back into the door, and then just get the water shield all set and you can put your door panel back on.
Reinstall the door panel. You've got pins in certain places: two up top, there's a couple down here, I'm missing a couple because this has been apart before. You also have these two large line up pins. You want to put your door up, put your panel in place, and reconnect all your harnesses. The green one goes there, power to our mirror goes up here, and these two go into the power window switch. Now put your door handle through, and then slide the panel back, lift it up, get the door lock pushed through, and kind of peek in behind and line up those large line up tabs, both front and the back. Then make sure your pins are going in to the holes. Now put your screws back in. Start at the one at the front here. I'm just going to speed it up here as I put the rest of those screws in. When you tighten them, you want to tighten them nice and firm but you don't want to over tighten them.
Once you've done this reconnect your battery and you're all set.
We hope this video helps you out. Brought to you by www.1AAuto.com, your source for quality replacement parts and the best service on the Internet. Please feel free to call us toll-free, 888-844-3393. We're the company that's here for you on the Internet and in person.

WRA51369