Replaces


Frequently bought together
About TRQ:
TRQ is a trusted brand dedicated to making every repair a success story by combining premium parts with easy installation. Each TRQ part is engineered by a team of automotive experts to meet or exceed OEM standards, delivering enhanced performance and maximum longevity. With rigorous in-house testing, the brand ensures superior fit and function across every product line. TRQ also provides customers with best-in-class, step-by-step installation videos—so you can complete repairs with confidence, whether you're a first-time DIYer or an industry professional.
Returns: Parts with electrical components cannot be returned once installed.
Left Hand Drive:
All of our auto parts are intended for Left Hand Drive USDM vehicles. If your vehicle is Right Hand Drive, please ensure the part is correct for your specific vehicle.
Attention California Customers:
 WARNING: This product can expose you to chemicals including Di(2-ethylhexyl)phthalate (DEHP), which is known to the State of California to cause cancer, and birth defects or other reproductive harm. For more information, go to www.P65Warnings.ca.gov.
Lifetime Warranty
This item is backed by our limited lifetime warranty. In the event that this item should fail due to manufacturing defects during intended use, we will replace the part free of charge. This warranty covers the cost of the part only.
Returns: Parts with electrical components cannot be returned once installed.
FREE Shipping is standard on orders shipped to the lower 48 States (Contiguous United States). Standard shipping charges apply to Hawaii and Alaska.
Shipping is not available to a P.O. Box, APO/FPO/DPO addresses, US Territories, or Canada for this item.
Expedited is available on checkout to the United States, excluding Alaska, Hawaii.
Final shipping costs are available at checkout.
Created on:
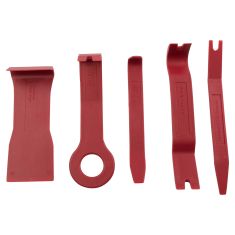
Tools used
Hi, I'm Mike from 1AAuto. We've been selling auto parts for over 30 years! We're dedicated to delivering quality auto parts, expert customer service, and fast and free shipping, all backed by our 100% satisfaction guarantee. We've created thousands of videos to help you install our parts with confidence. That saves you time and money, so visit us at 1AAuto.com, your trusted source for quality auto parts.
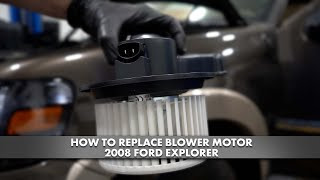
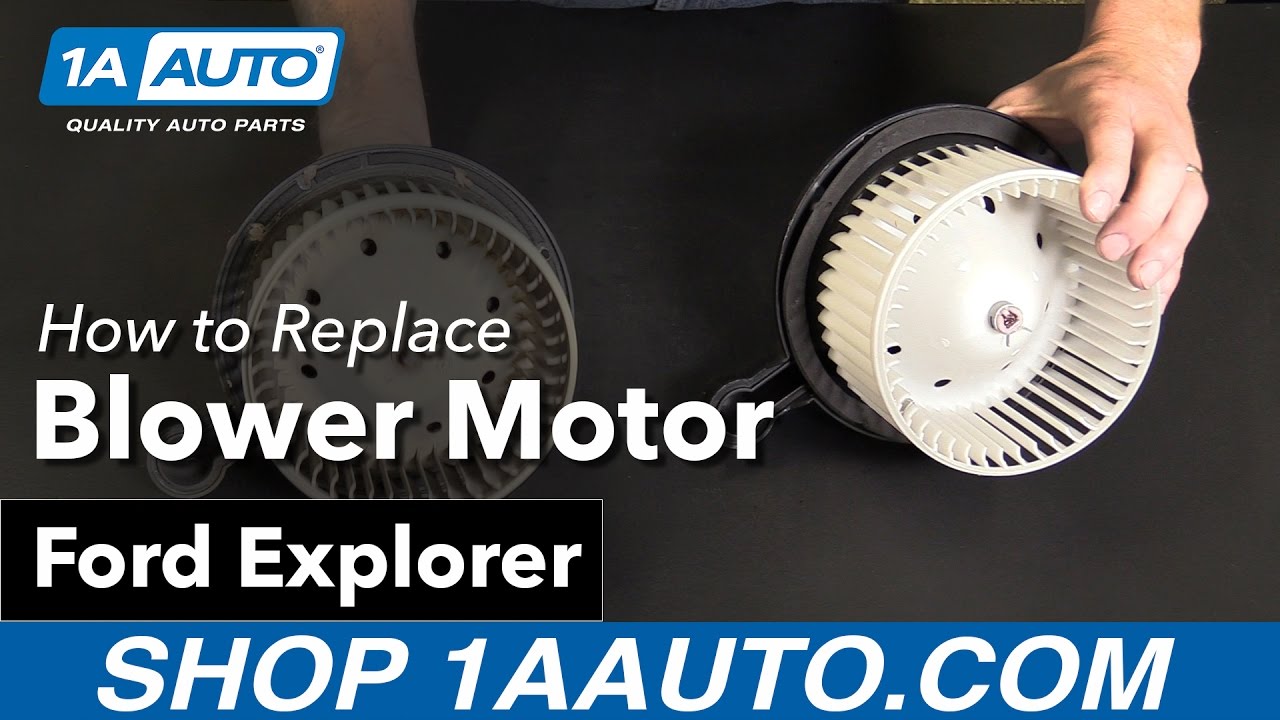
In this video we're going to show you how to replace your blower motor in this 2006 Ford Explorer, and pretty much the same for Explorer as well as Mountaineer, and Sport Trac. Hope you like the video, hope it helps you out.
Please click subscribe. See all our other videos for the Explorer and Sport Trac, Mountaineer, and all other Fords and kinds of makes and models. Check out 1AAuto.com for the part in this video. You can purchase it there—there's a link right in the description.
The items you'll need for this repair include: 8mm socket, ratchet, socket extension
Your fan's located on the passenger side, right up over where your feet would be. There are two 8 millimeter bolts that you need to remove to get some harnesses out of the way: one here, and then to get this bubble, for lack of a better word, out of the way, there's also one over here. We'll take those out.
Disconnect your lead. Just pull the tab back and down, and then pull on the lead itself. And then three more 8 millimeter screws hold it: one here, one here, and then one back in here, which is hard to see for me. Right there.
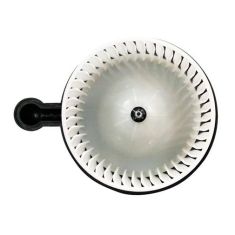
I'm going to take this last one out. Let it fall down. I always leave the closest to the easiest one for last. Original part from our Explorer, new part from 1A Auto. You can see they're exactly the same. Gasket just needs to be pressed down in here. Before installation you may want to use just a little bit of glue to glue the gasket in, make sure it stays in place. But the cage is identical.
Everything's identical, and connectors are all the same. It's going to go in, mount, and if your blower motor has failed, a new one from 1A Auto's going to fix the problem.
Stick it up in, and just get it around your harnesses. Pop it in here. And then, this, you can just kind of turn once it's up in there somewhat. There is a locating pin here, so make sure it goes up in and start your screws in. Do the two easy ones first. Just make sure on the back that nothing's pinched up in there. You then tighten them up. Put this canister back in place, bolt it in and tighten it up. And put the screw up through. Don't forget to plug in your lead.
Thanks for watching. Visit us at 1AAuto.com for quality auto parts, fast and free shipping, and the best customer service in the industry.

HMA84865