Replaces
This part doesn’t fit a . Select from parts that fit.
Frequently bought together
Item Condition:
New
Attention California Customers:
 WARNING: This product can expose you to chemicals including Lead and Lead Compounds, which are known to the State of California to cause cancer, and birth defects or other reproductive harm. For more information, go to www.P65Warnings.ca.gov.
Lifetime Warranty
This item is backed by our limited lifetime warranty. In the event this item should fail due to manufacturing defects during intended use, we will replace the part free of charge. This warranty covers the cost of the part only.
FREE Shipping is standard on Orders shipped to the lower 48 States (Contiguous United States). Standard shipping charges apply to Hawaii, Alaska and US Territories. Shipping is not available to Canada.
Expedited is available on checkout to the United States, excluding Alaska, Hawaii and US Territories as well as P.O. Boxes and APO/FPO/DPO addresses. Final shipping costs are available at checkout.


Created on:
Tools used
Brought to you by 1AAuto.com, your source for quality replacement parts and the best service on the Internet.
In this video we're going to replace the trailer harness connector on this 2002 GMC Sierra 2500HD. This is the same as most GM trucks and SUVs. The only tools you'll need, probably, are a screwdriver and maybe some penetrating oil.
If you're having trouble with your trailer lights, a lot of time, what it is, is this receptacle can get corroded. Moisture gets in here, and corrodes the contacts. It's actually pretty easy to replace.
You want to disconnect the back here just by pressing on this tab here and working it off. Now, you want to use your screwdriver and there's a little tab right here that you want to push in on and then turn it counterclockwise. It comes out.
You'll see, here's the new one from 1A Auto. That'll go in. I actually used some penetrating oil and sprayed it around, just to make it easier to install it, here. Let's see here. With this hand I'm kind of twisting it clockwise and I'm going to hit it in to get it going. It fits in there nice and tight. Then, just plug in the back here. You're all set to go.
We hope this video helps you out. Brought to you by www.1AAuto.com, your source for quality replacement parts and the best service on the Internet. Please feel free to call us toll-free, 888-844-3393. We're the company that's here for you on the Internet and in person.
Tools used
Disconnect this connector right here and just push this little tab down, and just wiggle it back and forth. And then I'm gonna twist this. There's a little tab right here, that, if you get a 90-degree pick, you can break that off or just try to pry it up a little bit. There is a little bump right here that you might have to pry up a little bit on this ear. You can use some large pliers, just try to twist it that way. There we go, and slide it out.
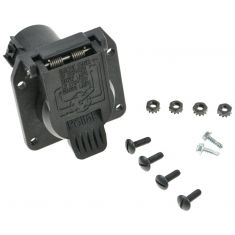
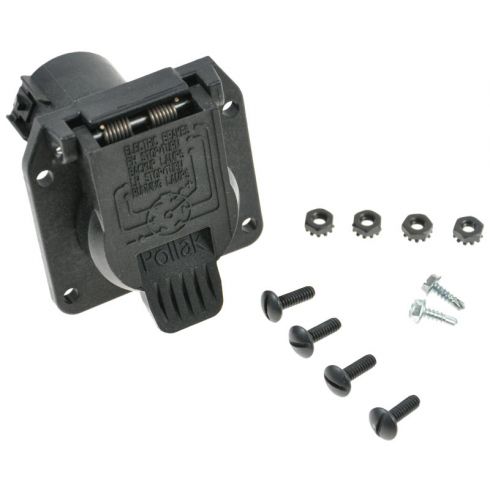
And take the new connector. Now this one fits a little different. This one actually has holes where you can drill, line that up how you want it. Just take a felt tip pen, and make a mark where you want to drill the holes. And you can take a small drill bit and start with a pilot hole, and you always work your way up.
And just do the same for the other ones. So, when you get two holes drilled or four holes, if you want to put bolts in all four holes, get those lined up. Now, these holes are a little bit smaller than 1/4 of an inch. And a nut. Do the same on this other one. And then tighten those up. Now the size of the bolts is going to change, based on what size bolts that you get to do this.
And we just snug those up, not too tight. Gonna take the connector. Now, it does go on one way. There's a little notch right here, and a little tab right there. So, line those up, or even with the lock for the connector, line it up and lock it in place.