Replaces


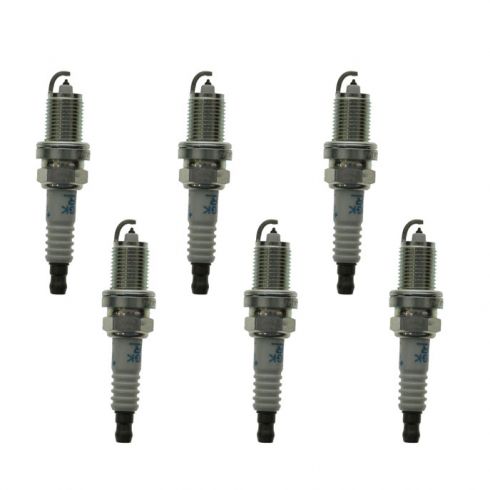

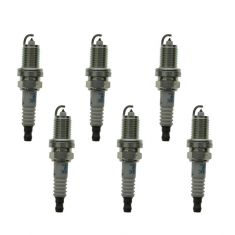
Recommended for your 1990 Mazda MPV
Frequently bought together
Part Details
Specifications
Returns: Parts with electrical components cannot be returned once installed.
Lifetime Warranty
This item is backed by our limited lifetime warranty. In the event this item should fail due to manufacturing defects during intended use, we will replace the part free of charge. This warranty covers the cost of the part only.
Returns: Parts with electrical components cannot be returned once installed.
FREE Shipping is standard on orders shipped to the lower 48 States (Contiguous United States). Standard shipping charges apply to Hawaii and Alaska.
Shipping is not available to a P.O. Box, APO/FPO/DPO addresses, US Territories, or Canada for this item.
Expedited is available on checkout to the United States, excluding Alaska, Hawaii.
Final shipping costs are available at checkout.
Created on:
Tools used
Brought to you by 1AAuto.com. Your source for quality replacement parts and the best service on the internet.
Hi. I'm Mike Green. I'm one of the owners of 1A Auto. I want to help you save time and money repairing and maintaining your vehicle. I'm going to use my 20 plus years experience restoring and repairing cars and trucks like this to show you the correct way to install parts from 1aauto.com. The right parts installed correctly. That's going to save you time and money. Thank you and enjoy the video.
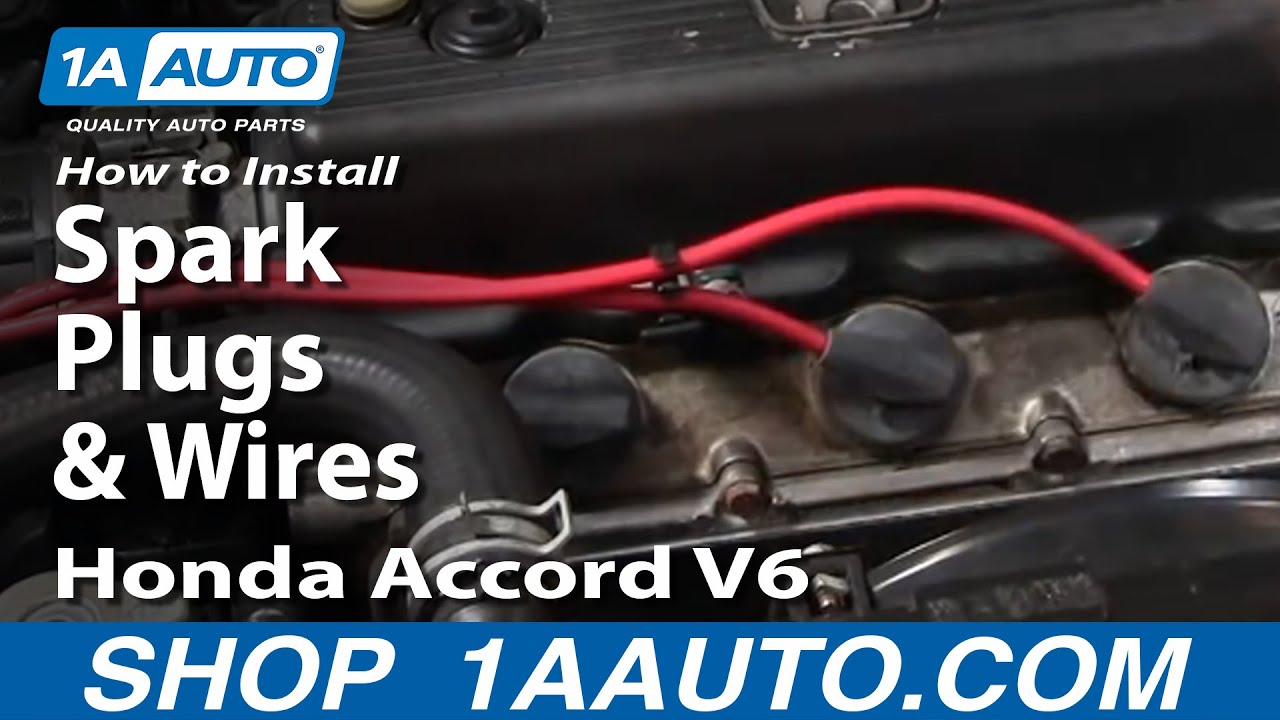
In this video, we'll be showing you how to replace the spark plugs and plug wires on this Honda Accord V6. Process is similar for most Honda V6s. Tools you'll need are a five eighth inch spark plug socket, an extension and ratchet and maybe an extendable magnet.
Replacing spark plugs and wires on these Honda V6s is actually a pretty easy job but it's also kind of easy to mess up. Many times I've heard people say, "I took all the wires and plugs out and then I put it all back together but now my car doesn't run right." That's because you have to put everything back together correctly. The key is just do them one at a time. Take one wire off and one plug off, put the plug back in and put the wire back on. Very easy to work on like I said; all these six plugs are accessible.
On the rear, you can easily see, they're all very easy to get to. What you want to do is you pull the plug out over to here and then you give it a good twist. While you're twisting, pull it up and out. That's your plug wire. You'll need a five eights spark plug socket and an extension and put it right down in there and then just take the plug out. Once it gets easy to turn, it's usually a pretty good sign that your plug is all the way out and if you have a good socket you should be able to pull it up and out. My socket is a little worn out so my plug stayed down in there.
So a good tool to have around is a little extendable magnet which goes right down in and pulls the plug out. Actually, you can see somebody that did this before. It looks like they put a little bit of a paper towel around it to hold it into their socket probably. So you got the plug out and if you're replacing the wires at the same time or if separately. Now, you want to just take the whole wire off and, again, here at the distributor, twist and pull and then the wires on this car are actually fairly new so I'm not going to replace them, but you would not put your new wire on right in place because you have to make sure that you put each wire back on the same spot on the distributor. That's why you don't want to just take them all off and then try and put them back on, you just do them one at a time. Always route the back the way they were originally.
Before your installing your plugs, you want to check the gap and according to the sticker that's on the hood, right there, it tells you what kind of plugs to have and it also tells you what the gap is supposed to be. I'm sure you can't read it, maybe you can, but it says the gap is 1.1 millimeters which translates into .044 inches. I have a little gap tool and .044 just barely gets through there. That's set correctly. You might have noticed I've skipped through a different hole, but a good way to put these plugs back in is actually with a little bit of glue. Just put a little glue on there because my socket is worn and it won't hold on to the spark plug. A little bit of glue makes it so the spark plug sticks in there. You get it down in, start turning.
You always want to make sure you could turn it by hand first because if it's difficult to turn at all then you might be cross-threading is and you don't want to do that. Okay, tighten it. You want them snugged but not too tight. Put the spark plug wire down in there, make sure it clicks. Make sure you put the wire back into its correct spot.
We hope this helps you out. Brought to you by www.1AAuto.com, your source for quality replacement parts and the best service on the internet. Please feel free to call us toll free, 888-844-3393. We're the company that here's for you on the internet and in person.
Tools used
Brought to you by 1AAuto.com, your source for quality replacement parts and the best service on the internet.
Hi I'm Mike from 1A Auto. I hope this how-to video helps you out, and next time you need parts for your vehicle, think of 1AAuto.com. Thanks.
In this video, we're going to show you how to replace the spark plugs on this '03 Honda Odyssey, pretty much the same as any '99 to '04 Odyssey. Usual recommended changing for plugs is 50,000 miles or 100,000 miles if you have platinum tip plugs. Tools you'll need are a 10mm socket with a ratchet and extension, a flat blade screwdriver, a T40 Torx driver, a 5/8 spark plug socket and extension, and then a spark plug gap tool.
Okay, 10mm socket and I have an extension. One of these anyways it kind of goes down in there, but there are four bolts that hold the engine cover on here. Now you need a flat blade screw driver, and there are basically two little clips, turn them a quarter of a turn counter clockwise. Now, just make sure that they come out. There's another plug up on the end here that you have to pull up just firmly and pull that out. Now I'm looking at it from the passenger side, and you can see the coils right down here, one, two, three. Then the rears, there's actually there's no cover and you can see the tops of the coil, one here, two and three. Plenty of room to reach back in there and take them out.
Okay, first thing, each one has a harness and then just a little tab that you press in and disconnect the harness. I'm just going to do one to show you. I'm using a T40 Torx bit and a socket. Lower it down in here and just loosen this bolt up. Remove it. Grab your coil, shake up and down a little bit and pull it right out. Okay, to remove a spark plug, you're going to want a 5/8 spark plug socket and an extension. Put the socket and extension down in. Then you pull out the socket. If the spark plug socket is working well, it brings the spark plug right with it. Okay, the plug looks like they were replaced relatively recently, so I'm not going to put a new one in. I'm just going to kind of show you.
Usually, these plugs come gapped, but you want to check. This spark plug gap tool, according to the manual, plugs on this should be at .040, so you take your tool at .040 and run it through the gap, and you should be able to go in and out with just a little bit of resistance. Okay, so it's correctly gapped. You want to be careful when you're gapping. You can damage tips, but once you've gapped, reverse the procedure put the plug down in. You want to make sure you're holding the extension nice and centered in the hole, so you start the plug-in well and you don't cross thread it.
Tighten these to about between 10 and 15 foot pound, so I take the small wrench. Tighten them until you give them about 1/8 of a turn of tightness. You don't want to over-tightening them, you can damage your cylinder head so you don't want to do that, and under-tightening them can cause your engine to lose power. Okay, your coil from 1A Auto, it's an exact replacement. Then putting that on, you'll feel some resistance. Just push it down on firmly. Put your screw in. Start it with your fingers, and your T40 bit back in. Tighten on there firm, not too tight though. Reconnect and repeat for the other cylinders. Okay, now you bring this down. You kind of put your thumb on here so you can see that go right in, see these plugs go right in. Push it down on. Push that into place. Turn these a quarter of a turn clockwise and your cover back in place. I'll spare you some of this, just tightening up those bolts. I basically just kind of put them in by hand first, make sure they're going in correctly and then just tighten them up firm. You don't have to have them that tight at all. You should be all set.
We hope this helps you out. Brought to you by www.1AAuto.com, your source for quality replacement parts and the best service on the internet. Please feel free to call us toll free, 888-844-3393. We're the company that's here for you on the internet and in person.

NGETK00011