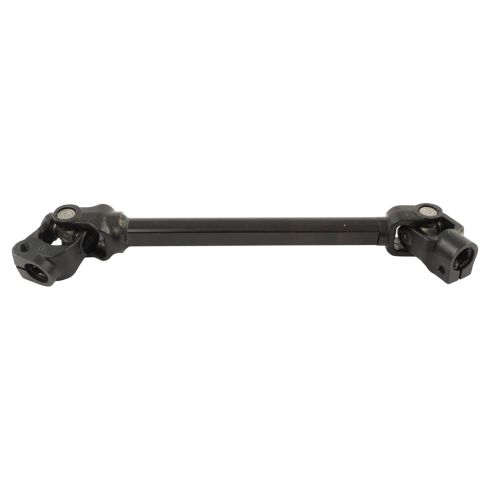
Updated Design: While this part may look different from the one originally installed on your vehicle, it is guaranteed to fit and operate as well or better.
Attention California Customers:
WARNING: This product can expose you to chemicals including Lead and Lead Compounds, which are known to the State of California to cause cancer, and birth defects or other reproductive harm. For more information, go to www.P65Warnings.ca.gov.
Lifetime Warranty
This item is backed by our limited lifetime warranty. In the event that this item should fail due to manufacturing defects during intended use, we will replace the part free of charge. This warranty covers the cost of the part only.
FREE Shipping is standard on Orders shipped to the lower 48 States (Contiguous United States). Standard shipping charges apply to Hawaii, Alaska and US Territories. Shipping is not available to Canada.
Expedited is available on checkout to the United States, excluding Alaska, Hawaii and US Territories as well as P.O. Boxes and APO/FPO/DPO addresses. Final shipping costs are available at checkout.
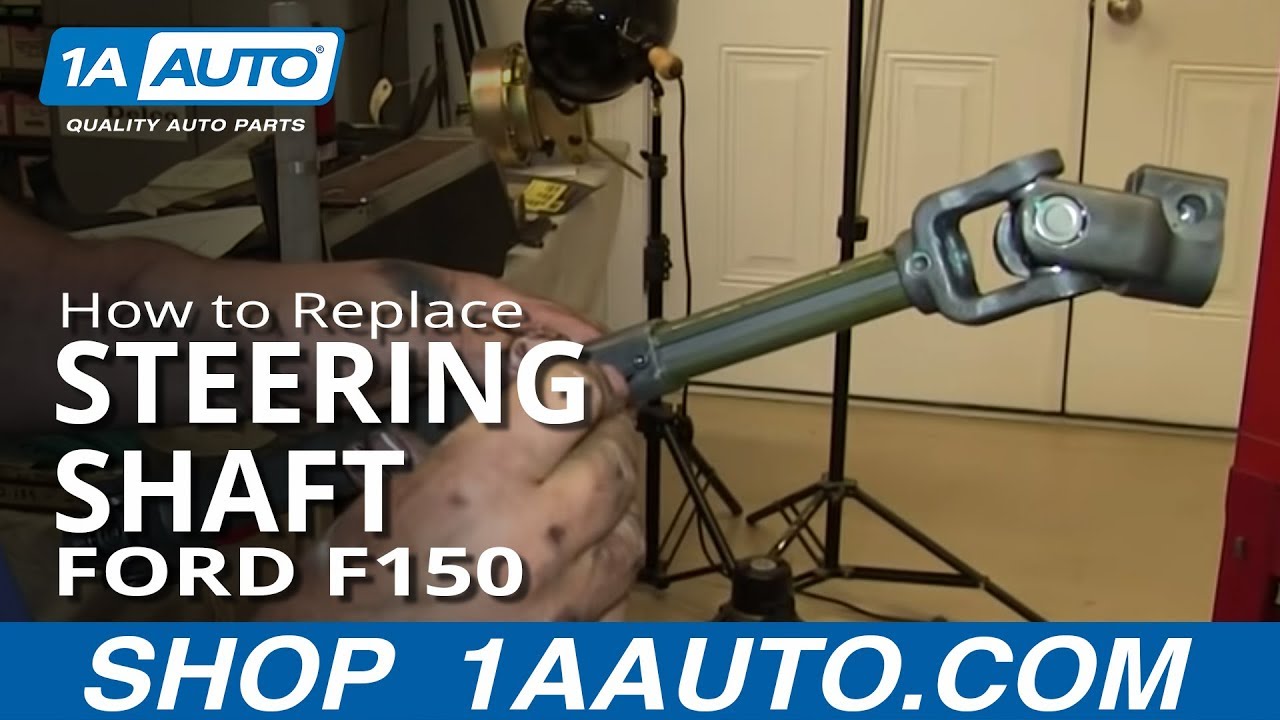
How To Replace Steering Shaft 2004-11 Ford F-150
Created on:
Tools used
13mm Socket
Hammer
Socket Extensions
Flat Blade Screwdriver
Jack Stands
2.5mm Hex Wrench
Ratchet
Swivel
Floor Jack
1. Removing the Intermediate Steering Shaft
Remove the 13mm bolt from the bottom of the intermediate steering shaft
Remove the 13mm bolt from the top of the steering shaft
Tap the steering shaft loose with a hammer
Pry the steering shaft loose with a flat blade screwdriver and a hammer
Pull out the steering shaft
2. Installing the New Steering Shaft
Loosen the steering shaft adjustment bolt with a 2.5mm Allen wrench
Telescope the steering shaft out
Tighten the 2.5mm Allen bolt so that the shaft can still telescope
Maneuver the steering shaft into place
Push the top of the steering shaft onto the steering linkage
Insert the 13mm bolt into the top of the steering shaft
Turn the wheels to access the steering shaft
Push the steering shaft onto the steering rack
Insert the 13mm bolt into the bottom of the steering shaft
Brought to you by 1AAuto.com, your source for quality replacement parts and the best service on the Internet.
Hi, I'm Don from 1A Auto. I hope this how-to video helps you out, and next time you need parts for your vehicle, think of 1AAuto.com. Thanks.
In this video, we're going to replace the intermediate steering shaft on this 2004 Ford F150. This is a common problem. You start feeling a lot of play in your wheel. You can move the wheel back and forth about a whole clock position without any steering happening and you can feel a clunk in the steering wheel, which is what we had in this vehicle. We have it on a lift. You can hypothetically do it without even jacking the car up, but it's probably easier to put it up on jack and jack stands. It makes it easier to get up there. Then after that you need 13mm socket with a ratchet with a flexible head, and a 6 inch extension.
I'm using an extension, about a 6 inch extension, and a 10mm flexible ratchet. We'll fast forward here as we start removing that bolt. You do want to take the bolt all the way out. Once you find it, you do need that flexible handled wrench and the 6 inch extension makes it easier to get up in there. It can be done with other tools, but this is the easiest way we've found. There's a 13mm bolt holding in the top joint. And we'll speed through this as we remove that bolt and you'll see us use the air ratchet to help save a little time. I'm going to tap on the edge of the U-joint here to get it off the steering shaft. I'm going to take a hammer and a screwdriver and pry up and spread that apart. I got it off. Show me the play in it.
We've got the old part; we've got the new part from 1AAuto. You need to use an Allen key, a 2 and ½ mm, and when you get the part, unscrew it so that it becomes telescoping. Once you get it to move set it back down, not too tight, so that it will continue to telescope with no problem. The telescoping end goes down first. You'll see here on your steering linkage that's it's notched for the bolt to go through. Reinstall my 13mm. We're going to put the bolt back in the bottom to connect it to the rack and if you turn the wheels a little bit it will get you better access to the hole. Again we're going to fast forward here. This is actually a pretty easy repair. It's just, as you can see, getting to the bolts and everything, having the right tool, and just turning, using either the steering wheel or the wheels, and just turning it so you can access it the best.
We hope this video helps you out. Brought to you by www.1AAuto.com, your source for quality replacement parts and the best service on the Internet. Please feel free to call us toll-free, 888-844-3393. We're the company that's here for you on the Internet and in person.
PSA67598
In Stock
Product Reviews
Loading reviews
Customer Q&A
No questions have been asked about this item.
Customer service
877-844-3393
Monday - Friday 8:00am - 9:30pm ET Saturday - Sunday 8:00am - 4:30pm ET
Ford is a registered trademark of Ford Motor Company. 1A Auto is not affiliated with or sponsored by Ford or Ford Motor Company.See all trademarks.
Enter Vehicle Year Make Model
Specify your vehicle's year, make and model to guarantee fit.
Year
Make
Model
Options
Drivetrain
This part doesn’t fit a . Select from parts that fit.