Replaces
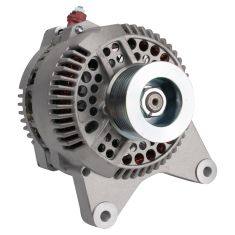
1998 Ford E250 Econoline V10 6.8L Alternator TRQ ALA94403
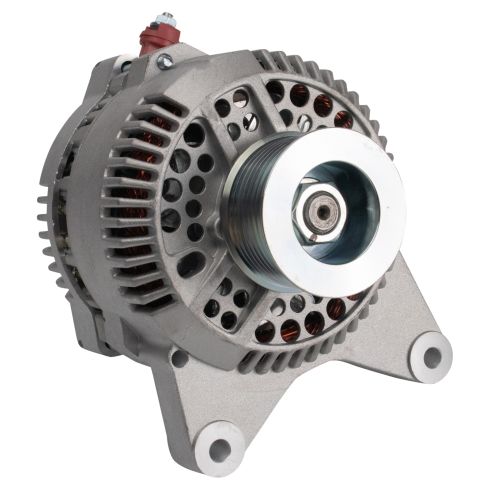


ALA94403
This part doesn’t fit a . Select from parts that fit.
Specify your vehicle's year, make and model to guarantee fit.
This part doesn't fit a . Select from parts that fit.
Buy in the next and
Orders must be placed by 2pm ET
Recommended for your 1998 Ford E250 Econoline
Frequently bought together
Specify your vehicle's year, make and model to guarantee fit.
This part doesn't fit a . Select from parts that fit.
Part Details
- Yes
- Serpentine
- Internal
- No
- Yes
- No
- 25.5 mm
- 1.02 in
- 110 A
- 12 VDC
- FORD
- 49.8 mm
- 1.97 in
- Clockwise (Right)
- 8
- No
Specifications
- V10 6.8L
About TRQ:
TRQ is a trusted brand dedicated to making every repair a success story by combining premium parts with easy installation. Each TRQ part is engineered by a team of automotive experts to meet or exceed OEM standards, delivering enhanced performance and maximum longevity. With rigorous in-house testing, the brand ensures superior fit and function across every product line. TRQ also provides customers with best-in-class, step-by-step installation videos—so you can complete repairs with confidence, whether you're a first-time DIYer or an industry professional.
Product Features
Returns: Parts with electrical components cannot be returned once installed.
Attention California Customers:
![]() WARNING: This product can expose you to chemicals including Lead and Lead Compounds, which are known to the State of California to cause cancer, and birth defects or other reproductive harm. For more information, go to www.P65Warnings.ca.gov.
WARNING: This product can expose you to chemicals including Lead and Lead Compounds, which are known to the State of California to cause cancer, and birth defects or other reproductive harm. For more information, go to www.P65Warnings.ca.gov.
Lifetime Warranty
This item is backed by our limited lifetime warranty. In the event that this item should fail due to manufacturing defects during intended use, we will replace the part free of charge. This warranty covers the cost of the part only.
Returns: Parts with electrical components cannot be returned once installed.
FREE Shipping is standard on orders shipped to the lower 48 States (Contiguous United States). Standard shipping charges apply to Hawaii and Alaska.
Shipping is not available to a P.O. Box, APO/FPO/DPO addresses, US Territories, or Canada for this item.
Expedited is available on checkout to the United States, excluding Alaska, Hawaii.
Final shipping costs are available at checkout.


Created on:
Tools used
- Disconnect the 10mm nut from the battery cable Set the negative terminal aside
- Remove the two 10mm bolts from the throttle body cover Lift the cover Loosen the hose clamp on the air intake near the throttle body Disconnect the breather hoses Lift the intake tubing Loosen the latch on the housing Disconnect the two sensors on the air intake Lift the air intake up and out
- Familiarize yourself with the route of the serpentine belt Insert a 1/4 inch breaker bar into the tensioner Turn the tensioner clockwise to loosen the belt Pull the belt off a pulley Release the tensioner slowly Pull the belt off by hand
- Remove the three 10mm bolts from the alternator Remove the two 10mm bolts at the bottom of the alternator Disconnect the alternator wiring harness Remove the 10mm nut from the back of the alternator Pry the harness lead from the alternator Remove the alternator
- Lower the alternator down into place Tighten the 10mm bolts to the bottom of the alternator Tighten the three 10mm bolts to the top of the alternator Tighten the three bolts to 10 foot-pounds Tighten the two front bolts to 15-20 foot-pounds Connect the alternator wiring harness Tighten the 10mm nut to the back of the alternator
- Loop the belt down between the idler and tensioner pulleys Loop the belt around the A/C Pulley Bring it over the tensioner Bring it underneath and around the crankshaft pulley Bring it up and over the water pump pulley Bring it under the idler pulley Pull the belt down and over the alternator Pull the tensioner clockwise with the 1/2 inch ratchet/breaker bar Bring it around the power steering pulley Release the tensioner
- Insert the air intake into place Close the housing hatch Connect the two sensor Connect the two breather hoses Tighten the hose clamp to the air intake hose Place the throttle body cover over the throttle body Tighten the two 10mm bolts to the cover
- Tighten the 10mm bolt to the negative terminal
Hi, I'm Mike from 1A Auto. We've been selling auto parts for over 30 years. We're dedicated to delivering quality auto parts, expert customer service, fast and free shipping, all backed by our 100% satisfaction guarantee. Visit us at 1AAuto.com, your trusted source for quality auto parts.
You want to disconnect your negative battery cable, ours is a 10 millimeter, yours may be 8 millimeter. Loosen it up and take the cable off and set it aside.
You want to remove this throttle body cover, two 10 millimeter bolts on this side and one over on the passenger side. Rremove those 10 millimeter socket and ratchet. Loosen the throttle body clamp with a flat blade screwdriver and just kind of pull up and down on the whole ducting. There are tubes that go on the side. Once you pull it off the throttle body, you can twist a little bit and pull those tubes free. Pull the clamp for the air filter off, and there's two connectors—one easy to see here. Press down on the tab and disconnect. You may press down the tab, use your screwdriver, and pry a little bit to help loosen it up. And connector's off. And then there's another connector. Press the tab and disconnect. And the intake tube comes up and out.
Okay, you can see we have a lot of stuff off the front of our engine, which is good. So we can show you how the belt routes, but obviously it's going to be more compact for you. Here at the top, the belt's on the alternator. Goes down around the power steering pump, back up around your water pump, then down and around the crank, up and around your tensioner back down for your A/C pulley, and then back up across this idler pulley and to the alternator.
You're going to want to feed a breaker bar up from the bottom. And you're going to have the fan here, but you should be able to reach up and in and get your breaker bar in. Grab and pull down. Once you pull down, you can flip it off of one of the pulleys, and then release your breaker bar slowly and take it out. And now you can reach down, bring the belt up, flip it off the water pump, and pull it up and out. And then pretty much the hardest part will be get it off your A/C compressor and pull it up through.
Top and rear of the alternator, there are three 10 millimeter bolts: One, two, three. Remove those to get this bracket out of your way. Now tthere's wo 10 millimeter bolts at the bottom, and you'll come down with a short extension and remove them. Then you can remove the screws by hand the rest of the way. Do have to kind of lift up on the alternator. Then you pull the alternator up and around.
Disconnect this lead, use a screwdriver, pry up and off and then under here, there's a 10 millimeter nut. 10 millimeter socket and ratchet and remove the 10 millimeter nut. And a small flat blade screwdriver, pry up and remove that lead. Then you can take your alternator out.
Here's a new alternator from 1A Auto. It's exactly the same dimensionally, and it's going to install just like your original. On the backside, it has the same connections. We did disconnect the battery cable from the backside. You could either take this off or just take the cable apart and then hook the cable onto the new part from 1A Auto. But the new alternator from 1A Auto is exactly the same as the original, and it's going to bolt in exactly the same. And if you're getting the intermittent battery light, that's usually a sign that your alternator's going bad and you need to replace it.
Depending on your preferences, if your new alternator comes with this part attached, you can just disconnect the battery cable from here with a 10 millimeter socket ratchet. Remove the nut just like you did on the other one and take it apart. And if you don't disconnect your battery, this will be live.
Put your new alternator down and in, roughly in place, put a bolt in, and get it started. Get the other bolt in. Just make sure this bracket is lined up correctly somewhat, and start your other bolt in. Tighten the bottom bolts preliminarily, and install the three top bolts. These rear ones are 10 foot-pounds. Torque the two front bolts to 15 to 20 foot-pounds. And now feed your leads back in place underneath the bracket. Connect one, two harness connections. And then connect your battery cable.
Here we install the serpentine belt, and then this is just another audio clip to use for some of the things. Obviously we have a lot of stuff removed, this is so we can show you this process easier. But you will have to contend with your fan and stuff. Take a loop between the idler and the tensioner pulleys, push it down in, and you can get it from below, but push it down in and put a loop over your A/C. Then take your belt, push it down underneath your crankshaft, and put a loop around the crankshaft. Okay, and then it comes up over the water pump and down over the alternator, and we'll leave it off of the power steering pulley, that'll be the last part we put on.
Okay, so we're going to use a half inch ratchet and the bigger ratchet you have, the better because you're going to want to feed it up into here. Get it into your tensioner, and keep in mind your fan will still be on, for some repairs. Get that ratchet as high as you can and then reach through, pull the tensioner down and then pull your belt onto your power steering pulley. It's not working on the power steering pulley, let it come off the water pump pulley.
Get it on the power steering pulley. Sometimes it's easier to push it up and onto the smooth pulley. But again, you'll have your fan in the way in some places. And release the tensioner and remove your ratchet. Then put your air intake in place, back in place over here. Tab winds up there, and this clamp goes on. Just reach down and make sure nothing's getting pinched.
Lock that down into place and your mass airflow connection, reconnect it. Reconnect this connector, tube down here goes in and in there. Flat blade screwdriver to tighten up the clamp that holds it into the throttle body. And put the throttle body cover back in place, and kind of move it around a little bit. Figure out where the bolt hole is. I'm actually cheating, just looking right through here. I can see there, start it up and then push this side down into place and start my two bolts over here and then tighten them up.
Then reconnect your negative battery cable, put it on and tighten up the bolt. Again, ours is 10 millimeter, yours may be different.
Thanks for watching. Visit us at 1AAuto.com for quality auto parts, fast and free shipping, and the best customer service in the industry.
Tools used
- Disconnect the negative battery cable with an 8mm socket and ratchet
- Loosen the two hose clamps on the air intake hose with a flat blade screwdriver Disconnect the vacuum hose Remove the air intake hose
- Insert the 1/2 inch drive ratchet into the tensioner Turn the tensioner clockwise to loosen the belt Pull the belt off the alternator Release the tensioner Remove the 10mm nut from the alternator wiring harness Remove the four 10mm bolts from the alternator bracket Disconnect the alternator wiring harness Remove the alternator bracket Loosen the two 10mm bolts from the bottom of the alternator Lift the alternator up and out
- Insert the alternator into place Insert the bracket on top of the alternator Tighten the four 10mm bolts to the bracket Tighten the four 10mm bolts to 20 foot-pounds of torque Connect the alternator wiring harness Tighten the 10mm nut to the alternator wiring harness Tighten the two 10mm bolts to the bottom of the alternator Tighten the two 10mm bolts between 20 to 25 foot-pounds of torque Pull the belt off the idler pulley Pull the tensioner clockwise with the 3/8 inch ratchet Pull the belt over the alternator Pull the belt under the idler pulley Release the tensioner
- Insert the air intake hose in place Tighten the two hose clamps with a flat blade screwdriver Reconnect the vacuum hose
- Reconnect the negative battery cable
Brought to you by 1AAuto.com, your source for quality replacement parts and the best service on the Internet.
Hi, I'm Mike from 1A Auto. I hope this how-to video helps you out, and next time you need parts for your vehicle, think of 1AAuto.com. Thanks.
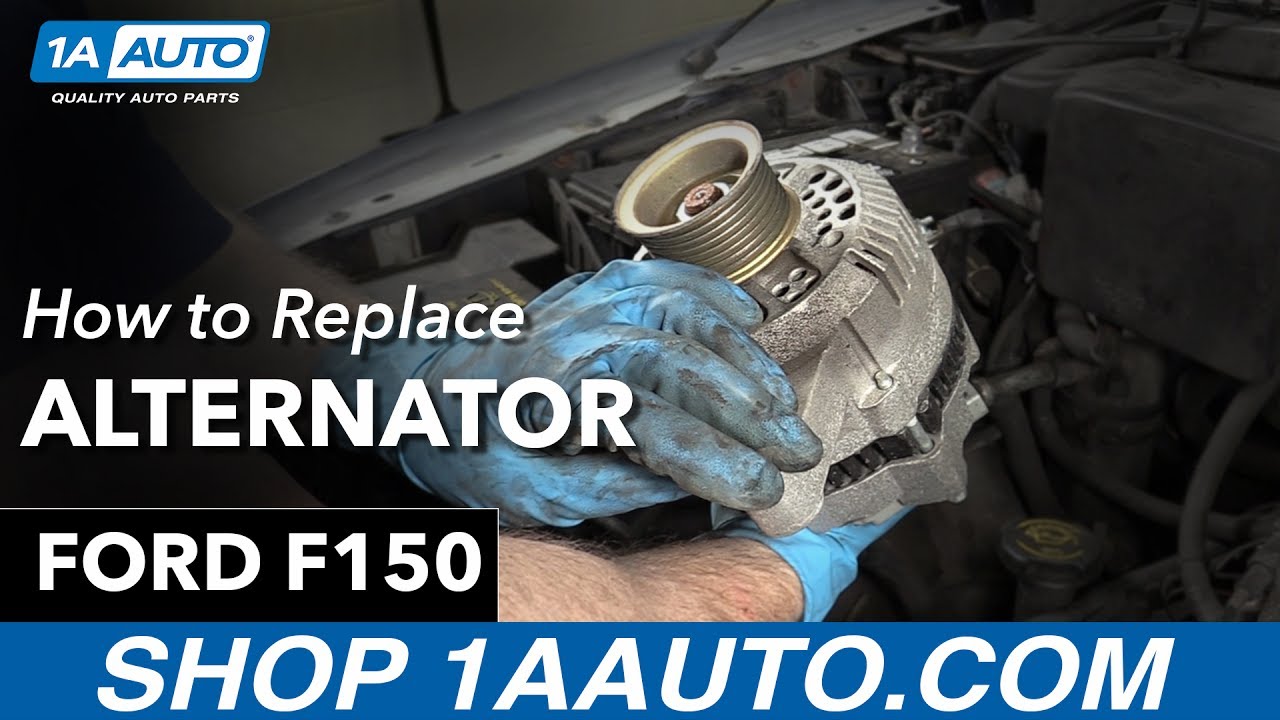
In this video, we're going to show you how to replace the alternator on this 2005 Ford F150 with the 4.6-liter V8 engine. The items you'll need for this is a new alternator from 1AAuto.com, 1/2" ratchet, a piece of pipe for extra leverage, an 8mm and 10mm socket and ratchet, and a torque wrench.
You want to start off by disconnecting your battery. Just disconnect the negative battery cable, using an 8mm socket and ratchet. Pull the cable free.
Using your screwdriver, just loosen up the hose clamp here and right here. Then push the tab on this hose and pull it free. Then pull your air intake hose free.
Now, using your 1/2" ratchet, just push it into the tensioner. Using a piece of pipe for some extra leverage, just pull the ratchet or breaker bar back and then pull the belt off the alternator. Then carefully release the tension on the ratchet and pull it free. Lift up this harness from that stud and then remove this 10mm nut holding on this harness. Once you remove that nut the harness will pull free.
Now you want to remove these four 10mm bolts. We'll fast-forward as Mike does that. Now push the tab on this harness and disconnect it, and pull that bracket free. Now down here there's two more 10mm bolts holding in the alternator. You just need to loosen them up. We'll fast-forward as Mike loosens those up. Once they're loosened up you can just lift your alternator up and out.
Take your new alternator and feed it down into place. Since our original alternator was working fine we're just reinstalling it. Then you can reconnect the harness and replace that bracket. Then replace those four 10mm bolts and tighten them up. Torque each of those 10mm bolts to 20 foot-pounds. Replace that 10mm nut that holds this harness in place and tighten it up. On this nut you'll see I have a torque wrench in my hand. You don't have to torque this nut. You just want to tighten it up firm but not too tight. Then push that cover back down.
Now tighten up those two lower 10mm bolts. You'll want to torque these to 20 to 25 foot-pounds as well. Take my pipe, pull as far as I can on the tensioner and I should be able to lift the belt up. I'm going to try and take it off of this idler pulley, get it up onto the alternator, pull my tensioner and then push the belt down. You can see the idler pulley is the last one. Push it right down under.
Replace your air intake hose, reconnect this hose, and then tighten up those two hose clamps.
Push your negative battery cable back into place and just tighten it back up.
We hope this video helps you out. Brought to you by www.1AAuto.com, your source for quality replacement parts and the best service on the Internet. Please feel free to call us toll-free, 888-844-3393. We're the company that's here for you on the Internet and in person.

ALA94403
877-844-3393
Monday - Friday 8:00am - 9:30pm ET
Saturday - Sunday 8:00am - 4:30pm ET
Specify your vehicle's year, make and model to guarantee fit.
This part doesn't fit a . Select from parts that fit.


