Replaces


Frequently bought together
Part Details
About TRQ:
TRQ is a trusted brand dedicated to making every repair a success story by combining premium parts with easy installation. Each TRQ part is engineered by a team of automotive experts to meet or exceed OEM standards, delivering enhanced performance and maximum longevity. With rigorous in-house testing, the brand ensures superior fit and function across every product line. TRQ also provides customers with best-in-class, step-by-step installation videos—so you can complete repairs with confidence, whether you're a first-time DIYer or an industry professional.
Attention California Customers:
 WARNING: This product can expose you to chemicals including Lead and Lead Compounds, which are known to the State of California to cause cancer, and birth defects or other reproductive harm. For more information, go to www.P65Warnings.ca.gov.
Lifetime Warranty
This item is backed by our limited lifetime warranty. In the event that this item should fail due to manufacturing defects during intended use, we will replace the part free of charge. This warranty covers the cost of the part only.
FREE Shipping is standard on Orders shipped to the lower 48 States (Contiguous United States). Standard shipping charges apply to Hawaii, Alaska and US Territories. Shipping is not available to Canada.
Expedited is available on checkout to the United States, excluding Alaska, Hawaii and US Territories as well as P.O. Boxes and APO/FPO/DPO addresses. Final shipping costs are available at checkout.
Created on:
Tools used
Brought to you by www.1AAuto.com. Your source for quality replacement parts and the best service on the internet.
Hi I'm Mike Green. I'm one of the owners of 1A auto. I want to help you save time and money repairing and maintaining your vehicle. I'm going to use my twenty plus years experience restoring and repairing cars and trucks like this to show you the correct way to install parts from 1aauto.com. The right parts installed correctly, that's going to save you time and money. Thank you and enjoy the video.
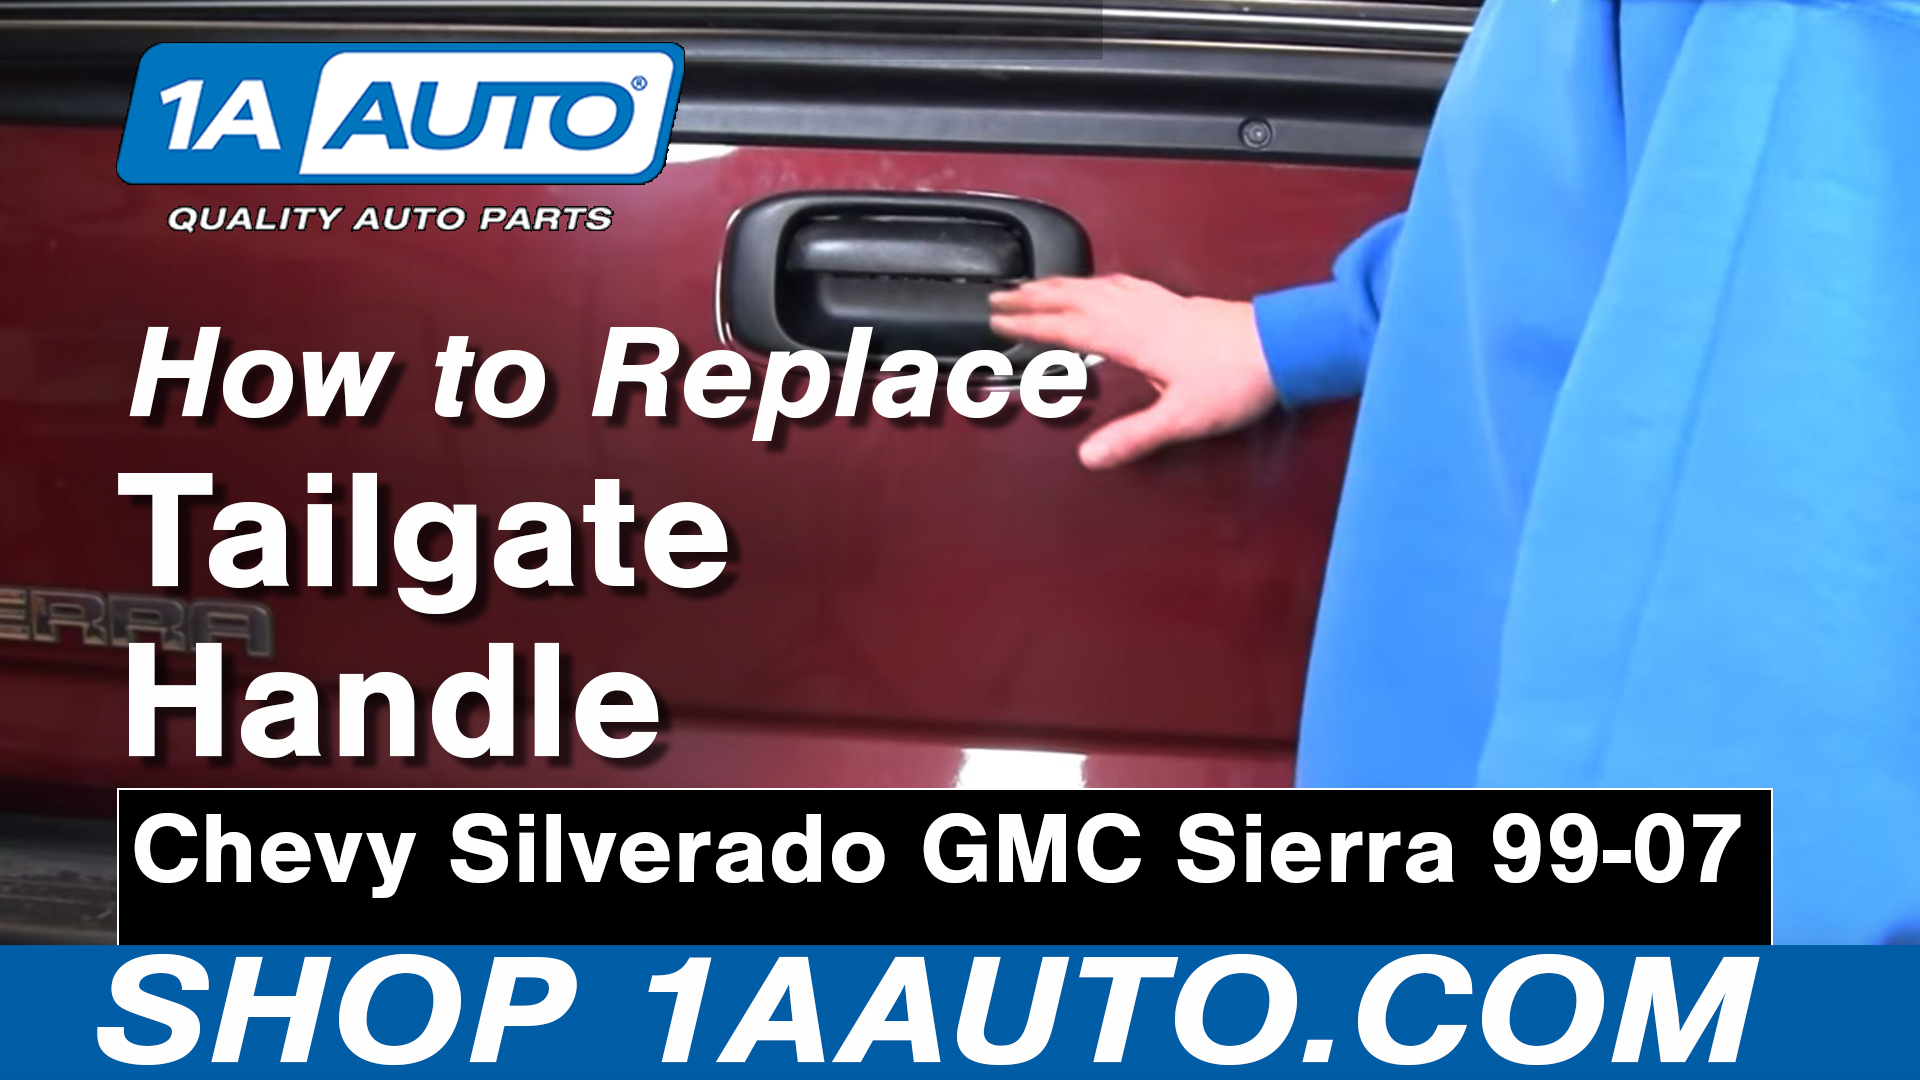
In this video we'll be doing a tailgate handle on a 2004 GMC Sierra. Same as any 99-06 Sierra Silverado. Only tools needed are a half inch wrench and an Exact-o knife if you have a Rhino liner in your truck. Also if you're going to order the tailgate handle we do recommend ordering the bezel as it's kind of difficult to get off without breaking it and actually we found on our truck it had already been broken. So it'll just save you a little time.
Okay, so to remove your tailgate handle the first thing you want to do it is remove this bezel. Basically there are two pins that go down and then it clips in. So you want to push down on top and then pull out, this is interesting. This truck has already been damaged and somebody used two sided tape to put it in there. See the close up, the tabs are broken off. It commonly happens. Two sided tape is okay for awhile, the problem is what happens is these trucks, the dirt just kind of swirls up and around here and sooner or later the two sided tape is going to let go and this thing's going to look like that.
Here on the tailgate you've got three bolts, you can see ones already loose because I was experimenting a bit. This truck's got a Rhino liner in it and a lot of trucks do now. If you don't obviously you can just take these bolts off but if you do have a Rhino Liner you want to use a knife and you just basically want to cut very carefully, so you don't cut your fingers off, cut each hex. I'm trying to do this quick. If you don't cut this off you won't be able to get your wrench on there. You could probably force your wrench on there but this is the best way not ruin your bolts. Just kind of back it in there and peel it off. You don't have to get it all off, it doesn't have to be perfect but you definitely need to get enough off so that you can get your wrench on there. Okay it's a half a inch, you push down and the bolt comes up and out. You want to remove these three bolts.
As I was taking these out I wasn't filming because you don't really need to see me tearing out but something funny, this has washers and the Rhino Liner has actually trapped the washers in there but that's okay. You can just remove it to that point and you'll still be able to remove your handle. You just back it out and you can hear my handle just dropped down there's. We're going to put our bolts on our 1A Auto magnetic tray.
Okay here's your handle and there's two rods right here held in by clips and basically you just need to move these clips down. Okay and the rod pulls out and then there's your tailgate handle. New handle, see it's all basically the same as the old handle. Okay what you want to do always, is lubricate. Any point where it might pivot, spray them with a bunch of stuff. Put it in here and it'll attach. This goes that way. Push them in. Push these rods into the clips. They don't want to go easily, there's it goes, it's kind of working in a little bit. You basically do it one side at time, just kind of grab the rod, push on the tailgate. Grab this rod, push on the tailgate and it'll open up.
Okay then down here and we'll take the handle and we can line it up by and I'll need my wrench here. These washers are kind of stuck in here. Get that bit with no problem. The last one here. As far as tightening, it doesn't have to be incredibly tight. Holding it with my fist, and that's good. So we have our new bezel here and here's the old one, you can see the little teeth that are broken off. Remove some of the two sided tape because it needs to bite under the metal and that will just get in the way. Basically this just goes in. Push down on it and there you go all set.
This video was brought to you www.1AAuto.com. We hope we helped you out. We are your source for quality replacement parts and the best service on the internet. Feel free to call us toll free 888-844-3393 we're here for you on the internet and in person. Thank you very much.
Tools used
Hi, I’m Mike from 1A Auto. We’ve been selling auto parts for over 30 years!
Going to replace this handle, tailgate handle, on this Chevy pickup truck. The bezel has already broken off on this vehicle. It's pretty common for them to break off. This is a brand new bezel from 1AAuto.com.
The way it fits in here if this truck had the bezel, these two little tabs on the bottom slide in these two little holes here. There’s push tabs up top here. And it would sit in like this. These tabs would lock underneath the sheet metal. If you were trying to remove it, carefully take a small screwdriver and push it in here on either side to release these tabs. Most likely if this bezel is old, it's just going to break on you if you're trying to replace this handle. You should probably have one of these on hand before you try to replace this handle.
Let's get into replacing this handle. After I sprayed some rust penetrant on these clips so that they'll move more freely, I'm going to push them down with my index finger. I'm not going to pull the rod out of this yet. It will just slide out, but I want to leave it in there, because I need the latch to work still. But it's easier to pop these off while this latch is attached to the sheet metal so it's not moving around on me. Now I can still open the latch and lower the tailgate.
There's two bolts here, and there's a third bolt that's hidden under this plastic bed liner, which is held in with these Phillip head screws that are all around it. I'm going to remove these, take off the plastic bed liner, and get to these three bolts that are back here. Use a Phillips head screwdriver to remove these. If you had a painted on bed liner, you may have to take a razor blade and cut around these bolts, but since this is a plastic one this plastic piece has to come off. These are the final two bolts.
I've removed all the screws that are holding this plastic on. These bolts are also holding the top of the latch. Start by taking these out. This is a 13mm socket. Lift this plastic up, put it in the bed of the truck so it's out of the way. And you'd see the final bolt. I'm also just going to hold onto the latch, because it's going to be pretty loose. Lift up the tailgate.
Since I've already freed these, I'm going to pull the rods out that go to the latches. This latch will slide right out of the opening, and you just have to maneuver it out. It's a little tight.
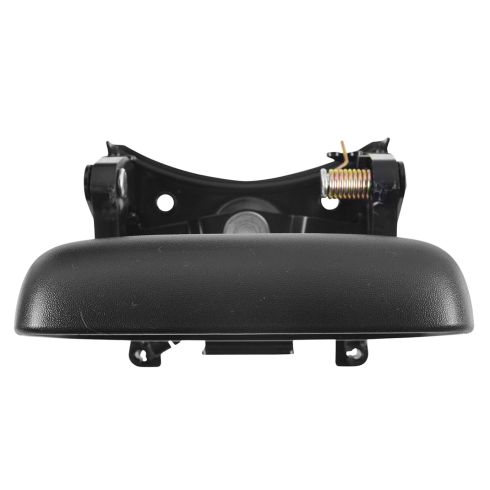
This is our old handle. This is our old handle from the vehicle, and here's our brand new one from 1AAuto.com. See, same exact design, same three bolt holes, same spring, same style black textured plastic. This will fit great and work great for you. This is a brand new bezel from 1AAuto.com. It goes around the tailgate handle like this, matches, same black texture.
If yours is broken off, this will replace it and make your truck look new again. Take our new handle, slide it up into place, align it up with the original bolt hole and go inside the bed. I'm going to capture this bolt here so that it doesn't move too much around on me. I'm not going to fully tighten it, I'll just leave it loose. I just want the handle in place.
Now I can push these little control rods up here that work the latches on either side, and get this one in to move that around a little bit. It's going to slide right back in there, pushed in. Then this goes up to lock it in place. Same thing on the other side. Adjust this over, can move this around a little bit, and do that. These are a little rusty. Push them in place, flip this around, and lock. Now I can open the tailgate again.
I can see the handle is lined up with the holes here. See it moving there? I'm going to hold it where I want it. I'm going to tighten this one, because once I put the plastic over it. I won't be able to get to it. Once it feels tight, I'm going to stop. We can lay out plastic bed liner back down, fits right into place. I'm going to replace these two bolts, tighten up the last bolts, real tight. I'm just going to stop, same thing with the other one.
And go and replace the rest of the Phillip head screws that are holding the plastic bed liner trim in. With the bed liner reinstalled, I can close the tailgate. Now would be a good time while you can get in here, to spray some lubricant on the hinge. That works really well. I'm just going to wipe up some of this oil that spilled. We can install our new bezel, and put the two tabs in these bottom openings here, and then snap it into these two top tabs, flip it up and over, just like that. You can open the handle a little bit. Whoops. A little tricky. New bezel is installed.
Thanks for watching. Visit us at 1AAuto.com for quality auto parts, fast and free shipping, and the best customer service in the industry.

DHA69380