Replaces


Frequently bought together
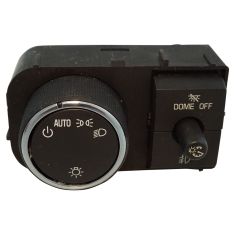
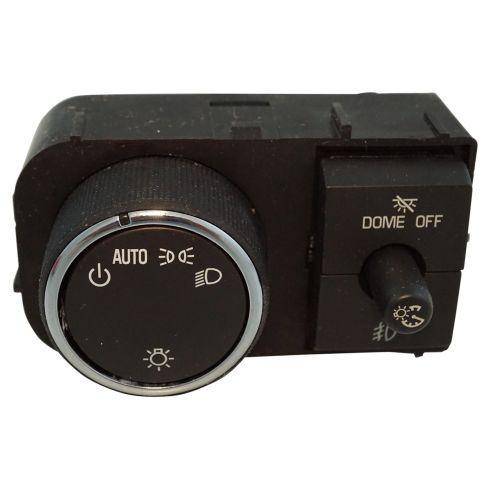
Part Details
Specifications
Returns: Parts with electrical components cannot be returned once installed.
Attention California Customers:
 WARNING: This product can expose you to chemicals including Lead and Lead Compounds, which are known to the State of California to cause cancer, and birth defects or other reproductive harm. For more information, go to www.P65Warnings.ca.gov.
Lifetime Warranty
This item is backed by our limited lifetime warranty. In the event that this item should fail due to manufacturing defects during intended use, we will replace the part free of charge. This warranty covers the cost of the part only.
Returns: Parts with electrical components cannot be returned once installed.
FREE Shipping is standard on Orders shipped to the lower 48 States (Contiguous United States). Standard shipping charges apply to Hawaii, Alaska and US Territories. Shipping is not available to Canada.
Expedited is available on checkout to the United States, excluding Alaska, Hawaii and US Territories as well as P.O. Boxes and APO/FPO/DPO addresses. Final shipping costs are available at checkout.
Created on:
Tools used
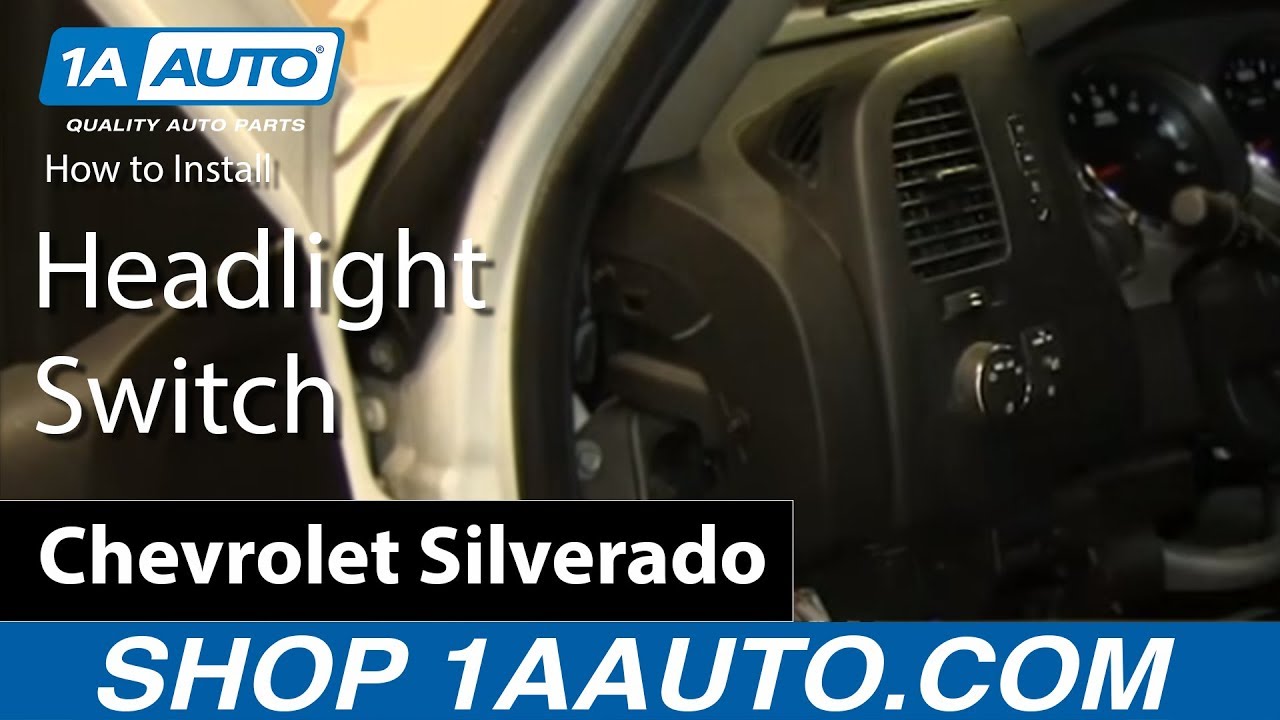
Brought to you by 1AAuto.com, your source for quality replacement parts and the best service on the Internet.
Hi, I'm Mike from 1A Auto. I hope this how-to video helps you out, and next time you need parts for your vehicle, think of 1AAuto.com. Thanks.
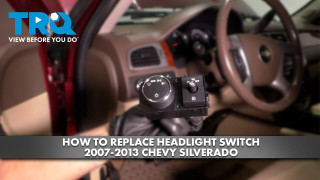
In this video, we're going to be showing you how to replace the headlight switch. This is a 2011 Silverado. It's pretty much the same procedure for this generation, which is basically 2007 to 2015 Silverado, Sierra, Tahoe, Yukon, Yukon Excel, and Suburban. The items you'll need are a new switch from 1AAuto.com, 10mm socket with a ratchet and extension, Phillips screwdriver, and a flat blade screwdriver.
On the driver's side pull off the panel of the fuse panel cover, and then there are a couple of things to remove. There's a black Phillips screw there, a 10mm bolt that's up in that recess there, the silver bolt, and then another black Phillips screw on the other side. I'll fast-forward as I use this screwdriver to remove the two Phillips screws, and a 10mm socket with a ratchet extension to remove the bolt can be removed by pulling firmly out, and I'm pulling back. I'm not pulling up. I'm pulling back on the panel. The bottom comes off first, and then the top comes out. You have to pull firmly to get it to come out. Then disconnect your break controller if you have one.
Now just pull out firmly on the top left hand side of the panel where the switch is. You have to reach in behind. There's a couple of tabs. You push the tab, and disconnect the headlight switch, and then you'll want to do the same thing for the computer selector if you have that option. You'll just need a flat blade screwdriver, and there are a few tabs that hold the headlight switch in place. You basically just want to push, or actually if you're holding it from the back you pull on the switch, and pry those tabs to release the switch from the panel.
Then reverse the procedure to install the new switch. Push it in from the back and lock it in place. Then take your panel, reconnect both the computer control if you have one, as well as the headlight switch. Then line up the ducting and the panel, and push it back in place. Be careful up on the top corner. Make sure you push that down into the dash. It locks in place.
Then you'll want to reconnect your trailer break controller if you have one and put that panel up in place. You should be able to the tabs basically started where they need to be. Just push it into place. I'll fast-forward as I start the 10mm bolt and the two Phillips screws, and then tighten those up. Just finish off by putting your fuse panel cover back in place.
Thanks for tuning in. We hope this video helped you out. Next time you need parts for your car, please visit 1AAuto.com. Also check out our other helpful how-to and diagnosis videos.

SWA41652