Replaces


Recommended for your 1998 GMC K3500 Truck
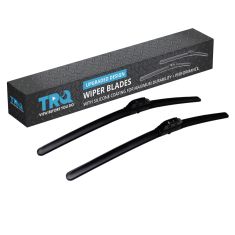
Frequently bought together
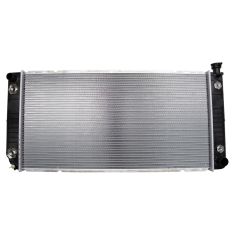
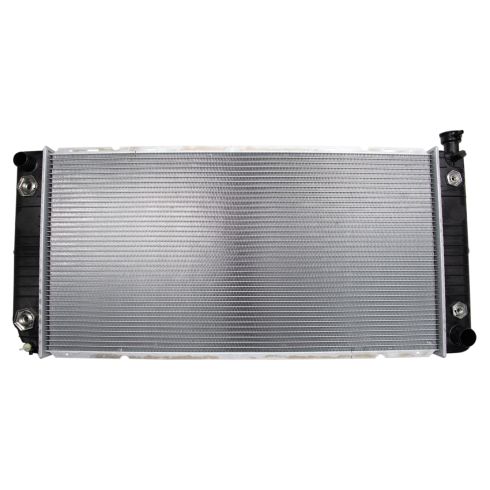
Part Details
Specifications
About TRQ:
TRQ is a trusted brand dedicated to making every repair a success story by combining premium parts with easy installation. Each TRQ part is engineered by a team of automotive experts to meet or exceed OEM standards, delivering enhanced performance and maximum longevity. With rigorous in-house testing, the brand ensures superior fit and function across every product line. TRQ also provides customers with best-in-class, step-by-step installation videos—so you can complete repairs with confidence, whether you're a first-time DIYer or an industry professional.
Direct Fit Replacement
Premium Aluminum Core
100% Leak Tested
Transmission Cooler Note:
Some radiators are designed to be used on both automatic and manual transmission applications. These radiator may have fittings for an automatic transmission fluid cooler. However these radiators can be used on manual transmission models without issue and require no additional parts or modifications.
Attention California Customers:
 WARNING: This product can expose you to chemicals including Lead and Lead Compounds, which are known to the State of California to cause cancer, and birth defects or other reproductive harm. For more information, go to www.P65Warnings.ca.gov.
Lifetime Warranty
This item is backed by our limited lifetime warranty. In the event that this item should fail due to manufacturing defects during intended use, we will replace the part free of charge. This warranty covers the cost of the part only.
Packaging:
Radiators may incur bent cooling fins or small imperfections during shipping or manufacturing. A few bent fins or small dents and scratches do not affect the fit or the function of the part. Neither our 60 Day satisfaction guarantee, nor the manufacturer's warranty, cover these types of insignificant damages.
FREE Shipping is standard on orders shipped to the lower 48 States (Contiguous United States). Standard shipping charges apply to Hawaii and Alaska.
Shipping is not available to a P.O. Box, APO/FPO/DPO addresses, US Territories, or Canada for this item.
Expedited is available on checkout to the United States, excluding Alaska, Hawaii.
Final shipping costs are available at checkout.
Created on:
Tools used
Brought to you by 1AAuto.com, your source for quality replacement parts and the best service on the internet.
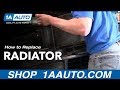
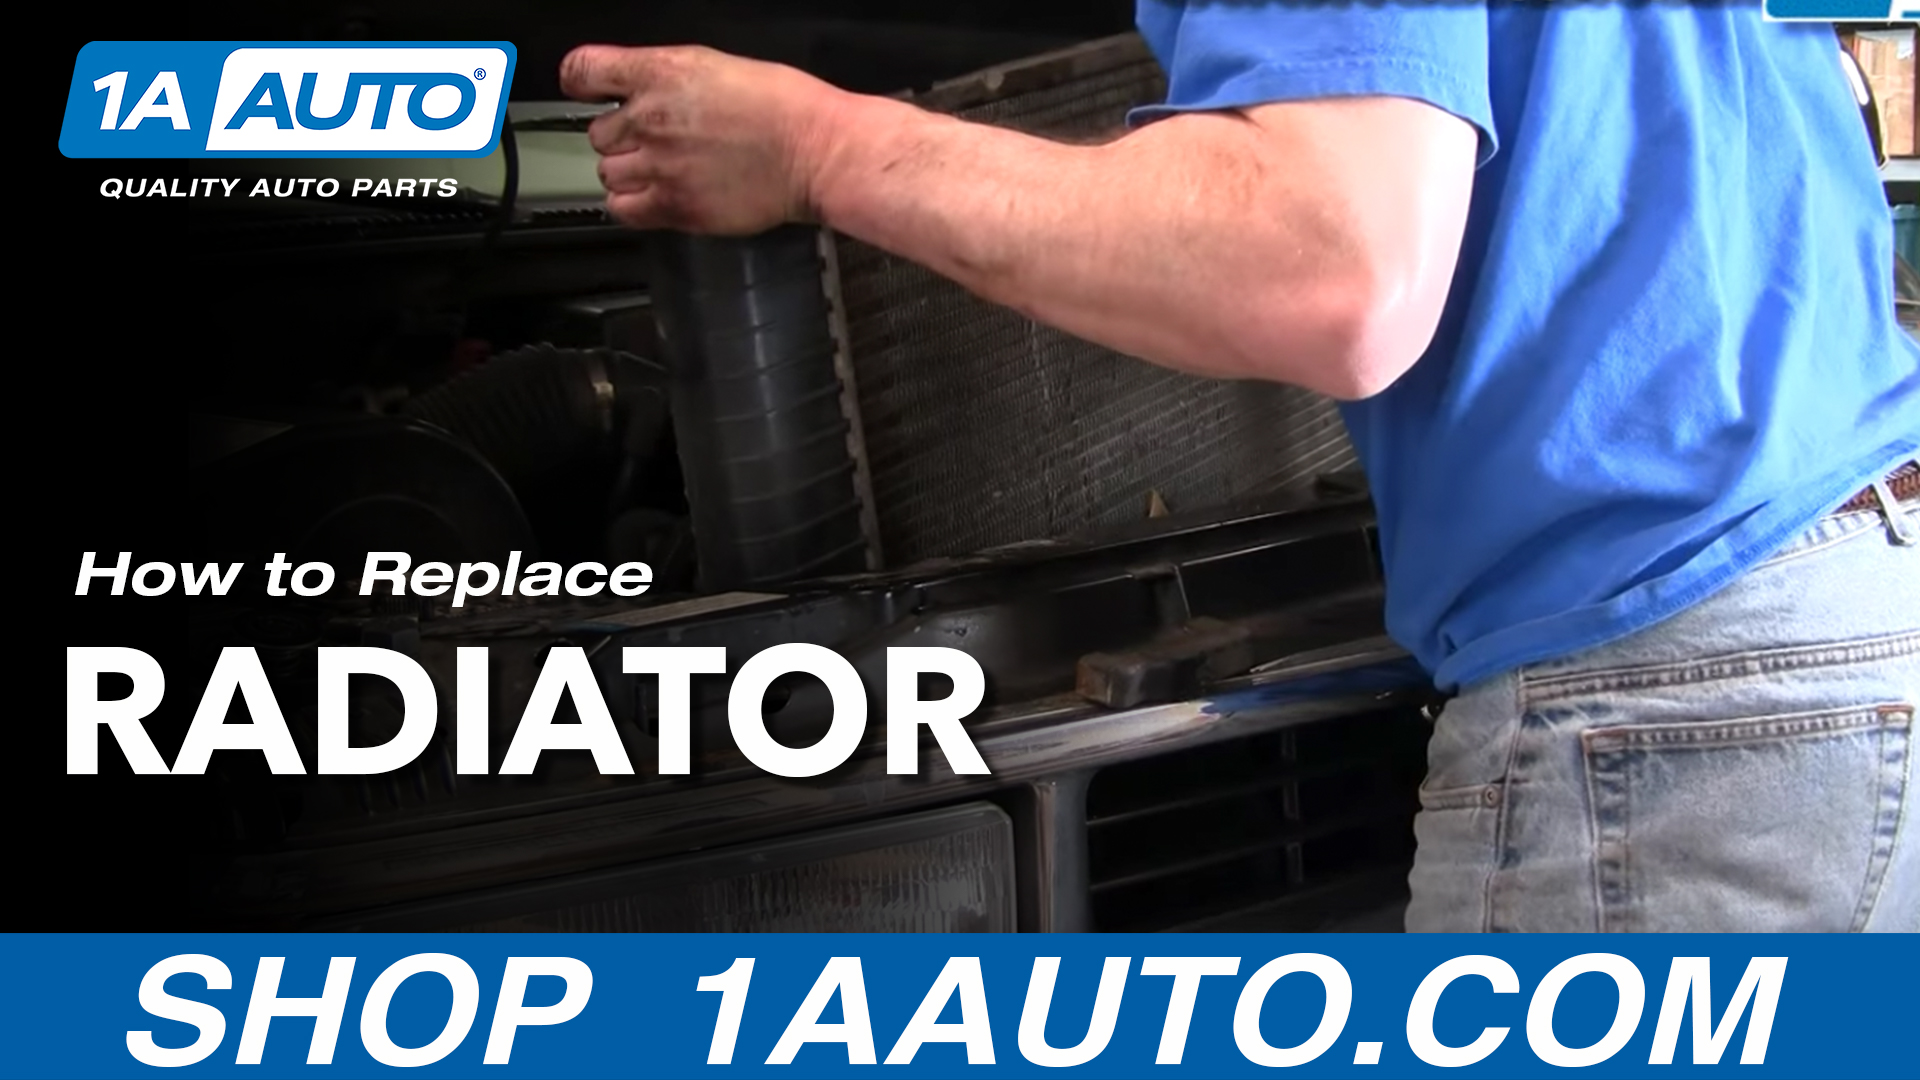
Hi, I'm Mike Green. I'm one of the owners of 1A Auto. I want to help you save time and money repairing or maintaining your vehicle. I'm going to use my 20 years experience restoring and repairing cars and trucks like this to show you the correct way to install parts from 1AAuto.com. The right parts installed correctly. That's going to save you time and money. Thank you and enjoy the video.
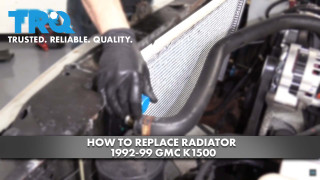
In this video, we'll be installing a radiator in a 1999 Chevy Suburban. Same as most 88 to 2000 trucks and SUVs. I need a 10 mm socket extension for most of the fan shroud bolts, 11/16 socket and ratchet for the protecting pan underneath. Pliers open and wrenches, catch pan, anti-freeze, funnel and a hammer.
Basically, the first step is we got our new radiator out and we just want to take a quick look make sure that everything lines up. This side we've got the radiator hose and then we got these 2 larger fittings. Then you can see over there there's a hose and then 2 larger fittings. Down even lower you can see that little kind of wing knot looking thing is your petcock. That's how you drain the radiator so we know we'll be draining it from there. Then on the other side, we can see on the new radiator we've got the fill. It has additional blocked off section and then it has 2 fittings and then a lower hose. Then you can see on our vehicle, you can see here's the fill. There is no fitting there. It must be an option that this truck doesn't have obviously. Then here's another fitting and then further down is where this hose goes in. Then you can see way down in there this hose here the one that goes to the bottom of the radiator. I'm going to remove actually the top of the radiator fan shroud here it's7 bolts, one there, one down there. There it is, here, here, here, here and then the same two down on the sides and the same two down on the sides here.
Remove those 7 bolts and to pull those parts out of the fan shroud here, the shroud comes up. I'm just going to us a little hammer. Knock that harness out and pull the harness out. Go underneath here and what you need to do is remove the skid plate and it's just 4 bolts here, right up there, and on the other side one, two, three and that's the fourth one. I'm going to remove that, that will give me access to the bottom of the fan shroud. With the skid plate removed you cannot see that we can easily access the two bolts. The one here, then there's one back over here we'll take those out. Like I see, everything pretty good here. I'm going to do is take some penetrating oil and I'm going to spray down these fittings here.
On these fittings here on this side too. Make sure I can get those out nice and easy. I've got in the bottom, basically just twist it so it's really not in my way and you can see down in here and I'm sorry the lighting is not better. This is my drain I'm just using a little stubby screwdriver and it kind of goes in there and twisting out. Then once I get to a certain point. I'm draining the fluid out. While my radiator continuous to drain I'm going to remove these two 10mm bolts which are basically the radiator mounts. Now I remove the bolts and then these brackets kind of come up not easily but they come up and off.
Your radiator hose which basically I'm just taking a big set of pliers and I'm squeezing this clamp and I'm backing that clip off the hose and then I can pull the hose off the radiator. Now you can see I got the radiator, the hose clamp back there. Now what I want to do is take hold of this and twist it and once I can start twisting it then I'll pull it off the radiator. What I want to do is take this hose and just kind of probably take something and make sure it stays up here. As long as it stays up here none of the fluids and it's going to come out. Next step I'm going to take is, I'm going to disconnect these lines. Use a 25/32s and these over are 5/8s and even on this old truck this is a '99, I already tried them and they did come off pretty easily. I disconnect both those. The bottom one will leak, what you want to do is after you take the bottom one that you want to try and lift it up and maybe tie it up to a hose or something. Same thing, this side is the oil cooler.
Once you get the bottom you want to try and lift it up and tie it off somewhere that it's higher than the level of the oil in the engine in that way it won't leak out all over the place. You will get a little bit of transmission fluid and a little bit of oil that comes out have a catch pan ready. To show you what's going on here. I've got basically the radiator almost out. The only thing left you can see down here is the lower radiator hose. You can see this ear of the clamp here and then the other ear is way down underneath. Basically I'm just going to pull the radiator up as high as I can then get my pliers on there and get that clamp off. When I put it together I'll put the ears of that clamp more around this way or on the top where you can get to them rather than down around the backside like there now. Pull that hose off. What you just heard was basically all that anti-freeze coming out of the motor.
I'm trying to get as much of it into the pan as possible. Now get everything out of the way. What you hear is the radiator deciding to get stuck on some hoses and stuff. It's up and out. Now we have the radiator out. We can see down in there that's still the water draining from the engine. All of these leaves and stuff you're going to grab a shop vac and vacuum all that stuff out. That ends part one. If you want to see a detailed reinstallation of the radiator checkout part two same title just part two.
Brought to you by www.1AAuto.com. Your source for quality replacement parts and the best service on the internet. Feel free to call us toll free 888-844-3393. The company that's here for you on the internet and in person. Thank you.
Tools used
Brought to you by 1AAuto.com, your source for quality replacement parts and the best service in the Internet. Hi, I'm Mike Green. I'm one of the owners of 1AAuto. I want to help you save time and money repairing and maintaining your vehicle. I'm going to use my 20 plus years experience restoring and repairing cars and trucks like this to show you the correct way to install parts from 1AAuto.com. The right parts installed correctly, that's going to save you time and money. Thank you and enjoy the video.
This is GM Truck install part 2. If you haven't seen part 1, definitely suggest you watch that first and this will make more sense. Now, I've got the area all cleared out. Put the lines back and all lines out of the way. Going to view the rubber mounts grip sits down on two, so just make sure those are in good shape. Just one thing, I'm looking at the radiator. This here corresponds with this and it looks like the radiator came with some adaptor, so I'm actually going to pull those out. Those are probably for an earlier vehicle or something like that. Lower it slowly, in case it catches on one hose here. Now that it's down and in, make sure it's on its mounts here. I've threaded this on, over here on my engine oil cooler lines. Here's my top one. The thread threaded nicely. They're all white anyways. The thread is right in, so here is my top hose and it goes right on. I'll put that clamp on. Basically, what you can see is I've got my hose on and I've got the clamp up at a position where you can get to it, and now we'll do the last thing is to take this oil cooler line, which goes actually back, up and around here. Okay, let me thread that in. I've got this clamp on. I'll tighten this up. I'll tighten this one up. I'll put my line on from the radiator bottle just right here. Okay, I'm going to find that clamp that just fell off, and then I'll tighten this up. I'll tighten that up.
I'll make sure my petcock is all on and tight, and then I'll fill it up with some fluid and make sure it's holding water, and then start it up. Okay, so I've got the new radiator in. I've got my upper transmission line tight, lower transmission line tight. That clamp is on, top clamp is on. Oil cooler line is tight and my lower oil cooler line is tight. Now, word on tightening those. You don't have to get them crazy tight. They actually have o-rings, so you don't want to tighten up too much or you'll just ruin the o-ring. Now, but what I'm going to do is I'm going to fill it up with some fluid and obviously, while we're filling it up, we're just listening, making sure that ... we have to try to get it all in there and make sure that no ... any freeze is dripping anywhere, then we'll get this lower radiator shroud back in place and start it up and warm it up and make sure nothing's leaking. Check the oil. Check the transmission fluid, then I'll actually road test it and make sure it gets nice and hot. Then, once it's all set there, then I'll put the shroud back together and the panel release, and also, I'll kind of clean up the garage here because although you try and catch everything, some of that gets away. Okay, so the antifreeze, we're not recommending any kind at all. We have used Prestone quite a while. It will say premix on it and if it does not say premix, you want to basically make a mix of half water and half antifreeze. Obviously, if your coolant says premix, you don't mix it with any water. Okay, so here we go. We've got fluid in. That's about as full as we need to get. The rest of it we can put into the coolant bottle. Our lower radiator shroud is in place, not held in place yet, but it's not interfering with the fan, so we're going to start it up.
Okay, so radiator's in. We've got oil pressure. That's important. I'm going to back it up a little bit so I can clean up the mess I've made in the garage. So we see, everything is spinning. Right now, there's a little drip right there, but I think that's just some residual stuff. We'll check it out, but it looks good. I'll let it run for a while. Okay, so I just took it out on a little test drive and it's up to operating temperature and I'm looking if the pressure's up yet. There are no real leaks. Just a couple of drops there, which I think is just still all over the spill from when I took the radiator out. Looking up and down the tank, I don't really see anything. Maybe this is leaking a little bit, but no. I think that's just some water on there from when I filled it. So looks like its pretty good. Okay, so we got everything back together, routing this harness right through here. Put the pin back in. Put everything back down in. We've got our 7 bolts all tightened up. We did the two bolts underneath, on the bottom of the shroud, and the skid plate with its four bolts. Took it for a test drive. Nothing is leaking underneath anymore, it all looks good. What I suggest is plan a couple of trips around town. Make sure the car winds up, gets to 200 degrees, and park it, check it. Make sure there's nothing dripping and then go from there. Now, be sure to check out 1AAuto.com. That's where you can get this radiator that fit right in. Everything fit perfectly. Bolted right up. No problems.
Brought to you by www.1AAuto.com, your source for quality replacements and the best service on the Internet. Feel free to call us toll-free, 888-844-3393. The company that's here for you on the Internet and in person. Thank you.

RDA82611