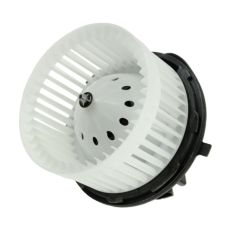
Replaces


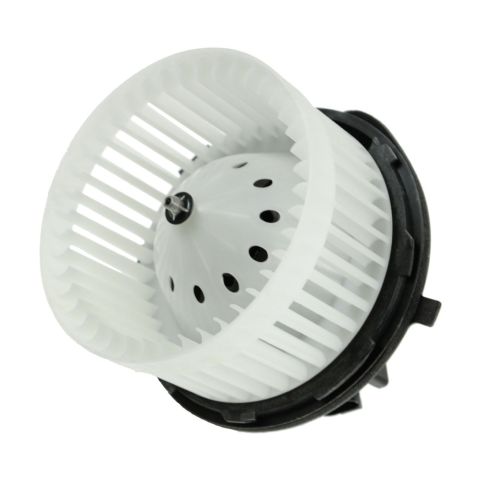
Frequently bought together
Returns: Parts with electrical components cannot be returned once installed.
Left Hand Drive:
All of our auto parts are intended for Left Hand Drive USDM vehicles. If your vehicle is Right Hand Drive, please ensure the part is correct for your specific vehicle.
Attention California Customers:
 WARNING: This product can expose you to chemicals including Di(2-ethylhexyl)phthalate (DEHP), which is known to the State of California to cause cancer, and birth defects or other reproductive harm. For more information, go to www.P65Warnings.ca.gov.
Lifetime Warranty
This item is backed by our limited lifetime warranty. In the event that this item should fail due to manufacturing defects during intended use, we will replace the part free of charge. This warranty covers the cost of the part only.
Returns: Parts with electrical components cannot be returned once installed.
FREE Shipping is standard on Orders shipped to the lower 48 States (Contiguous United States). Standard shipping charges apply to Hawaii, Alaska and US Territories. Shipping is not available to Canada.
Expedited is available on checkout to the United States, excluding Alaska, Hawaii and US Territories as well as P.O. Boxes and APO/FPO/DPO addresses. Final shipping costs are available at checkout.
Created on:
Tools used
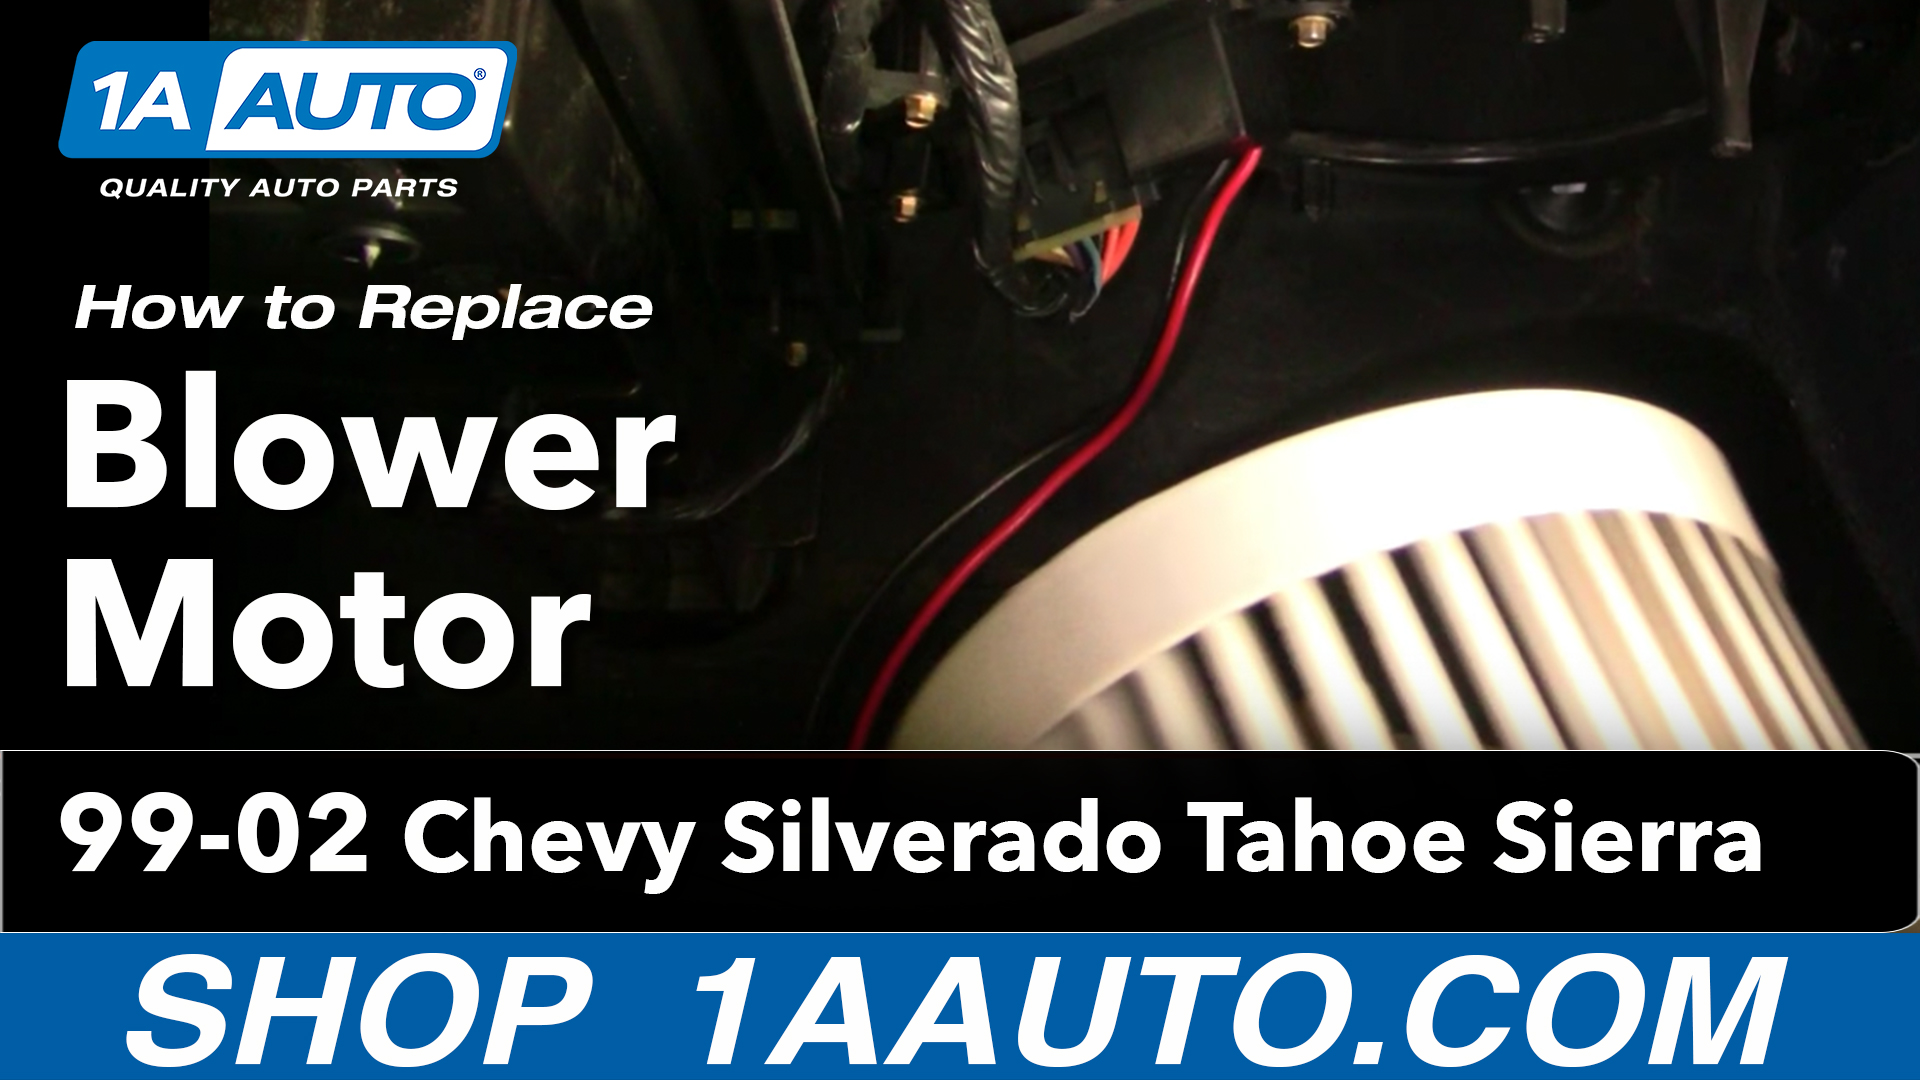
Brought to you by 1A Auto.com-- your source for quality replacement parts and the best service on the internet.
Hi, I'm Mike Green. I'm one of the owners of 1A Auto. I want to help you save time and money repairing and maintaining your vehicle. I'm going to use my 26 plus years experience restoring and repairing cars and trucks like this to show you the correct way to install parts from 1A Auto.com. The right parts installed correctly, that's going to save you time and money. Thank you, and enjoy the video.
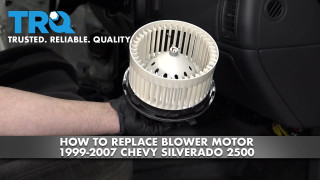
In this video, we're going to show you blower motor replacement on this 02 GMC Sierra. This procedure is exactly the same for any 99-02 Silverado or Sierra as well as 2000-2002 Tahoe, Suburban, Yukon, Yukon XL. It's also similar for the 03 and up trucks; 03 to 10 or 11 trucks that have the twist in style motor. The only tools you need are a 7 millimeter and 7/32 inch sockets with a ratchet and a small extension.
On the passenger side, there are four 7 millimeter bolts to remove: one there, one in there, there's one up in that hole right there. I can't really video it. Then it'll be here closer to the gas pedal. There is one right there. Once you removed those bolts, just reach in and pull it down and out of the way. Up underneath, this was the shield for the fan. There's a bolt here. One, I can't really film directly opposite of it. Feel up in there for it. You got 7/32 bolts. You want to remove them both. You can see I have a little extension on my racket and socket. I really need that.
Okay, just fast-forward here. I'm turning the wrench. Then, eventually, it comes out easy enough so I can put my hand up in there and I try to wrest the way out with my fingers. This is the bolt. This one here. Okay, you can see- you can't see this. Now you could see up in there is your connection, your harness connection. You can usually just stick here; your finger in there, and press the tab and pull that out. It allows your shield to come down.
Looking up in there, at this point, there's actually a tab right here. You need to pull down on that tab. Okay. You reach out there with this hand and this finger. I'm pulling down on the tab, and then I'm twisting the motor. Twist. Comes right down and out.
Apologies for that camera work. I didn't realize until after I shot that I didn't get a very good view of that. Basically, you pull down on that tab that I showed you before and then you twist the motor. It will be counter clockwise to then it'll come down and out.
This truck is a video mule. I'll just put the original back in because it's exactly working fine. You just push it up, work it up in there. A crate gets in the way here. Okay. Push the motor up in. Then spin it. Okay. It looks nice and secure. Now get the wire through your shield, and then connect it. You can do that either way. You can put the shield up in there first. I find this just a little bit easier. Shield. Shield in place. Strap this bolt first. You reach up in here. Feel your other bolt. You do it by feel. Get that and started. I'm going to take them out.
Okay. The final part is to put your cover back in place. You want to push it up in there. You push it; it gets the firewall first. I'm sorry about shaking around a little bit here, just trying to film with one hand and push up in there with the other. Push the front of it up in the end first. Then make sure you have everything lined up. Okay, as you could see here, there's the passenger side out the holes. Make sure those are all lined up. Then start your end bolt here. Then I recommend starting the one over near driver's side. Once you have those lined up, then the other two middle ones go in pretty easily.
We hope this helps you out. Brought to you by www.1AAuto.com-- your source for quality replacement parts and the best service on the internet. Please feel free to call us toll free, 888-844-3393. We're the company that's here for you on the internet and in person.
Tools used
Brought to you by 1AAuto.com, your source for quality replacement parts and the best service on the Internet.
Hi, I'm Don from 1A Auto. I hope this how-to video helps you out, and the next time you need a part for your vehicle, think of 1AAuto.com. Thanks.
In this video, we're going to show you how to replace the blower motor on this 2002 Chevy Suburban. The items you'll need for this includes a new blower motor from 1AAuto.com, a 7mm socket and ratchet, a 7/32 socket, and a flat blade screwdriver.
You want to start off by removing this panel below your glove box, and it's held in by these three, 7mm bolts right there. We'll just fast-forward as Don removes those, and you really only have to remove the two on the outside. The one towards the center of the vehicle, you can just loosen.
Now your resistor's held in with two, 7/32 bolts. Just go ahead and remove those. Now push the tab on this harness and disconnect it, and then up here, on your blower motor, is the other end of your resistor harness. You want to just push the tab on this and disconnect it. Your blower motor is held in by this tab. You just want to use your flat blade screwdriver, pry the tab down, and twist the blower motor counterclockwise, and that will pull down and out.
On the left is the old blower motor; on the right is the new one from 1A Auto. You can see they're very similar, and they'll fit exactly the same. Take your new blower motor and just push it back up into place. You want this tab to slide in right here, and then turn it clockwise, and it will lock into place.
Now reconnect the blower motor resistor. Push the resistor back up into place, and replace those two 7/32 bolts. We'll fast-forward as Don tightens those up. Now, reconnect your resistor harness. Now push this panel back up into place, and then replace those three 7mm bolts. Just tighten them up, and we'll fast-forward as Don does this. Once you've done that, you're all set.
We hope this video helps you out. Brought to you by www.1AAuto.com, your source for quality replacement parts and the best service on the Internet. Please feel free to call us toll-free, 888-844-3393. We're the company that's here for you on the Internet and in person.

HMA84763