Replaces


Frequently bought together
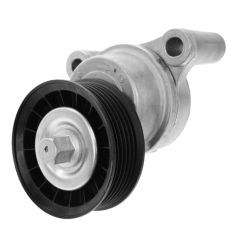
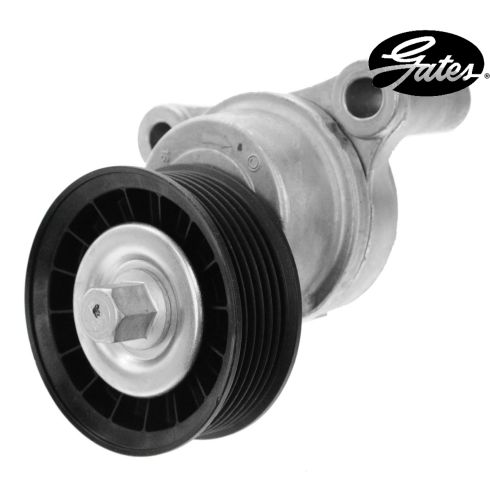
Part Details
Specifications
Attention California Customers:
 WARNING: This product can expose you to chemicals including 1,3-Butadiene, which is known to the State of California to cause cancer, and birth defects or other reproductive harm. For more information, go to www.P65Warnings.ca.gov.
Lifetime Warranty
This item is backed by our limited lifetime warranty. In the event this item should fail due to manufacturing defects during intended use, we will replace the part free of charge. This warranty covers the cost of the part only.
FREE Shipping is standard on orders shipped to the lower 48 States (Contiguous United States). Standard shipping charges apply to Hawaii and Alaska.
Shipping is not available to a P.O. Box, APO/FPO/DPO addresses, US Territories, or Canada for this item.
Expedited is available on checkout to the United States, excluding Alaska, Hawaii.
Final shipping costs are available at checkout.
Created on:
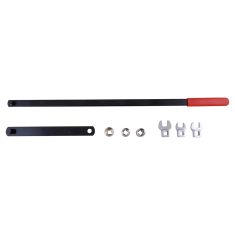
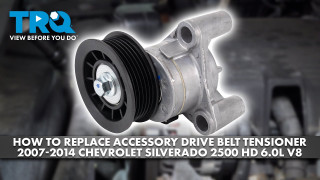
Tools used
Hi, I'm Mike from 1A Auto. We've been selling auto parts for over 30 years. We're dedicated to delivering quality auto parts, expert customer service, fast and free shipping, all backed by our 100% satisfaction guarantee. Visit us at 1AAuto.com, your trusted source for quality auto parts.
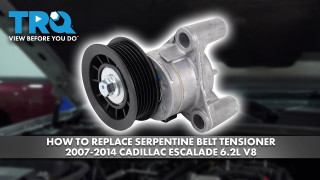
Okay, so you don't have to remove the intake tube here to do your serpentine belt, but it just makes it a lot easier to film. So, we're going to start by loosening this tensioner, which tensions the drive belt. But before removing your belt, there's usually a belt path diagram under the hood somewhere. This truck doesn't have it, but you can also take note of it, and draw your own on a piece of paper. So, we're going to take a 15 mm socket, and a breaker bar, and put it on the tensioner. Going to push it down to loosen it. Can pop the belt off. It's just going to come right off. Then you can slowly let the tensioner go back. That's about as far back as it's going to go. Let's see if I can get it up, over the hose here. Then pull the breaker bar off.
On this truck it's got two bolts, a bolt here and a bolt here. They're 15 millimeter. So we're going to start by loosening this top one, and we're going to move to the bottom one and break this one free. Going to remove it. And got the bottom one out. Worked on the top one. There's your auto tensioner. All right.
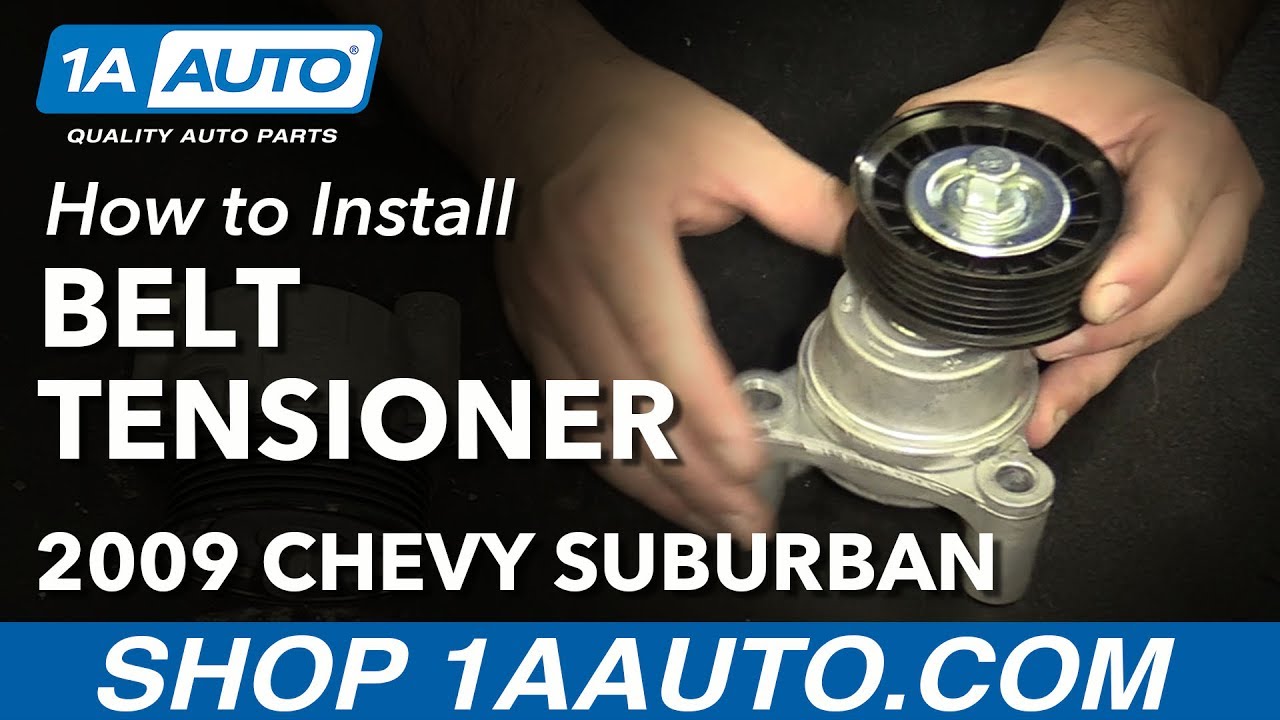
So here we have the old tensioner. See? It's pretty dirty from being in the car. A little corroded on the aluminum. But we can see this is the new pulley, auto tensioner pulley from 1aauto.com is virtually identical. It's spring loaded. It's a very strong spring. I can't move that with my hands. That's why you need that breaker bar to take it off but the poles line up. Pulleys have the same amount of ribs on them. This should go in the car fine.
We're going to go ahead and re-install this new auto tensioner plus serpentine belt. I've got the bolt started in there. Just kind of reach down, let the bolt sort of guide you in, get them started by hand. It is going into aluminum. Don't want to cross-thread them. Getting to the point where you really can't turn them by hand anymore. Then you can grab your ratchet. Use a 15 millimeter socket. We're going to snug these down because once I've got them snugged down, I'm going to go grab the torque wrench and we're going to set them with the proper torque. Now that these bolts are all the way in, we're going to take the torque wrench and torque them down to 37 foot-pounds. That one's all set. And that one's all set.
Okay, now we're going to install our serpentine drive belt. Lay it down, like that. Then run it up, around the idler pulley, over the alternator. Down around the power steering. Goes up and over the water pump. And goes back, down around the crank pulley. Make sure it's sitting in all the pulleys as you go around them. It's sitting in all the pulleys. Can actually pull it tight a little bit. Then take our breaker bar, slide breaker bar around the belt, so I can push it down. Feed the belt over. Make sure it stays in the crank pulley. Can get a little tricky. Kind of walk it over the pulley tensioner. This pulley's new, so it's not as stretched out as the old one, so it's going to be a little bit more difficult to get on. But just before you release it, make sure it's around all the pulleys, and seated in the grooves. Once you're sure it's like that, just gently release the tensioner. You can see it's nice and tensioned up. And it's looped around all the pulleys.
Thanks for watching. Visit us at 1AAuto.com for quality auto parts, fast and free shipping, and the best customer service in the industry.
Tools used
Brought to you by 1AAuto.com, your source for quality replacement parts and the best service on the Internet.
Hi, I'm Mike from 1A Auto. I hope this how-to video helps you out, and next time you need parts for your vehicle, think of 1AAuto.com. Thanks.
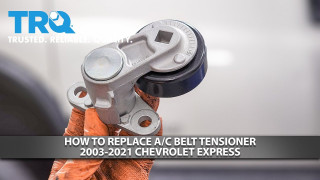
The first thing that you want to do is take your 15 millimeter socket and ratchet and put it on the tensioner. Then, push down on the ratchet and it will loosen up the belt so you can pull off all the pulleys.
Once the belt is off, you want to remove these two 15 millimeter bolts right here. We'll just fast forward as he does this. Those bolts are removed. You can pull the tensioner off and out.
Take your new tensioner and you want to line these two bolts up with the two holes down here. Just go in to get it lined up. You just want to tighten those bolts up by hand at first just to secure it into place. Then using your socket and ratchet, tighten it up the rest of the way. We'll fast forward as he does this.
You didn't have to take the belt off to do this repair but if your belt did happen to fall off the other pulleys, here's a belt diagram just to help you get it on correctly. We'll show you the whole process after this. It's a little hard to video but we'll do our best. He puts a loop down around the power stirring pulley there and then comes up around the water pump and down around the main crank pulley. All the while, he's kind of holding it at the alternator and then he puts it over on the tensioner. Basically he's got the belt routed 100% except for the middle idler pulley. Now, he kind of pulls it down near the idler pulley and he's going to grab the wrench, put it on the tensioner, push the tensioner down and push the belt underneath the idler pulley there. Just check it and make sure it's on all the pulleys correctly.
We hope this video helps you out. Brought to you by www.1AAuto.com, your source for quality replacement parts and the best service on the Internet. Please feel free to call us toll-free, 888-844-3393. We're the company that's here for you on the Internet and in person.

39083