Replaces


Frequently bought together
Part Details
About TRQ:
TRQ is a trusted brand dedicated to making every repair a success story by combining premium parts with easy installation. Each TRQ part is engineered by a team of automotive experts to meet or exceed OEM standards, delivering enhanced performance and maximum longevity. With rigorous in-house testing, the brand ensures superior fit and function across every product line. TRQ also provides customers with best-in-class, step-by-step installation videos—so you can complete repairs with confidence, whether you're a first-time DIYer or an industry professional.
Product Features
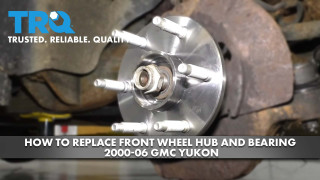
What are Tapered Bearings and Why Use Them? Tapered bearings use rollers shaped like flat-topped cones and two races angled from the outside in of the bearing. This angle makes the bearing better at handling forces exerted on the bearing during cornering (known as axial load) in trucks and large cars. Your model came from the factory with tapered bearings. Roller ball bearings work well for smaller cars, but replacing a tapered bearing with a roller ball bearing increases wear and failure.
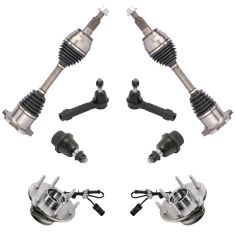
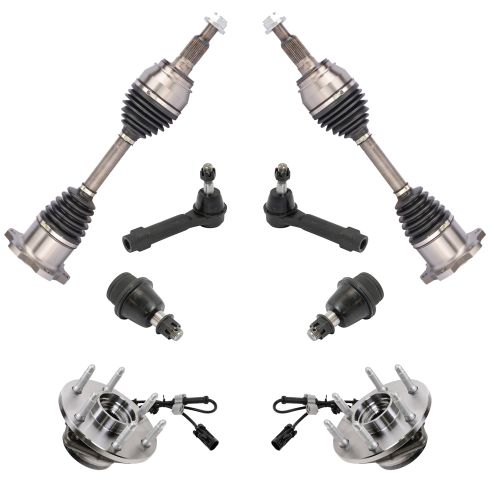
TRQ drivetrain kits are manufactured using premium raw materials to restore original performance. Each TRQ drivetrain component is designed to be a direct, maintenance-free replacement to the stock unit. To extend the service life of your drivetrain, TRQ recommends replacing wheel hubs, bearings, and constant velocity (CV) drive axles at the same time to ensure even wear of components and improved ride comfort. All products are fit and road-tested in our Massachusetts R&D facility to ensure we deliver on our promise of Trusted Reliable Quality.
Install Tip: When replacing steering components, have a professional alignment performed afterwards. This ensures proper tracking and even tire wear.
Our steering and suspension components are pre-greased and sealed for long life and do not require the extra maintenance typically required by greaseable versions.
Attention California Customers:
 WARNING: This product can expose you to chemicals including Lead and Lead Compounds, which are known to the State of California to cause cancer, and birth defects or other reproductive harm. For more information, go to www.P65Warnings.ca.gov.
Lifetime Warranty
This item is backed by our limited lifetime warranty. In the event that this item should fail due to manufacturing defects during intended use, we will replace the part free of charge. This warranty covers the cost of the part only.
FREE Shipping is standard on orders shipped to the lower 48 States (Contiguous United States). Standard shipping charges apply to Hawaii and Alaska.
Shipping is not available to a P.O. Box, APO/FPO/DPO addresses, US Territories, or Canada for this item.
Expedited is available on checkout to the United States, excluding Alaska, Hawaii.
Final shipping costs are available at checkout.
Created on:
Tools used
Brought to you by 1AAuto.com, your source for quality replacement parts and the best service on the Internet.
Hi, I'm Don from 1A Auto. I hope this how-to video helps you out, and the next time you need a part for your vehicle, think of 1AAuto.com. Thanks.
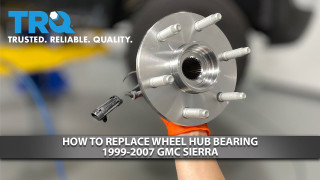
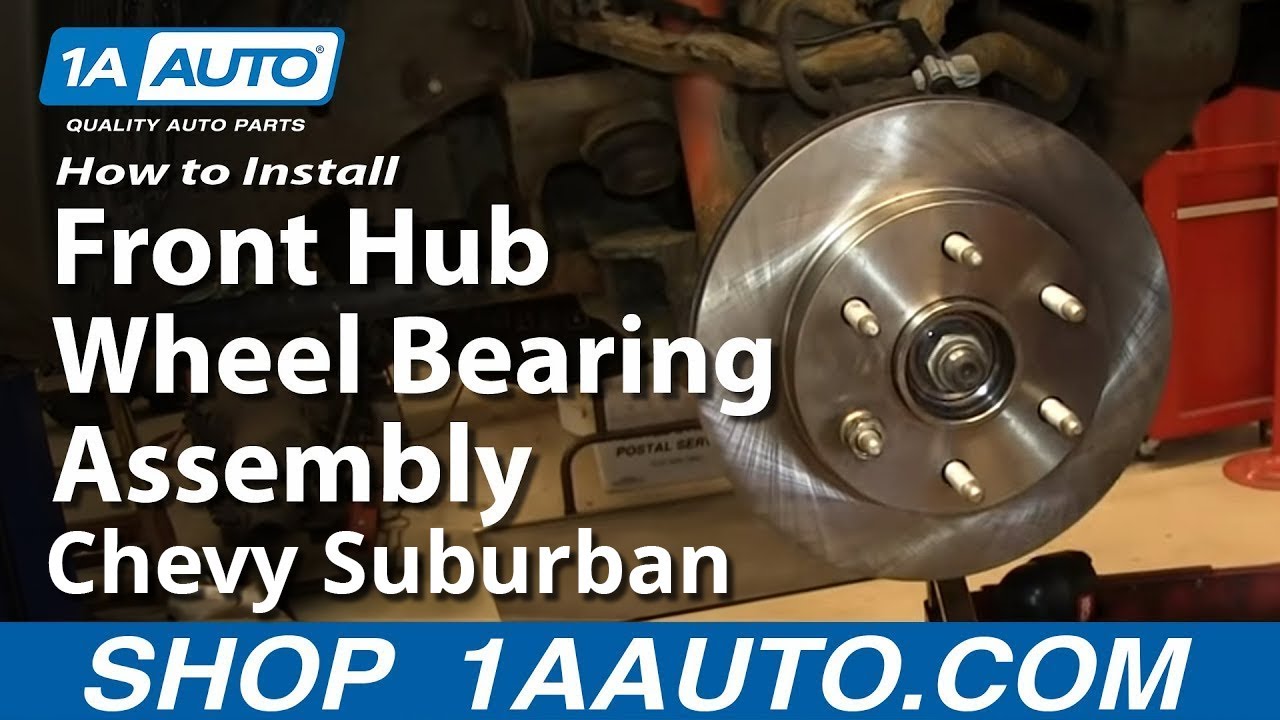
Start off by loosening up these 22mm lug nut covers. We'll fast forward as Don does this. Once those are all loosened up, you can pull the hub cap free. Now, you want to loosen the lug nuts preliminarily, raise the vehicle and remove them the rest of the way, unless you have air powered tools.
You want to remove these two T55 Torx bolts. We'll fast forward as Don does this. Using a large C-clamp, just put it back behind the caliper here, and the other part right here on the brake pad, and just twist this in, and this going to push your caliper piston in and make it easier to pull the caliper off. Then, just remove the C-clamp, and lift your caliper up and off. Set it aside.
Now, using a flat blade screwdriver, just pry out your brake pad, and sometimes the pad is going to be stuck in there, you can use a flat blade screwdriver and hammer to pry it free. Now you want to remove these two 18mm bolts on your caliper bracket, and you can see, we use a piece of pipe for some extra leverage here. We'll just fast forward as he breaks the other one free and removes both of these bolts. Now, slide the rotor off. We'll fast-forward here as we just remove the clips that hold the ABS harness to the frame and steering spindle, and then there's a clip that holds the harness together, so just pull the clip back and disconnect it. Now, using a flat blade screwdriver and a hammer, just pry off your hub cap. You'll need to remove the center hub nut.
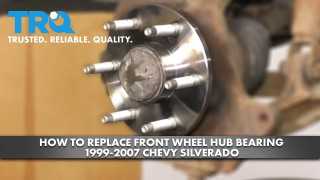
A few ways to do this: you can loosen this before you take your brakes apart, have somebody hold the brakes and do it that way, or you could use a large bar and put it between the lug studs to hold it, and then you could break the bar. If you have the benefit of air tools like we do you need an impact wrench to remove it. Then remove these tree 15mm bolts. You want to just use a 15mm wrench and another wrench for some extra leverage.
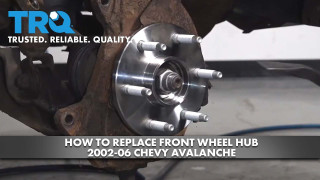
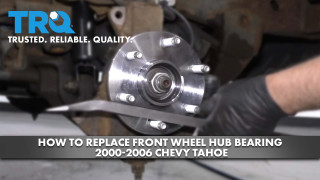
You just pry out, and once you've broken it free, you can just turn it out the rest of the way with the one wrench. We'll fast forward as Don does this to other two bolts and removes all three of them. Twist the hub nut back into place just a quarter of the way, and then hammer from the back of the hub to break it free. Then remove the hub nut and pull your hub out. On the left is the old hub; on the right is the new one from 1A Auto. You can see they're identical, and they'll fit exactly the same.
Put your backing plate on to your new hub, and then push the hub back into place. Then just put those bolts back in. You may need to hammer the first one to get started. We'll just fast-forward as Don replaces the other two and tightens up all three of those. Then you want to torque those three bolts to 75 foot-pounds each. Now, remove this clip if you left your old one in, and then feed your ABS harness back into place, putting the clips back where they belong and into those brackets. Then reconnect your harness and clip it back up into place.
Replace that washer and your hub nut, and just tighten it back up into place. Push your rotor back into place, and then twist on the lug nut, and this will just hold the rotor in place. Turn the wheel and put the caliper bracket back into place, and replace those two 18mm bolts. We'll fast-forward as Don does this and tightens both of those out. Now torque both of these to 75 foot-pounds.
Now replace your brake pads and use a hammer if necessary to lightly tap that into place. Grease up your caliper bolts. Put the caliper back into place, and slide those slide bolts back in. We'll just fast-forward as Don tightens those up. You want to tighten these to about 30 foot-pounds. Replace your wheel, replace those lug nuts, and tighten them preliminarily. Lower the vehicle and tighten them the rest of the way. Torque the lug nuts in a crossing pattern to 100 foot-pounds, and torque this hub nut to 125 foot-pounds. Put the cap back in place and put it back in. Take your hub cap and just tighten up those bolt caps. After doing work on your brakes, you want to pump the brake pedal until it firms out, and then try a stop test from 5 miles per hour and ten miles per hour. Then you're all set.
We hope this video helps you out. Brought to you by www.1AAuto.com, your source for quality replacement parts and the best service on the Internet. Please feel free to call us toll-free, 888-844-3393. We're the company that's here for you on the Internet and in person.
Tools used
Brought to you by 1AAuto.com, your source for quality replacement parts and the best service on the Internet.
Hi, I'm Don from 1A Auto. I hope this how-to video helps you out, and next time you need parts for your vehicle, think of 1AAuto.com. Thanks.
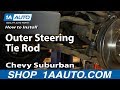
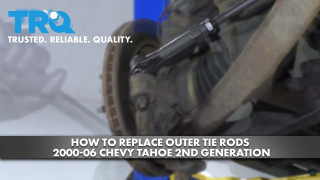
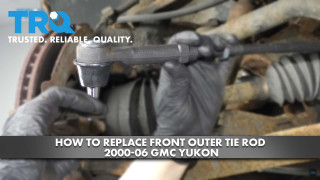
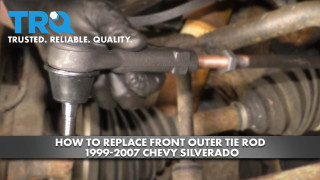
In this video, we're going to show how to replace an outer tie rod on this 2002 Chevy Suburban, and it's the same part and similar process on these Suburbans from 2001 to 2006. We show you on the passenger side, but the driver side is the same procedure. The items you'll need for this are a new outer tie rod from 1AAuto.com; 7mm, 13mm, 18mm and 22mm socket and ratchet; flat-blade screwdriver; adjustable wrench; tape measure; pliers; hammer; and a grease gun.
You want to just loosen up these 22mm caps, and then pull the hubcap free. Then, you want to loosen these lug nuts while the vehicle is on the ground, then raise the vehicle and remove them the rest of the way, unless you have air-powered tools. Then, you can do it while it's in the air.
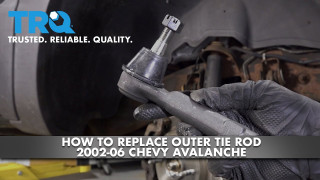
Now you want to measure from the boot on your inner tie rod to the edge of your outer tie rod and just remember that measurement. Now, using your adjustable wrench, loosen up this nut right here, and then you want to remove this 18mm nut down here. Now just hit on your knuckle with a hammer and this is going to break up that outer tie rod and make it easier to pull out. Now just hold this nut with the adjustable wrench, pull the outer tie rod off and just twist it until it comes free. We'll fast forward as Don does this. You want to make sure that the inner tie rod doesn't spin while you're removing the outer tie rod.
Now, put the grease fitting into your new outer tie rod and just tighten that 7mm grease fitting up. Then twist the outer tie rod back onto your inner tie rod and push it down into place. Now, replace the castle nut and just tighten that up. Then push the cotter pin through and, using your pliers, just bend the ends of it. Now, using your grease gun, fill the tie rod with grease. Measure, and you should get about the same distance. That's a good preliminary alignment. You should have your car aligned after this. Tighten up the lock nut to hold it in place.
Now replace your wheel and then replace those lug nuts and tighten them preliminarily. Lower the vehicle and tighten them the rest of the way. Now torque the lug nuts in a crossing pattern to 100 foot-pounds. Replace the hubcap and tighten up those caps.
We hope this video helps you out. Brought to you by www.1AAuto.com, your source for quality replacement parts and the best service on the Internet. Please feel free to call us toll-free, 888-844-3393. We're the company that's here for you on the Internet and in person.
Tools used
Brought to you by 1AAuto.com, your source for quality replacement parts and the best service on the Internet.
Hi, I'm Mike from 1A Auto. I hope this how-to video helps you out, and next time you need parts for your vehicle, think of 1AAuto.com. Thanks.
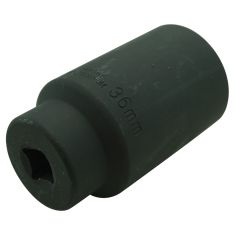
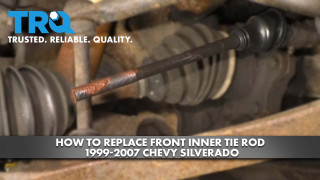
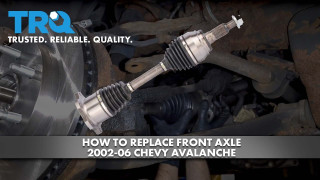
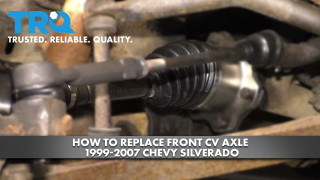
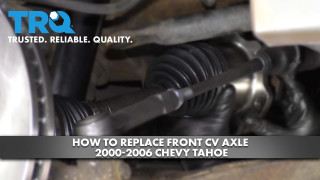
In this video we're going to show you to replace a front axle on this 2002 Chevy Suburban. We show you on the passenger side, but the driver side it's the same procedure. It's the same part and similar process on these Suburbans from 2000 to 2006.The items you need for this include a new front axle from 1AAuto.com, 14mm, 15mm, 22mm, 35mm, and 36mm sockets, a ratchet with an extension, a pry bar, locking pliers, a torque wrench, jack and jack stands, and a reciprocating saw depending on the condition of your vehicle.
Loosen the lug nut caps and remove the hubcap and then pry off this cap as well. Loosen this 35mm nut, but don't remove it. Now, you want to remove the lug nuts. If you don't have air-powered tools, you want to do it while the vehicle is on the ground. Loosen them preliminarily, raise the vehicle, remove the lug nuts the rest of the way, then pull the wheel off. Using locking pliers, clip onto the top of your stabilizer link and then remove this 14mm bolt. We'll fast-forward as Mike does that. If you have air-powered tools, you can remove this 35mm nut the rest of the way, and then remove the washer behind it. If you don't, you can use your socket and ratchet, but you will need someone to apply the brakes while you do this.
You also want to remove the stabilizer link now. Ours is jammed in there, we try with a hammer to knock it out, but we have to end up using a reciprocating saw to remove it the rest of the way, meaning we will need to use a new stabilizer link. Now, you want to remove these bolts around the axle. Use a pry bar on the hub to just hold that into place. Then loosen up and remove each of those 15mm bolts. Now hammer the axle over to the side a little bit to break it free, then pull it straight back and out of the wheel. Pull it down and out.
Up top is the new axle from 1AAuto, on the bottom is the original. You can see they're identical. The new axle does come with a new nut that is 36mm. Now, feed your axle back into place. Line up the back and just replace those 15mm bolts. We'll fast-forward as Mike does this. Using your pry bar to hold the wheel still again, you want to torque each of those bolts to 65 foot-pounds. Now, you want to put your stabilizer link back into place, starting with a washer and a grommet, then through the hole and then another grommet, then a washer, then the tube. Then, before going through the next hole, another washer, and then a grommet. On the top, another grommet and another washer. Put your jack underneath the bolt part of that stabilizer link and raise up the jack and that will push that bolt up in there, compress a couple of the bushings, and then you can put your washer and bolt onto the top side.
Tighten up the stabilizer link, and you basically want to tighten it up until the bushings compress and are the same diameter as the washers. Now, replace this 35mm nut and tighten it up. Put the wheel back into place, and then replace each of your lug nuts, and tighten them up. You want to tighten them preliminarily, lower the vehicle, and then tighten them the rest of the way. Torque each lug nut in a crossing pattern to 100 foot-pounds. Torque the hub nut to 160 foot-pounds, then replace the dust cap as well as the hubcap and tighten up the plastic lugs.
We hope this video helps you out. Brought to you by www.1AAuto.com, your source for quality replacement parts and the best service on the Internet. Please feel free to call us toll-free, 888-844-3393. We're the company that's here for you on the Internet and in person.

PSA58647