Replaces


Recommended for your 2014 Buick Enclave
Frequently bought together
Why Buy KYB Excel-G?
KYB Excel-G shocks and struts will match your vehicle’s Original Equipment (OE). These shocks and struts are perfect for restoring or surpassing your original suspension performance. Some of their perks include:
Lifetime Warranty
This item is backed by our limited lifetime warranty. In the event this item should fail due to manufacturing defects during intended use, we will replace the part free of charge. This warranty covers the cost of the part only.
FREE Shipping is standard on orders shipped to the lower 48 States (Contiguous United States). Standard shipping charges apply to Hawaii and Alaska.
Shipping is not available to a P.O. Box, APO/FPO/DPO addresses, US Territories, or Canada for this item.
Expedited is available on checkout to the United States, excluding Alaska, Hawaii.
Final shipping costs are available at checkout.
Created on:
Tools used
Hi. I'm Mike from 1A Auto. We've been selling auto parts for over 30 years.
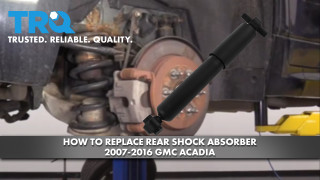
In this video, we're going to be removing and replacing rear shocks in a 2010 GMC Acadia. If you need this part or other parts for your vehicle, click the link in the description and head over to 1AAuto.com.
Take the tire off. We're going to use a 22 mm socket and a breaker bar. You can use a 7/8, also. I'm just going to break all the lug nuts free. Raise and support the vehicle. We're using a two-post lift, but you can also do this with a jack and jack stands. Take the lug nuts off. We use our socket to twist them out. Take the wheel off.
So, here's the shock and, as you can see, all this stuff on here. This is all oil and dirt that's been because the shock is leaking.
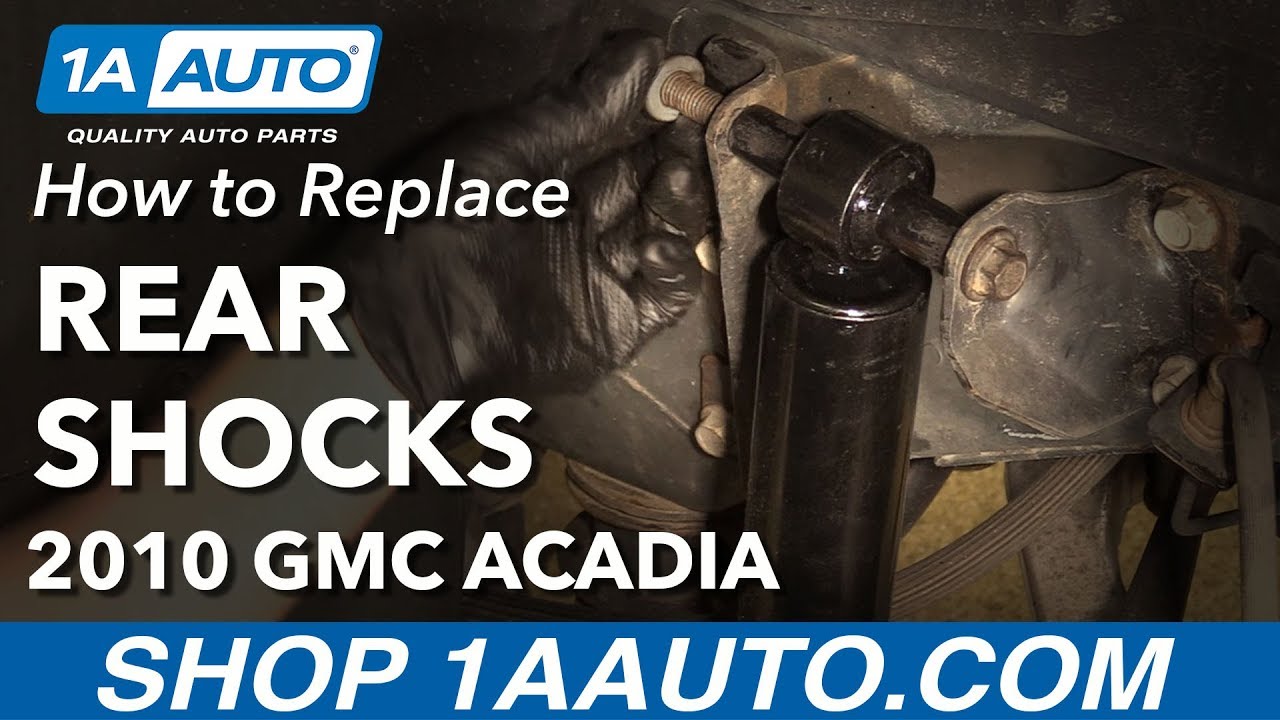
I'm going to take this 21 mm nut off and this bolt. We're going to loosen it up with a 21 mm wrench and a socket and a ratchet. All right. We're going to loosen this nut. We're not going to take it off completely. I'm going to leave it right there.
Now, you can support underneath the control arm. We're going to use a screw jack. You could just use a floor jack if you're working on the ground. I'm just going to bring this up a little bit so that our shock is loose. Now, our shock bolt is loose. You can unscrew the nut, take the nut off and the washer, and then our bolt should come right up. Maybe a little bit more. Just like that.
Now, I can lower this back down. If you're working on the ground, you could leave it the way it is, but we have to lower the vehicle down to gain access to the upper shock bolts. I'm going to use and 18 mm wrench on this 18 mm nut, and then a 15 mm ratchet wrench on the bolt side. If your bolt's really rusty, you can use some penetrating oil. Ours doesn't look too bad. Pull the nut off, pull the bolt straight through, and take a medium pry bar and get in behind here and just pull it straight out. And there it is.
This is our old part. This is our old shock. This is our new shock from 1AAuto.com. As you can see, all the oil leaked out of this one, and that's what keeps the shock's ability to do its job. So, this one is not performing up to optimum level. As you can see, the design is very similar. Slight differences like this upper dust shield is metal, whereas the old one was plastic. It still has the same configuration up top, same down below. There is a washer that can go on this side. If you're doing the other side, you can put it on that side. It comes with this tie on here. You can take that off. You can do it in the car or take it off before you put it on. Get your part at 1AAuto.com, and you'll be ready to rock and roll.
All right. We're going to install our new shock in the back. It's a little tight right here. So, we can either loosen up some of these bolts and get it lined in, or you can take a little hammer and give it a little tap. Pull the brake line out of the way a little bit. Take the nut and stick the nut on.
Then, we're going to support our lower control arm again. If you were doing this on the ground, you could have left this supported before. Bring it up to the level of the shock. And then, take our bolt, and then that special washer is going to go in-between. It's got a angle side to it that's going to go towards the control arm, so stick that in first. Line our bolt up. I'm going to have to go up a little bit more. That's lined up. I'm going to take our washer, set the washer on, and then the nut and tighten that up.
Now, we're going to snug up this bolt with a 21 mm socket and a 21 mm wrench and ratchet. Now, we're going to torque the bolt to 74 foot-pounds. Now, we'll lower our lower control arm. Right.
Now, we're going to tighten this bolt and nut down on the 18 mm nut with a wrench and a ratchet wrench. 15 on the bolt side.
Now, we're going to tighten this bolt and nut down to 52 foot-pounds. Install our wheel. Put the lug nuts on.
Now, we're going to torque the lug nuts down to 140 foot-pounds. You're going to want to torque them in a star pattern so that the wheel will go flush to the rotor evenly.
Thanks for watching. Visit us at 1AAuto.com for quality auto parts, fast and free shipping, and the best customer service in the industry.
Tools used
Hi. I'm Mike from 1AAuto. We've been selling auto parts for over 30 years!
Use a breaker bar and a 22mm socket to loosen the lug nuts with the vehicle on the ground. Just go around and loosen them all. Raise and support the vehicle. We're using a two-post lift. You can use a jack and jack stands. Use a socket and finish removing the lug nuts. Take the wheel and tire off.
The wheel and tire is stuck to the brake rotor. I have to put a lug nut on it. Put a second one on the opposite side here. Just lightly take a dead blow. We'll just break it free. It might take a couple hits. It might take one hit. The lug nuts keep it from falling off. Just put the wheel and tire aside.
If the shock bolt that goes through the top is covered with dirt, I’m going to take some rust penetrant, spray it on here, and with a wire brush, try and knock some of that dirt free so when I go to remove the nut it spins off the threads easily, so it doesn't get clogged up with dirt. I have to clean some of the dirt off the end. For the lower one, I'll do the same. Spray it with some rust penetrant.
I'll start by loosening but not removing the upper one. There isn't quite enough clearance to get an 18mm deep socket in here and a ratchet, so I'm going to use an 18mm box wrench. I'm going to loosen the nut, and I have a 15mm wrench to counterhold the bolts. Just keep going until you have the nut almost all the way off. You can change to the open ended part so it'll go a little quicker. I've got this loose but not all the way out. I'm going to spray some more rust penetrant in here. It is moving freely, but I want to make sure it comes out of this part of the shock.
The shock is mounted to the lower control arm with a large bolt that goes all the way through the control arm and is held on with a flange nut. Both of these are 21mm. I'm going to use a 21mm socket and a breaker bar. I'm going to hold the end of the bolt. I'm going to use a 21mm box wrench to break the nut free. It's a lot easier sometimes to break the nut free than try to turn the whole bolt.
I turn this pretty far out on the threads, and then I will use a floor jack to support the lower control arm and remove the lower bolt. Use our floor jack. I'll just lift up on the control arm just a tiny amount. Unthread this by hand now. Let's lift up on the jack a little bit. There it is. We're going to remove this upper nut from the long bolt. Give it a good push. Pull straight through, which is good, or else grab the shocks, and pull the bolt out. I'm just going to push the brake line just gently out of the way. I pulled the bolt out. I'm also supporting the shock. Just like that. Now, I'm just going to work on walking the shock out of the mount here. The hinge is caught on some dirt.
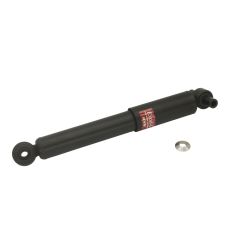
This is the original shock from our vehicle, and a brand new shock from 1AAuto.com. It comes wrapped with this shipping strap so it doesn't fully extend like this one is. I will actually install it with that in there. It also comes with this little conical washer to match the original. That'll go on the inside here. This'll fit great and work great in your vehicle.
I'm going to loosen this bracket here, these two 15mm bolts using a 15mm socket and ratchet. I'm not going to remove them, I'm just going to loosen them. That should give me enough movement. Install our shock. Okay, just slide the long bolt through. Install the nut. Tighten these bolts back up. Just go until they get tight. Now you cut this shipping strapping with some side cutters. The shock will start to expand.
This washer that comes with the new shock, the cone part is going to match the cone part in the control arm. Slide this over. You might have to push up the shock a little bit. Put the bolt through, just like that. The washer will go back around this side, and the large nut. Torque the lower bolt and nut to 74 foot-pounds. Lower the floor jack. I'm going to use a 15mm ratcheting wrench on the bolt end and counterhold the 18mm nut and snug this up. Counterhold the nut with the 18mm, and then torque the bolt's head 52 foot-pounds. It would be ideal if I could torque on the nut, but I can't get it in here with a deep socket.
Reinstall the wheel and tire. Thread the lug nuts on by hand. Now lower the vehicle to the ground and torque the lug nuts. Torque the lug nuts to 140 foot-pounds in a cross pattern.
Thanks for watching. Visit us at 1AAuto.com for quality auto parts, fast and free shipping, and the best customer service in the industry.

349125