Replaces


Recommended for your 2006 Saab 9-7X
Frequently bought together
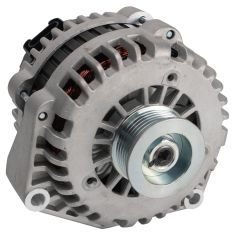
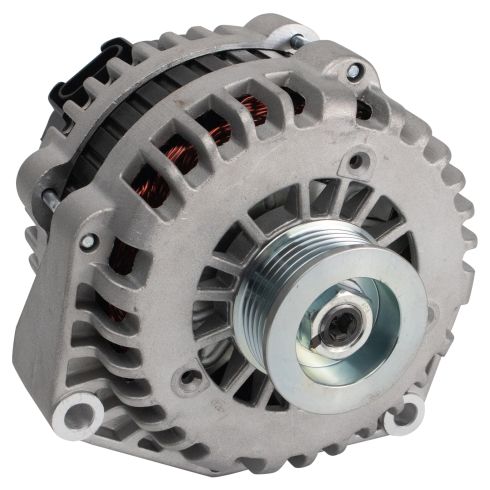
Part Details
Specifications
About TRQ:
TRQ is a trusted brand dedicated to making every repair a success story by combining premium parts with easy installation. Each TRQ part is engineered by a team of automotive experts to meet or exceed OEM standards, delivering enhanced performance and maximum longevity. With rigorous in-house testing, the brand ensures superior fit and function across every product line. TRQ also provides customers with best-in-class, step-by-step installation videos—so you can complete repairs with confidence, whether you're a first-time DIYer or an industry professional.
Product Features
Returns: Parts with electrical components cannot be returned once installed.
Attention California Customers:
 WARNING: This product can expose you to chemicals including Lead and Lead Compounds, which are known to the State of California to cause cancer, and birth defects or other reproductive harm. For more information, go to www.P65Warnings.ca.gov.
Lifetime Warranty
This item is backed by our limited lifetime warranty. In the event that this item should fail due to manufacturing defects during intended use, we will replace the part free of charge. This warranty covers the cost of the part only.
Returns: Parts with electrical components cannot be returned once installed.
FREE Shipping is standard on orders shipped to the lower 48 States (Contiguous United States). Standard shipping charges apply to Hawaii and Alaska.
Shipping is not available to a P.O. Box, APO/FPO/DPO addresses, US Territories, or Canada for this item.
Expedited is available on checkout to the United States, excluding Alaska, Hawaii.
Final shipping costs are available at checkout.
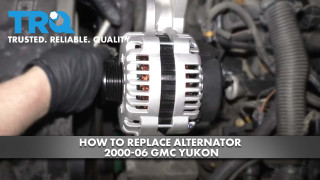
Created on:
Tools used
Brought to you by 1AAuto.com, your source for quality replacement parts and the best service on the Internet.
Hi, I'm Don from 1A Auto. I hope this how-to video helps you out, and next time you need parts for your vehicle, think of 1AAuto.com. Thanks.
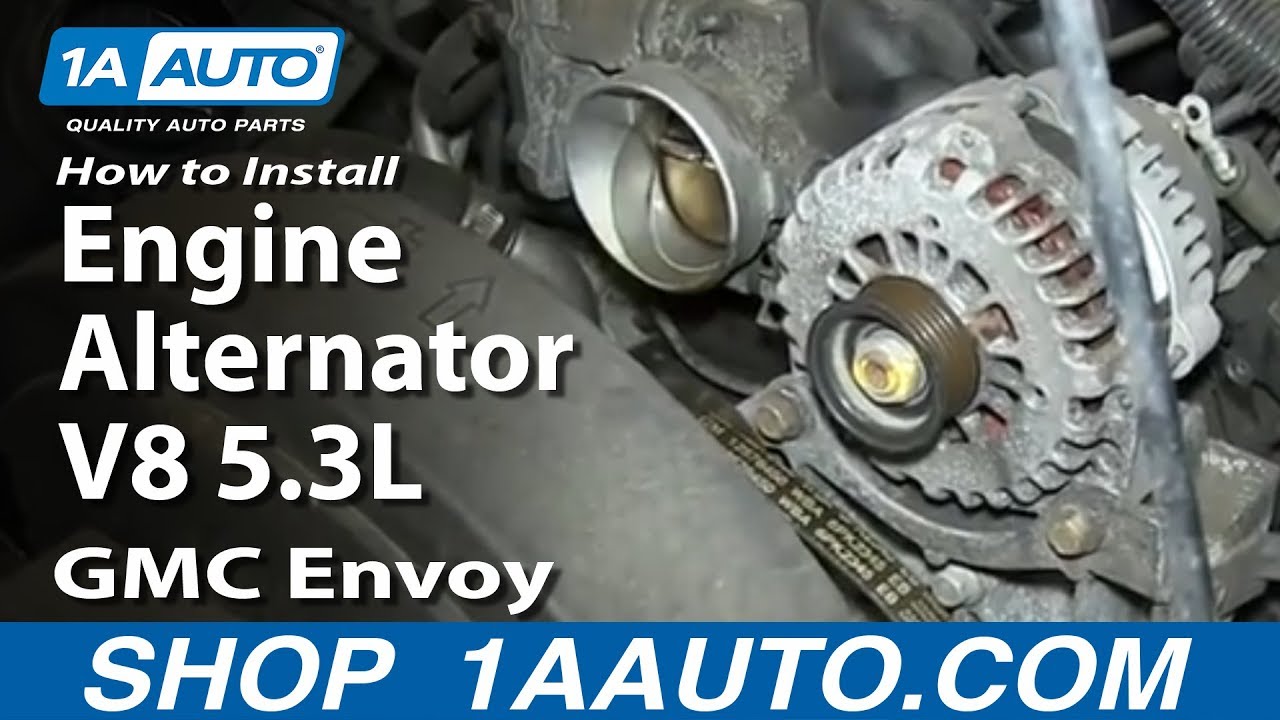
In this video, we're going to show you how to replace the alternator on this 2003 GMC Envoy XL with the 5.3 liter V8 engine. The items you'll need for this are a new alternator from 1AAuto.com; 8mm, 10mm, and 15mm socket and ratchet; T30 Torx bit; flat blade screwdriver; and a hammer.
Use an 8mm wrench to disconnect the negative battery cable.
Start off by loosening this hose clamp and this hose clamp, and then, removing this T30 bolt up here, and we'll just fast forward as Mike does that. Now, pull this hose free and then lift that air intake hose up and out.
Next, you want to locate your serpentine belt diagram, which is located right here on the shroud, and you just want to refer to this as you're trying to put the belt back in place and make sure that you have one of these before messing with the belt. Then, using a 15mm socket and ratchet or a 15mm wrench and another wrench for extra leverage, just push down on the tensioner and then pull the belt up and over that center pulley and carefully relieve the tension on the tensioner. Pull the belt off your alternator and then lift up on the tab on this harness and disconnect it.
Pull back this boot and then remove this 10mm nut. Now, remove these two 15mm bolts, and we'll just fast forward as Mike does that. Now, using a large flat blade screwdriver or pry bar, just pull the alternator up and out, and you'll most likely have to pry both sides out.
Using a hammer, just hammer out the rings here, to make it easier to get new the alternator down in place. Make sure the harnesses are out of the way and lower your new alternator down. Line it up and push the 15mm bolts through. We'll fast forward as Mike tightens those up. You do want to make sure that you get that nice and tight. Reconnect the harness. Put this wire back onto the stud and replace that 10mm nut and tighten it up, and slide that boot back up into place.
Put your belt back up over the alternator pulley, and while you're doing that, make sure the belt is on each of the pulleys correctly and that hasn't fallen off any of them. Then, just double check with your belt diagram that the belts in the right order and on each of the pulleys. Put your wrench or socket and ratchet onto the tensioner and pull back on the tensioner, and just push your belt underneath that center pulley. Then, carefully release the tension and make sure your belt is on all the pulleys correctly.
Now, feed your air intake hose back down into place and make sure to push down all the way, and then push this end back into place and then tighten up those two hose clamps, and I'll tighten up the T30 bolt. Then, reconnect your negative battery cable.
We hope this video helps you out. Brought to you by www.1AAuto.com, your source for quality replacement parts and the best service on the Internet. Please feel free to call us toll-free, 888-844-3393. We're the company that's here for you on the Internet and in person.
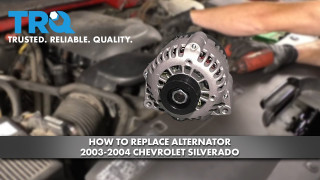
Tools used
Brought to you by 1AAuto.com, your source for quality replacement parts and the best service on the Internet.
Hi, I'm Mike from 1A Auto. I hope this how-to video helps you out, and next time you need parts for your vehicle, think of 1AAuto.com. Thanks.
In this video, we're going to show you how to replace the alternator in this 2005 GMC Savana 2500 with the 6-liter V8 engine. The tools you're going to need for this are a 10mm and a 15mm socket and ratchet, a flat blade screwdriver, and a pry bar.
The first thing that you're going to want to do is remove your negative cable from the battery. Use a 10mm socket and ratchet to loosen up that bolt and pull the cable off the battery.
Now you want to remove these two 10mm bolts that secure the air intake box, and we'll fast-forward as he does this. Now disconnect the harness to the air intake box and set it aside. Then you want to use a flat blade screwdriver to loosen up this clamp. With the clamp loosened up, you should be able to lift and pull out your air intake box. Now, using a flat blade screwdriver, loosen up the clamp on this part of the air intake. Once that's loosened up, you should be able to pull that up and out.
Now you want to remove your radiator overflow bottle. Just remove the 10mm bolt that holds it in place, and then it will lift up and pull out, and you want to just set that aside. Now that you can see the serpentine belt, you want to use a 15mm socket and ratchet and place in on the tensioner pulley. You want to push that down and loosen up the belt. You'll be able to pull it off the alternator.
There are two 15mm bolts on the front of the alternator and you want to remove those. We'll fast-forward as he does that. Now to get the alternator out (it is in there pretty good), you want to use a pry bar. Pry up underneath it and eventually it will break free from there. See, he's got that side; walk around to the other side. Pry up that side. Once it's up and out of there, pull it out, and then on the back you'll see that there is a little rubber cover. What you want to do is you want to pull back that cover, and there's a 10mm bolt under there, as you can see right there. We'll fast-forward as he removes that.
Now you want to lift that wire up and off of your alternator, and then pry up that harness right there. You want to start by putting that wire back on, so pull back the rubber cap there and replace the wire, replace that nut, and we'll fast-forward as he tightens that up.
Next thing you want to do, you want to take the harness and plug it back into place on the alternator. To put your alternator into position, you want to push down one end and then try to swing and hit the other end down in. To help out, you can see he's using a flat blade screwdriver in the hole to try and pry it downwards a little bit. With enough moving around, eventually you will get it into a spot where you can actually get a bolt in there. It does take a little bit of time, but it will go.
Once you get one bolt in there, you can now pry from that side and it will line up the hole on the other side so you can push that bolt in as well. We'll fast-forward as he tightens those bolts up. Here's the belt diagram for the van. I included this just in case, if for some reason the belt slips off one of these pulleys, you know what order it goes in. You know if it goes above it or below it. It kind of helps out. You can use this as a reference point if you need it.
Now, with the belt in place, you want to put that 15mm socket on the tensioner. You want to push down on that, and that will allow you to align the belt on all of the pulleys. Make sure you have it place, and then you want to tighten the tensioner back up. Now take that part of your intake and put it back down. Put it into position and use a flat blade screwdriver to tighten up the clamp.
Now you can reinstall your air intake box. You can see there are two holes there. They line up with the two pegs on the van and you want to feed that down in there. Get it into position, and then, using a flat blade screwdriver you want to tighten up that clamp where it connects. You can see there he actually loosened the part of the intake he put in before this.
He loosened it up so he could angle it and push this part down. Then you want to tighten both those clamps back up if you have to do that. We'll fast-forward here. You want to put in those 10mm bolts that secure the air intake box and reconnect the harness. Then you want to realign your radiator overflow bottle. Put it into position and replace the 10mm bolt in that. Now you can reconnect your negative cable back to your battery.
We hope this video helps you out. Brought to you by www.1AAuto.com, your source for quality replacement parts and the best service on the Internet. Please feel free to call us toll-free, 888-844-3393. We're the company that's here for you on the Internet and in person.

ALA94411