Replaces
This part doesn’t fit a . Select from parts that fit.
Frequently bought together
Item Condition:
New
1 Year Warranty
This item is backed by our 1-year warranty. In the event this item should fail during intended use, we will replace the part free of charge. This warranty covers the cost of the part only.
FREE Shipping is standard on Orders shipped to the lower 48 States (Contiguous United States). Standard shipping charges apply to Hawaii, Alaska and US Territories. Shipping is not available to Canada.
Expedited is available on checkout to the United States, excluding Alaska, Hawaii and US Territories as well as P.O. Boxes and APO/FPO/DPO addresses. Final shipping costs are available at checkout.

Created on:
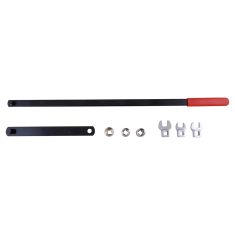
Tools used
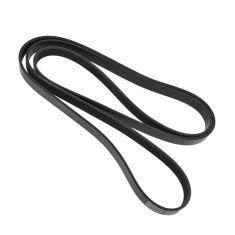
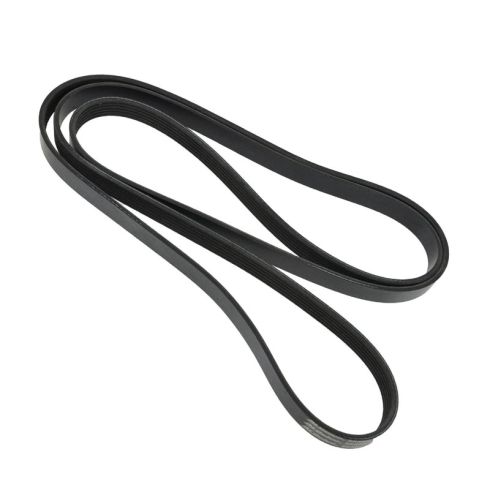
Brought to you by 1AAuto.com, your source for quality replacement parts and the best service on the internet. In this video I'm going to show you how to remove and to reinstall your serpentine belt on this 2002 Toyota Tundra with a 4.7 liter V8, same as most Toyota and Lexus V8s in these vehicles. The tools you'll need are 10 mm and 14 mm wrenches and a Phillips screw driver.
Using a 10 mm wrench, disconnect your negative batter cable. Okay, here's out belt routing diagram, always very useful. If you don't have one of these before you take the care part, make sure you take good pictures or draw yourself a diagram beforehand. Okay, use a Phillip screw driver to loosen the clamp from the intake tube to the air filter box, as well as there is an electrical connection on top of the air filter box that you need to disconnect and then use your screw driver to loosen the clamp for the throttle body side and then pull that tube up and out of the way.
Okay. Little disclaimer here, I used footage from a different project to make up this video. On this vehicle, you can see that the radiator and fan trout are moved, it likes there's a whole ton of room. If you're looking at this view on your vehicle, this is basically kind of from the passenger side of the engine at the front looking down. You can see that silver tube, there'll be a hose coming off of that and then the whole area view will be a little more crowded by your radiator and fan trout. Like I said I used some different footage to make this up, but you should be able to see the basic steps to get your belt off and back on. Okay. Now the 14 mm socket in a ratchet handle or bar. You want to turn your tensioner counter clockwise. Okay, and just a quick note, you can use a 14 mm wrench. In this shop I'm coming at that bolt from the right side with a ratchet and socket. If you come from the left side with a 14 mm wrench, you should have plenty of room and you should have also plenty of leverage. Move the tension to the belt, pull the belt off, the tensioner slowly come back. Take the belt off a couple of things. Okay.
Okay. Now we're just going to route the belt like the diagram tells us which is basically put a loop down or on the crank shift, up and around the water pump, around the AC compressor, across over the idler pulley. Actually, you leave it off the idler pulley at first, over around the power steering pump alternator and up towards the tensioner. Okay. Now sure how well you can see. Belt routed on everything except basically the tensioner and the islet pulley, so I'm going to take the tensioner, put it down, get the belt correcting on the tensioner and then pull the tension away down and pull the belt up onto the islet pulley. Okay, let the tension off. Check, make sure, looks like everything's routed correctly.
Okay. We're kind of speed through putting the air duct back on, make sure it's on the throttle body correctly and make sure it's on the air box correctly, tighten the clamps, check the hose that goes to the valve cover and behind. Make sure that your electrical connection to the air box is all set. And last but not least, reconnect your battery.
We hope this helps you out. Brought to you by www.1AAuto.com your source for quality replacement parts and the best service on the internet. Please feel free to call us toll-free, 888-844-3393. We're the company that serve you on the internet and in person.
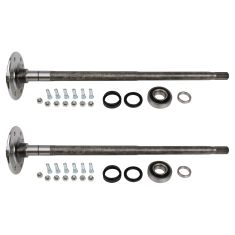
Replaces Toyota T100 Tundra Rear Driver & Passenger Side Axle Shaft & Bearing Kit Dorman OE Solutions DMACS00003
$669.95
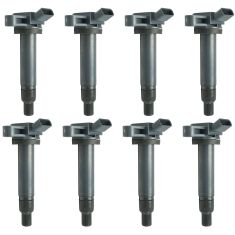
Replaces Toyota Lexus 8 Piece Ignition Coil Set Delphi DEERK00037
$529.95
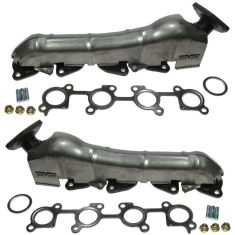
Replaces Toyota Sequoia Tundra 2 Piece Exhaust Manifold & Gasket Kit Dorman OE Solutions 1AEEK00125
$457.95
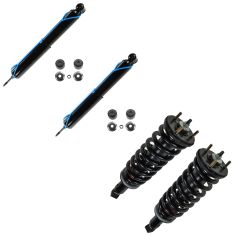
Replaces 2000-06 Toyota Tundra 4 Wheel Drive Front & Rear 4 Piece Shock & Strut Kit Monroe OESpectrum MNSSP00978
$454.95
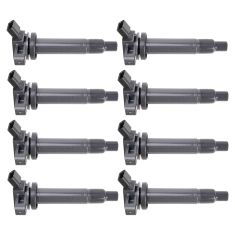
Replaces Toyota Lexus 8 Piece Ignition Coil Set Hitachi Automotive HIERK00033
$434.95
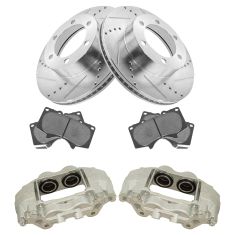
Replaces Toyota Sequoia Tundra Front Ceramic Performance Brake Pad & Rotor Kit with Calipers DIY Solutions BFS02020
$434.95
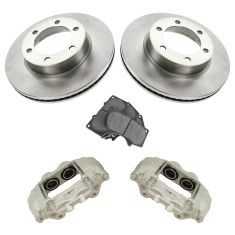
Replaces Toyota Sequoia Tundra Front Ceramic Brake Pad & Rotor Kit with Calipers DIY Solutions BFS01047
$424.95
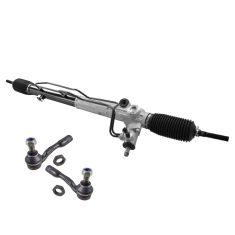
Replaces Toyota Sequoia Tundra Front Driver & Passenger Side 3 Piece Steering Kit TRQ PSA58575
$414.95
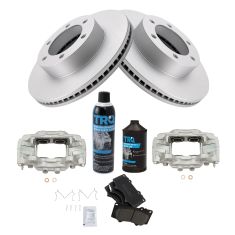
Replaces Toyota Sequoia Tundra Front Ceramic Brake Pad & Rotor Kit with Calipers DIY Solutions BFS05432
$404.95
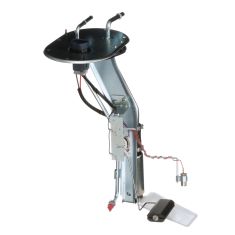
Replaces 2000-02 Toyota Tundra Fuel Pump Hanger Assembly Delphi HP10253
$403.95