Replaces


Frequently bought together
About TRQ:
TRQ is a trusted brand dedicated to making every repair a success story by combining premium parts with easy installation. Each TRQ part is engineered by a team of automotive experts to meet or exceed OEM standards, delivering enhanced performance and maximum longevity. With rigorous in-house testing, the brand ensures superior fit and function across every product line. TRQ also provides customers with best-in-class, step-by-step installation videos—so you can complete repairs with confidence, whether you're a first-time DIYer or an industry professional.
Attention California Customers:
 WARNING: Cancer and Reproductive Harm - www.P65Warnings.ca.gov.
Lifetime Warranty
This item is backed by our limited lifetime warranty. In the event that this item should fail due to manufacturing defects during intended use, we will replace the part free of charge. This warranty covers the cost of the part only.
FREE Shipping is standard on Orders shipped to the lower 48 States (Contiguous United States). Standard shipping charges apply to Hawaii, Alaska and US Territories. Shipping is not available to Canada.
Expedited is available on checkout to the United States, excluding Alaska, Hawaii and US Territories as well as P.O. Boxes and APO/FPO/DPO addresses. Final shipping costs are available at checkout.
Created on:
Tools used
Brought to you by 1AAuto.com, your source for quality replacement parts and the best service on the Internet.
Hi, I'm Don from 1A Auto. I hope this how-to video helps you out, and next time you need parts for your vehicle, think of 1AAuto.com. Thanks.
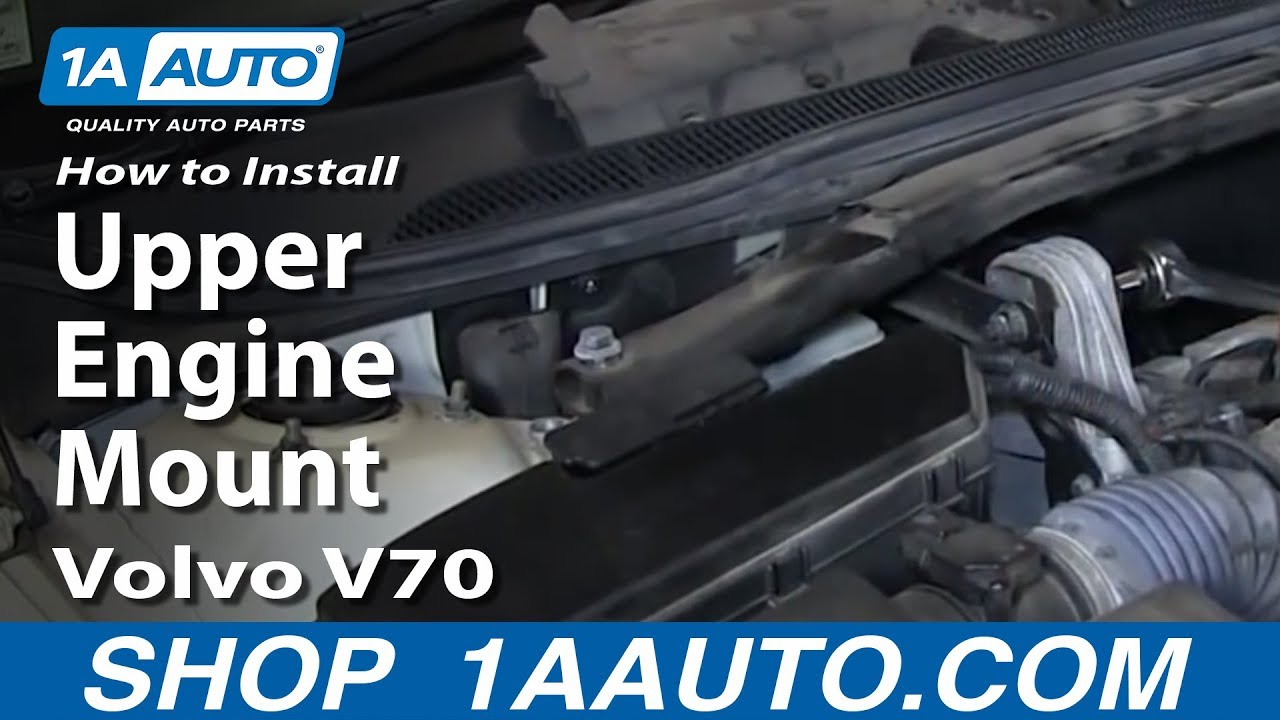
In this video, we're going to show you how to replace the upper engine mount on a 2002 Volvo V70 non-turbo. It's pretty much the same operation for '01 through '07 non-turbo V70s, as well as the S60 and the S80. In order to do this repair, you'll need a 14 and 15mm socket, socket wrench and extension, a Torx 30 socket, an 18mm wrench, a zip tie and, of course, the new engine mount from 1A Auto.
On the top of the engine you're going to see a plastic cover. It's in two pieces. It covers the ignition coils and the timing belt. There are eight Torx 30 screws that go into it. Use your Torx 30 bit and a driver and remove those. Then, go ahead and pull that cover up and out of the way.
On the upper engine support bracket, on the driver's side end, you're going to find two 14mm bolts. Use your socket and socket wrench and remove those. If your vehicle has the zip tie that ties the return hose to the power steering reservoir to the upper strut mount, go ahead and cut that off and then, just as you did on the driver's side, remove the two 14mm bolts that hold the upper engine bracket into place. I'll go ahead and fast-forward through that.
The actual bolt that goes through the engine mount is a 15mm bolt and the nut is an 18mm nut. Use a combination of wrenches or socket wrenches, whatever you have, to loosen that and then take that bolt and nut out. After that bolt is out, go ahead and lift that upper engine support bracket out. Use a 14mm socket and your socket wrench and loosen up on the four 14mm bolts that go into the cylinder head. Go ahead and unscrew them entirely, but leave them in, because they are different lengths and you're going to want to swap them over to the new mount one by one. I'll fast-forward as I do that. Take the engine mount out with the bolts still in it and put it aside.
You'll see the part that we just pulled out and the new part from 1A Auto is exactly the same. Swap the bolts over one by one, going into the new part as they came out of the old one. Then go ahead and put the new mount with the bolts in it into the cylinder head, where it is located, and then, start tightening them down. Go around and tighten them equally, being careful not to over-tighten them, as you are putting steel bolts into an aluminum cylinder head.
Reinstall the upper engine bracket. Reinstall the 14mm bolts on the passenger side and tighten those down. I'll fast-forward as I do that. Now do the same for the driver side's two 14mm bolts, and I will fast-forward as I tighten those up. Reinstall the bolt that goes through the engine mount and the upper engine bracket and tighten that down. Put a new zip tie through the upper engine bracket and around that return hose on your power steering. Keep it away from the belts. Reinstall the plastic upper engine cover/coil cover there, and reinstall the eight Torx 30 screws that hold that in place.
We hope this video helps you out. Brought to you by www.1AAuto.com, your source for quality replacement parts and the best service on the Internet. Please feel free to call us toll-free, 888-844-3393. We're the company that's here for you on the Internet and in person.
Tools used
Hey friends, it's Lynn here at 1AAuto. Today we're working on our 2004 Volvo XC 90 all wheel drive version and I'm going to be replacing the forward lower torque shift mount. It's going to be very simple. I can do it, you can do it too. And as always if you need any parts you can always check us out at 1AAuto.com. Thanks.
All right. So one of the first things we're going to do is get this bolt out of here. To do that, I'm going to use a 15 on this side. I'm going to use an 18 millimeter wrench on this side which is the netted side. You can use your hand ratchet or air gun, whatever you've got access to. Just try to get it in there. I'm going to grab a short extension real quick. That came through from the passenger's side to the driver's side. Set that up there. This can move around. Clear to move on to the next step.
So I'm going to use my 18 millimeter wrench. I'm going to go right on this nut under here. Here's my 17 millimeter up top here. Point up to down or straight up and down. Do the same to this side. See if we can get this in under here. We'll get this out of the way. All right. So, there's a stud that comes up and then there's a nut on the top there. You can remove that right there. It's pretty easy to get to. We'll just grab an extension and a swivel socket and we'll be able to get to it easy peasy. Okay. So, I've got my 15 millimeter swivel down there, a nice long extension and I have my air gun. You can use a ratchet. Anytime I'm using an air gun you can also use a ratchet. That's the nut that goes on top of that. Now we can move ahead to the next step.
All right. So we're going to take these out, 10 millimeter. We'll get this out of the way so we can get our mount down in there. Both those look the same. Set them aside, grab this. This just slides into the air filter box like that. You just go up and pull it out. Set this aside. We're going to take our mount, just bring it right down in. We've got plenty of room at this point. I'm just going to set it down in here so that way there when I'm underneath there and I finally get the other mount out, the original, I'll be able to just swap them. And then, once we bring the vehicle back down I'll grab the old one out.
All right. So, we're just going to apply a little bit of pressure on the oil pan here. I'm going to come right along the edge. And we're not going to try to lift it up too much because of course the mounts still attached and everything. But we're just going to apply a gentle amount of pressure just like that so it's holding it. Awesome. Now we can move ahead to the next step. So I'm going to take out these two bolts right here and that's going to make it so this thing can come loose. Both those are the same, you can set these aside. At this point this can move around. So now we're going to take these out, use my 18 millimeter. There's one, there's two, and here's our mount.
So here we are friends, a quick product comparison for you. Over here we have our original torque shift mount out of our 2004 Volvo XC 90 all wheel drive version and over here we have our brand new quality 1AAuto part. Both these parts are created equal, they're the same length which is very important. You have the same mounting areas. Also, super important. Everything to say about it's really very visible. Everything's brand new. You've got brand new rubber bushings in there obviously, new bolts. It comes with everything you need to go ahead and install it. With that said I don't see any reason why I wouldn't want to install this into the vehicle so I'm going to go ahead and do it. As always, if you need this or any other part you can always check us out at 1AAuto.com. Thanks.
All right. So, we're going to take our mount. We're going to bring these studs through these holes. Here we are. Bring this one up over here. We're going to get these bolts. We'll get those started as well and then we'll go ahead and button this down. We've got our two bolts. You don't need to use thread locker on these by the way. Some people might say you should and I guess that would be your prerogative. I'm not going to get mad at you. I'm just letting you know you do not need to. You do you booboo.
All right. Now that we've got all these started we can go ahead and start snugging things up. Safety glasses. I want to try to line this up with the way that it was originally. Okay, that one's tight, tight, tight. Let's move along. I'm just going to go ahead and snug these up. Tight. So we've got our nut and that's going to go right on the stud on the mount up there. Get that started on there. Grab our extension with our swivel socket just like that. Now I'm going to grab my gun and we'll snug it up. Just lock it on there. That's tight. Let's move along.
Okay, so we've got our intake tube here, we've got our squared end. That's going to go inside the air filter housing box down in the bottom down there. Squeeze the lid underneath these wires and such. Feel around. The hole for this is pretty close to the front of the box. It's on the side but it's very close to the front like right about here. We'll be able to line up these holes now. Screws, tighten those up. Tight.
All right. So it's time to get this bar back in here. It's going to come right up and over like this. Line up the hole here, get this one so it's sitting up where it's going to go. Everybody looks happy. Pick whichever bolt you want to start with. These go down and through just like that. Get your nut for the bottom there. It's definitely started. Put the band down here. There we are. All right, everybody started in. Let's go ahead and snug them down.
We're going to use our 18 millimeter wrench down on that bottom nut. 17 on top. Same for this one. Now we're going to do this one. All right. There we are. Easy peasy. All right, so we're going to torque this down. We're going to get our 18 on the bottom there, our 17 on the top right here. We're going to tighten this down to 85 Newton meters. There we are. One more time. Okay. Come over here, same thing, 85. We're going to go 85. There we are. Get my wrench off of here real quick. Tighten this down to 85 as well. There we are. So torqued, torqued, torqued.
Thanks for watching. Visit 1AAuto.com your place for DIY auto repairs for great parts, great service, and more content.

MTA34470