Replaces


Recommended for your 2004 Volvo S80
Part Details
Specifications
About TRQ:
TRQ is a trusted brand dedicated to making every repair a success story by combining premium parts with easy installation. Each TRQ part is engineered by a team of automotive experts to meet or exceed OEM standards, delivering enhanced performance and maximum longevity. With rigorous in-house testing, the brand ensures superior fit and function across every product line. TRQ also provides customers with best-in-class, step-by-step installation videos—so you can complete repairs with confidence, whether you're a first-time DIYer or an industry professional.
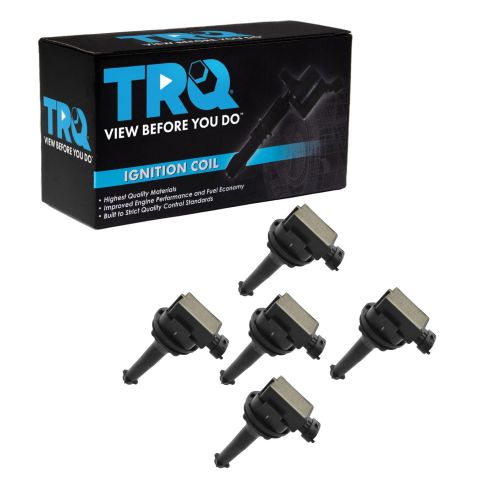
Product Features
TRQ ignition coils will have your engine running like new. TRQ ignition coils are manufactured to precise specifications using premium raw materials to optimize each vehicle's ignition system. To ensure peak performance, TRQ recommends replacing ignition coils in sets to prevent electrical output imbalances. All products are fit and road-tested in our Massachusetts R&D facility to ensure we deliver on our promise of Trusted Reliable Quality.
Returns: Parts with electrical components cannot be returned once installed.
Attention California Customers:
 WARNING: This product can expose you to chemicals including Lead and Lead Compounds, which are known to the State of California to cause cancer, and birth defects or other reproductive harm. For more information, go to www.P65Warnings.ca.gov.
Lifetime Warranty
This item is backed by our limited lifetime warranty. In the event that this item should fail due to manufacturing defects during intended use, we will replace the part free of charge. This warranty covers the cost of the part only.
Returns: Parts with electrical components cannot be returned once installed.
FREE Shipping is standard on orders shipped to the lower 48 States (Contiguous United States). Standard shipping charges apply to Hawaii and Alaska.
Shipping is not available to a P.O. Box, APO/FPO/DPO addresses, US Territories, or Canada for this item.
Expedited is available on checkout to the United States, excluding Alaska, Hawaii.
Final shipping costs are available at checkout.
Created on:
Tools used
Brought to you by 1AAuto.com, your source for quality replacement parts and the best service on the Internet.
Hi, I'm Mike from 1A Auto. I hope this how-to video helps you out, and next time you need parts for your vehicle, think of 1AAuto.com. Thanks.
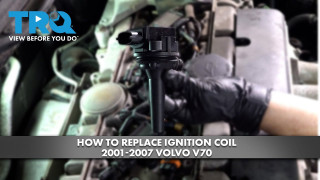
In this video, we show you how to replace an engine ignition coil. Obviously, if you replace one, we do recommend replacing them in groups of five or six depending on if you have the T5 or the T6.The tools you'll need are a T25 and T30 Torx driver sockets, a 10 millimeter socket, and a ratchet with a 2 inch extension, although the 2 inch extension is not 100% necessary. You can get by without it.
Pop your hood. Pull a lever right down in here. Then there's a little tab you can reach under right here. Pull that up. Pull your hood up. Looking at the engine, your coils are underneath this cover here. You will need a T25 Torx bit, and also a T30 Torx bit with a 2 inch extension and a ratchet. I do have an air ratchet here. It makes things go a little faster. First we're going to start with the T25 Torx bit. We're going to remove two screws: one here and one here. Those hold this tube in place. Now we've mounted our T30 Torx bit with our extension, and we're going to remove the eight screws that hold this, and this cover on. I'm going to speed it up here as I remove those eight T30 Torx screws. Obviously, I'm using air ratchet, which makes it faster. Since I'm speeding it up about four times, it makes it look really fast, but obviously a ratchet will work just fine. Now you can see there's a little cut out clasp right here. Pull it out and lift this up. Just kind of separate that out, take your oil cap off, and then just pull this cover right off. I'm just going to put the little cap back on just to keep any debris from getting in there.
Your coils are all right here, and some of them you may need to disconnect or unplug. Each one is held in by one bolt. Let's do this first one here with a 10 millimeter socket. Remove that bolt. The coil comes up and out at that point. If you're having to change the plugs, just the next step is a plug socket, and right down in there is the plug. To change out your coil, like I said, there is a little tab here. I'm just going to lift up on it with my fingernail and disconnect.
Here's a new coil from 1A Auto. We recommend replacing these every 100,000 to 120,000 miles. It's going to bolt, or clip, right in. Make sure it goes down on the spark plug. Push it right down in. You want to make sure you start this in and it grabs, so you don't cross-thread it in the aluminum. Once it gets tight, you want to make them firm but not too tight, probably about seven to eight foot-pounds. Replace the other ones.
Take your cap back off. Lift up on the tube. Slide that under. Slide that through there, get it down in place. Put this into place. Latch it right in there, and it's got another latch on this side. Latch that down. So we don't bore you here, as we put it back together, we'll kick it into high gear. Just thread those eight T30 Torx bolts in by hand, and then tighten them up with your wrench. Once you've got those in, when you tighten them, they don't have to be extremely tight. You just want them nice and firm so they hold that plastic cover down. Then reposition your intake tube and put the two T25 screws back in that hold that in place.
We hope this video helps you out. Brought to you by www.1AAuto.com, your source for quality replacement parts and the best service on the Internet. Please feel free to call us toll-free, 888-844-3393. We're the company that's here for you on the Internet and in person.
Tools used
Hi, I'm Mike from 1A Auto. We've been selling auto parts for over 30 years.
Hi, everyone. Sue here at 1A Auto, and today we're going to show you how to install ignition coils on an '03 Volvo V70 with a 2.4 liter. If you need this part or any other part for your car, click on the link below and head on over to 1aauto.com.
Going to start by removing the engine cover. And that's a T30 on all these Torx bolts. And I've taken the liberty of removing all of them already, because that's just going to be tedious. So I'm just going to go around and take the rest of them out. And now this cover will come right up.
Take the oil fuel cap off. I'm going to replace that right away. Now, to take this cover off, there's two clips on the timing cover area. We'll pull back on those clips and push up. Now we have exposed all coils and cylinders in spark plug area.
So we're going to start with, as you can see, this is one, two, three, four, five cylinder, and all of them look identical. So I'll take one coil out and show you how to do one, and it stands for the rest. Each coil is held down with a bolt that has a 10 millimeter socket head on it. So I'm going to break that free. Take that right out. Now you can lift the coil up. Sometimes you might have to wiggle it back and forth. That's it. That's the ignition coil, and this is the tab. We're going to push down on this tab. See how it releases right there? You might have to take a small screwdriver. And we pull it out, and there's your coil.
So here we have the new coil from 1A Auto, and this is the factory coil for our '03 Volvo V70. Exact same design, same connector with the safety lines, same mounting, same seal for the actual rubber seal. These, the new ones, come pre-silicone. So if you need this part or any other part for your car, click on the link below and head on over to 1aauto.com.
We just place it over the cylinder. Find the spark plug head, and push it down on. These came pre-silicone. The ends have silicone on them. And I'm going to line up my connector before I bolt it down. That way I know it's straight on and it clicks. I'm going to take the mounting bolt. Start it by hand. I'm just going to tighten, snug that down. Perfect. Now you just follow the same procedure to do the other four cylinders.
Just line up the two tabs. You'll hear them snap down in. And then take that oil fuel cap off. See how it guides into those teeth? Slide it down. Now we have the eight bolts to put back. Just put them all in by hand. Take my T30 Torx bit, and I'm just going to tighten all the cover bolts down. Tighten down the last one. I'm just bottoming them out and just giving it a nice little tight.
Thanks for watching. Visit us at 1aauto.com for quality auto parts, fast and free shipping, and the best customer service in the industry.
Tools used
Brought to you by 1AAuto.com, your source for quality replacement parts and the best service on the Internet.
Hi, I'm Don from 1A Auto. I hope this how-to video helps you out, and next time you need parts for your vehicle, think of 1AAuto.com. Thanks.
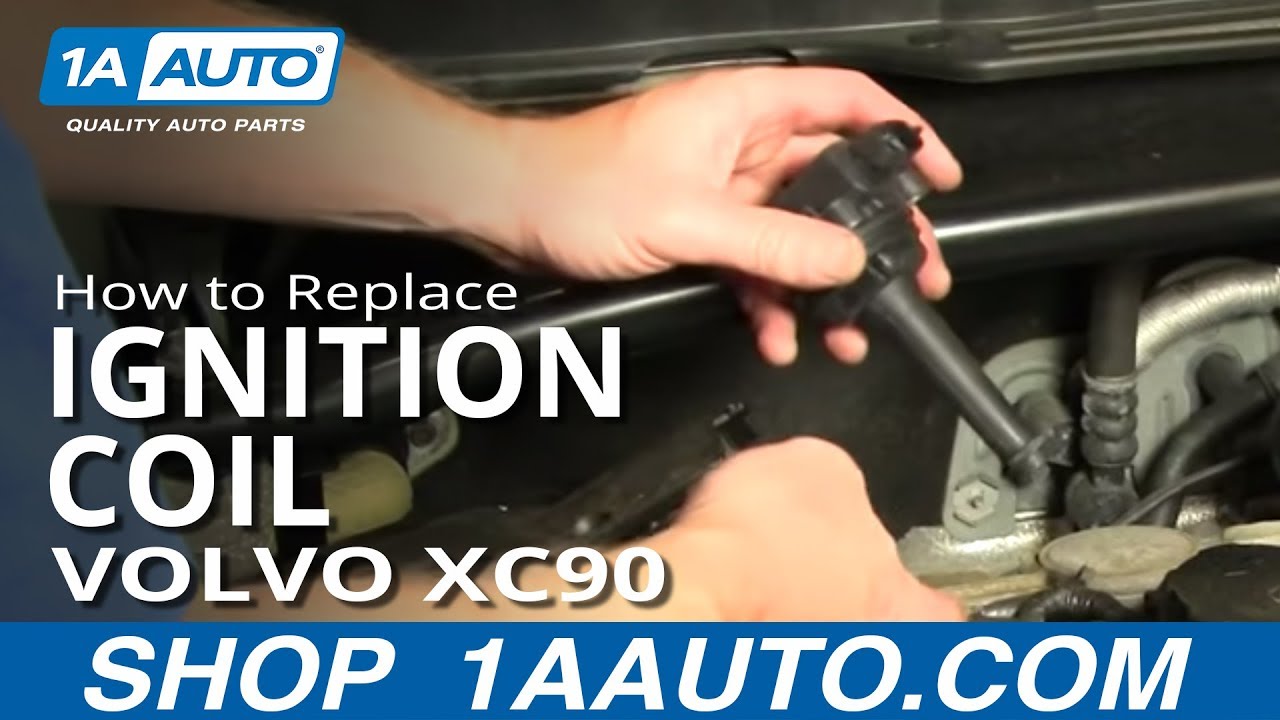
In this video, we're going to show you how to replace an ignition coil on a 2002 Volvo V70 non-turbo. It's fundamentally the same operation for model years 2001-2007 non-turbo. As well as the non-turbo S60 and S80 models. You'll need a Torx 30 socket, a 10mm socket, a socket wrench, and a new ignition coil from 1AAuto.
On the top of the engine, you're going to see a plastic cover. It's in two pieces. It covers the ignition coils and the timing belt. There are eight Torx 30 screws that go into it. Use your Torx 30 bit and driver and remove those. After removing the first two, the left, or passenger side of the cover comes up and off. Then go ahead and pull that cover up and out of the way.
The five ignition coils, with #1 starting on the passenger's side, and the #5 on the driver's side of the engine, are each held in by one 10mm screw. For the sake of this video we're just going to show you the replacement of cylinder #1's ignition coil. You find the one that you need to replace, the go ahead and remove the connector. Then, with your 10mm socket and socket wrench, remove the screw. Then, pull out on the ignition coil.
We've got the old part on the top, and the new part on the bottom. You can see they're identical. We'll go ahead and put it in, pressing down on top of the spark plug, seating it. I'm installing our 10mm screw, and then clipping our harness back in. I'll fast forward through that.
Reinstall the plastic upper engine cover / coil cover there. Then reinstall the eight Torx 30 screws that hold that in place. I'll go ahead and fast forward as I tighten those back up.
We hope this video helps you out. Brought to you by www.1AAuto.com, your source for quality replacement parts and the best service on the Internet. Please feel free to call us toll-free, 888-844-3393. We're the company that's here for you on the Internet and in person.

ICA61532