Replaces


Returns: Parts with electrical components cannot be returned once installed.
Left Hand Drive:
All of our auto parts are intended for Left Hand Drive USDM vehicles. If your vehicle is Right Hand Drive, please ensure the part is correct for your specific vehicle.
Attention California Customers:
 WARNING: This product can expose you to chemicals including Di(2-ethylhexyl)phthalate (DEHP), which is known to the State of California to cause cancer, and birth defects or other reproductive harm. For more information, go to www.P65Warnings.ca.gov.
Lifetime Warranty
This item is backed by our limited lifetime warranty. In the event that this item should fail due to manufacturing defects during intended use, we will replace the part free of charge. This warranty covers the cost of the part only.
Returns: Parts with electrical components cannot be returned once installed.
FREE Shipping is standard on Orders shipped to the lower 48 States (Contiguous United States). Standard shipping charges apply to Hawaii, Alaska and US Territories. Shipping is not available to Canada.
Expedited is available on checkout to the United States, excluding Alaska, Hawaii and US Territories as well as P.O. Boxes and APO/FPO/DPO addresses. Final shipping costs are available at checkout.
Created on:
Tools used
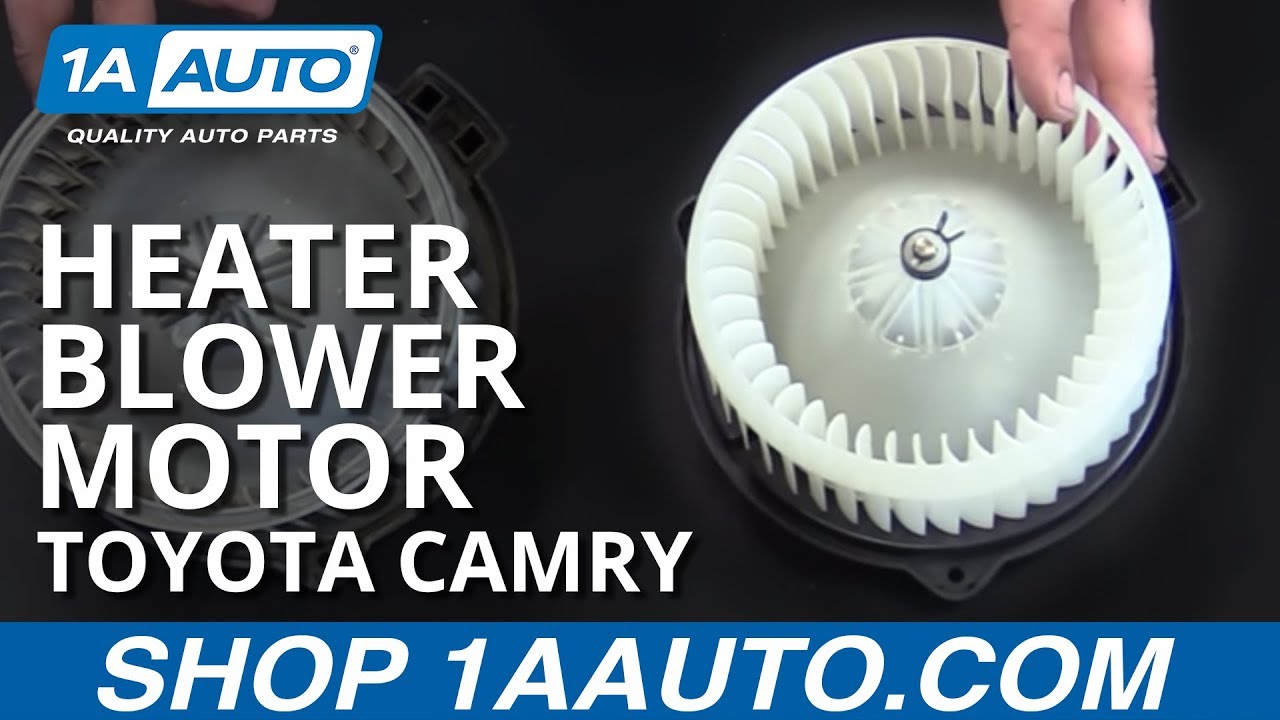
Hi. I'm Tony with 1A Auto here to talk to you today about the blower motor and fan assembly from this ‘98 Toyota Camry behind me. You can see we have our old part that we removed from the vehicle and our new replacement piece from 1AAuto.com.
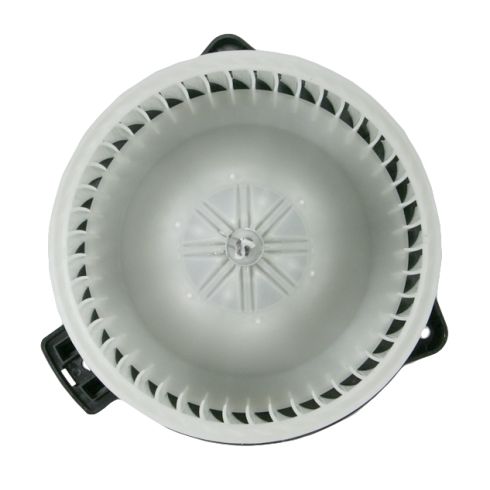
As you can see, we have the exact same mounting locations on the bottom. The fans are a little bit different, but they're going to work the exact same way. We have the same two pin connector on the bottom. If you’re A/C or heat isn't blowing like it used to or you hear a rattling noise whenever you turn your fans on, this new part from 1A Auto is going to fix you up right.
Tools used
Brought to you by 1AAuto.com, your source for quality replacement parts and the best service on the Internet.
Hi, I'm Mike from 1A Auto. I hope this how-to video helps you out, and next time you need parts for your vehicle, think of 1AAuto.com. Thanks.
In this video, we're going to show you how to replace the A/C and heater, lower motor. This is a 1998 Toyota Camry, which is the same for 1997 to 200. You'll need a new blower motor from 1AAuto.com and a flat blade or a T25 Torx driver.
Remove the lower plastic cover onto the passenger side of the dashboard by pulling straight down and toward you. Remove the electrical connector at the bottom of the blower motor. Remove the three screws, holding the blower motor into the HVAC housing. This can be done with a Torx bit, a 10 millimeter socket or a flat blade screwdriver which we'll use. Remove the blower motor from the bottom of the HVAC housing.
Here we have our old part that we removed from the vehicle and our new part from 1A Auto. As you can see, there are some slight aesthetic differences in the actual fan, but it's still going to function properly.
We have the same mounting locations, the same 2-pin connector, and the same outer diameter to fit into our HVAC box so if your heat and A/C isn't blowing like it used to, or you hear a noise when you run your fans. This new part from 1A Auto is going to fix you up right.
Reinstall the blower motor into the HVAC box. Reinstall your three screws and either a Torx bit, a 10 millimeter, or a flat blade screwdriver.
To show you that this hardwood can be installed with three different tools, we're going to use a T25 Torx screwdriver to reinstall the hardware. Reinstall the electrical connector.
Install the rear pin into the hole by the firewall and snap the front clips into place.
Thanks for tuning in. We hope this video helped you out. Next time you need parts for your car, please visit 1AAuto.com. Also check out our other helpful how-to and diagnosis videos.

HMA84816
