Replaces
1 Year Warranty
This item is backed by our 1-year warranty. In the event this item should fail during intended use, we will replace the part free of charge. This warranty covers the cost of the part only.
This item ships directly from supplier.
FREE Shipping is standard on Orders shipped to the lower 48 States (Contiguous United States).
Shipping is not available to Canada. This item cannot be Shipped to AK Alaska, HI Hawaii, US Territories, P.O. Boxes, APO/FPO/DPO addresses or Expedited due to size limitations.

Created on:
Tools used
Brought to you by 1AAuto.com, your source for quality replacement parts and the best service on the Internet.
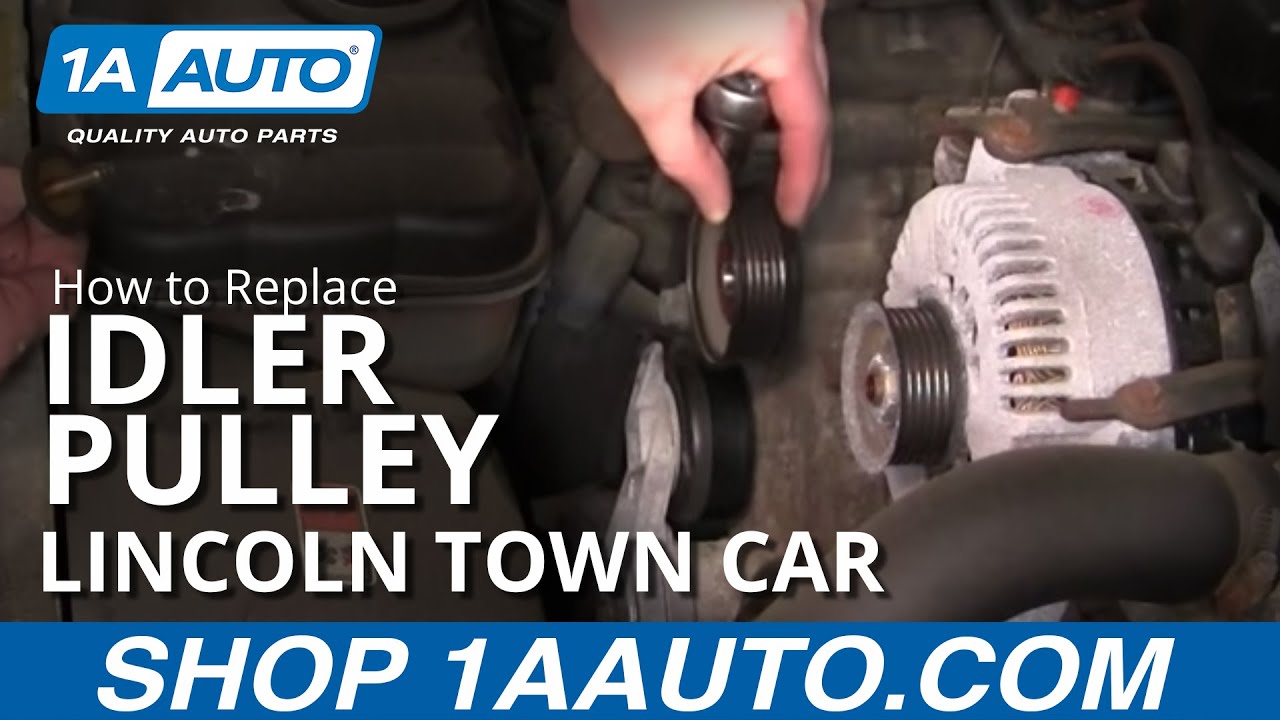
In this video, we're going to show you how to replace the idler pulley on this 2000 Lincoln Town Car with a 4.6 liter V8. Tools you'll need are an 8mm wrench, a 3/8 inch ratchet, and a 13mm socket.
With an 8mm wrench, disconnect your negative battery cable.
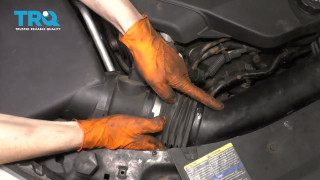
Before you remove your belt, you want to make note of how it's routed. There should be . on most vehicles, there's a belt routing diagram, but I don't see one on this Town Car. You can see that it goes down around your crank pulley way down there, around the power steering pulley like that, then up to the alternator, around the idler pulley, down to the A/C pulley, then back up to the tensioner, and then around the water pump and down. Removing the belt's quite simple. Right here is your tensioner. It has a 3/8 inch hole in it right here. We can put a ratchet handle and then you want to move it clockwise. You can see the belt loosens up. You can take the belt off the alternator, and slowly let your handle back. Pull it out. You don't have to remove the belt all the way, but I do just to kind of get it out of the way for filming at least.
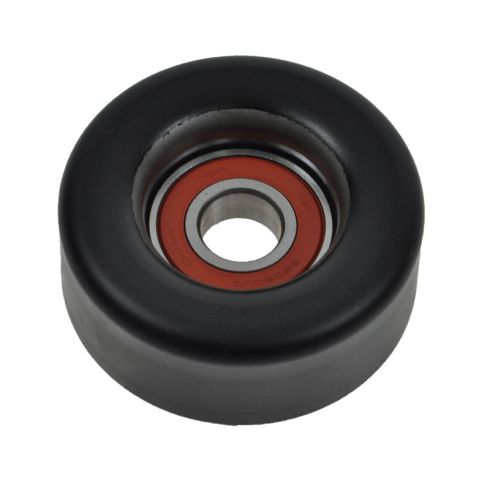
Your idler pulley is right here. Mine's actually in good shape, there's no play in it or anything but it's easy enough to replace. Use a 13mm socket and ratchet. Remove the idler and reinstall it.
Make sure you have your washer and everything on your bolt. Put it back on. Tighten it.
I'm not going to be able to really film this that well, but I'll try and explain what I'm doing. I'm going to take a loop like this, and then I'll put down and around the air conditioning compressor and put down here on the passenger's side of the motor, and move it on there. Then I'll bring that right around my tensioner, and then, from there, bring this side up around my idler pulley. This then goes down around my water pump here, and then around the crank pulley, the largest center pulley. I'm going to leave this off of my alternator and then put it and around my power steering pulley. I've pretty much got everything in place. I've got the belt on all my pulleys except for my alternator. So, I can put my wrench on my tensioner, pull my tensioner all the way over. Belt comes up and around my alternator. I'll pull my tensioner off. Re-check the belt in all the locations. It looks good. Reconnect and tighten up your negative battery cable, and you should be good to go.
We hope this video helps you out. Brought to you by www.1AAuto.com, your source for quality replacement parts and the best service on the Internet. Please feel free to call us toll-free, 888-844-3393. We're the company that's here for you on the Internet and in person.

ACEIX00001