Replaces


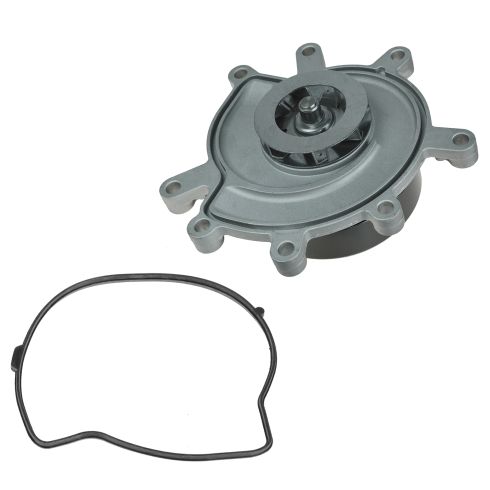
Part Details
Specifications
Attention California Customers:
 WARNING: This product can expose you to chemicals including Lead and Lead Compounds, which are known to the State of California to cause cancer, and birth defects or other reproductive harm. For more information, go to www.P65Warnings.ca.gov.
Lifetime Warranty
This item is backed by our limited lifetime warranty. In the event that this item should fail due to manufacturing defects during intended use, we will replace the part free of charge. This warranty covers the cost of the part only.
FREE Shipping is standard on orders shipped to the lower 48 States (Contiguous United States). Standard shipping charges apply to Hawaii and Alaska.
Shipping is not available to a P.O. Box, APO/FPO/DPO addresses, US Territories, or Canada for this item.
Expedited is available on checkout to the United States, excluding Alaska, Hawaii.
Final shipping costs are available at checkout.
Created on:
Tools used
Brought to you by 1AAuto.com, your source for quality replacement parts and the best service on the Internet.
Hi, I'm Don from 1A Auto. I hope this how-to video helps you out, and the next time you need a part for your vehicle, think of 1AAuto.com. Thanks.
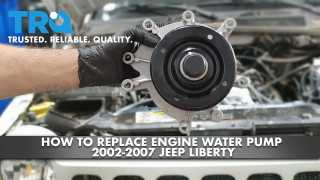
In this video, we're going to show you how to replace a water pump on this 2006 Jeep Liberty with the 3.7-liter V6 engine. The items you'll need include a new water pump from 1AAuto.com, a 13mm and 15mm socket and ratchet, a 16mm wrench, a drip pan, emery cloth or steel wool, a funnel with a screen, an 8mm Allen bit, and a torque wrench.
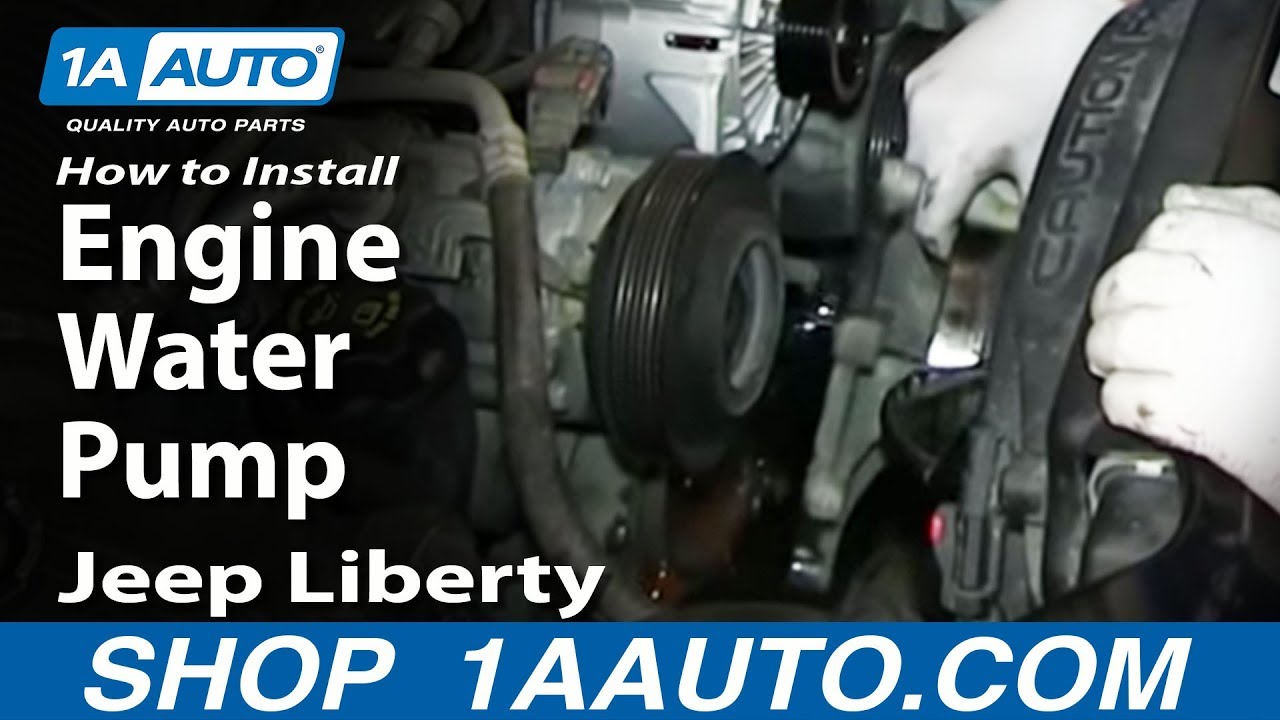
Your belt is located right at the front of the engine and the tensioner is right here. You want to put a 15mm socket and ratchet on that tensioner and pull back on it. That will loosen up the slack on the belt and allow you to pull the belt off of each of those pulleys. On your tensioner, you want to remove this 13mm bolt right here, and you can see Don uses a piece of pipe for some added leverage here to help break it free. We'll fast-forward as he removes that bolt. Once the bolt comes out, the tensioner will pull right off.
Remove the cap to your coolant reservoir. Your drain plug is located right here under the bumper. Using a 16mm wrench, loosen that up and make sure you have a drip pan underneath to collect the coolant. Lining the water pump, there are eight 13mm bolts. We'll fast-forward as Don removes these. You want to make sure your drip pan is underneath the water pump. Then pull the water pump out.
Now, using an emery cloth or steel wool, clean up the surface of the block where the auto pump mounts. After you do this, use a Shop Vac and make sure you vacuum out this area really well. Get any contaminants out of there. Take your new water pump and put the gasket into place. Now lower the water pump down into place and replace those eight 13mm bolts. Again, we'll fast-forward as Don does this. Then you want to torque each of those bolts to 40 foot-pounds.
You want to line up this indent with this bolt right here. Then once you have the tensioner in place, replace that 13mm bolt. We'll just fast-forward as Don tightens that up. Now, when you go to put your belt back on, you're going to need this belt routing diagram that shows you exactly how the belt should look. You want to follow this and make sure that your belt once you get it back on all the pulleys looks just like this, so just use this as a reference. It's hard to show it, but you can see Don is going to feed the belt down into place and put it onto each of those pulleys.
Once you only have one pulley left to put the belt onto, get your ratchet and put that 15mm socket and ratchet on the tensioner, pull it back, and put the belt down on the last pulley. Then use the tensioner still to make sure that your belt is on each of the pulleys all the way, and that there's no chance of them slipping off and that everything's in place. Once you know everything's in place, carefully remove the socket and ratchet. Use your 16mm wrench to tighten up the coolant drain plug.
Refill your coolant reservoir with the appropriate fresh coolant. This should take a little bit of time as the coolant will run down into the engine as well. Replace your cap. Now you want to run your engine so the coolant goes down through the engine. Then, using your 8mm Allen bit, you want to loosen up this feeder valve.
Now your coolant's most likely been sucked down into the engine. You can fill up your reservoir bottle again and replace the cap. It's a matter of loosening that feeder making sure that your reservoir is full. You'll see water might be coming out, you'll see air bubbles there. That's what we're looking for to get all those air bubbles out, keep pulling this just to make sure it's at the right level and bleed it until all the air is out.
We hope this video helps you out. Brought to you by www.1AAuto.com, your source for quality replacement parts and the best service on the Internet. Please feel free to call us toll-free, 888-844-3393. We're the company that's here for you on the Internet and in person.

WPA07353
