Replaces


Frequently bought together
Part Details
About Trail Ridge:
Trail Ridge Truck Accessories are developed and built with a promise to provide high quality, durable parts for your truck; backed by the best warranty in the automotive industry. Manufactured from the highest quality materials and constructed to meet or exceed OEM standards. Every Trail Ridge part is rigorously tested ensuring superior fit, function, and durability. Quality, trusted value, and hassle-free installation backed by our 100% satisfaction guarantee.
Exact fit - To obtain proper fit and function confirm your vehicle has the exact mirror options listed.
Attention California Customers:
 WARNING: This product can expose you to chemicals including Chromium (Hexavalent Compounds), which is known to the State of California to cause cancer, and birth defects or other reproductive harm. For more information, go to www.P65Warnings.ca.gov
Lifetime Warranty
This item is backed by our limited lifetime warranty. In the event that this item should fail due to manufacturing defects during intended use, we will replace the part free of charge. This warranty covers the cost of the part only.
FREE Shipping is standard on Orders shipped to the lower 48 States (Contiguous United States). Standard shipping charges apply to Hawaii, Alaska and US Territories. Shipping is not available to Canada.
Expedited is available on checkout to the United States, excluding Alaska, Hawaii and US Territories as well as P.O. Boxes and APO/FPO/DPO addresses. Final shipping costs are available at checkout.
Created on:
Tools used
Brought to you by 1AAuto.com, your source for quality replacement parts and the best service on the Internet.
Hi, I'm Mike from 1A Auto. I hope this how-to video helps you out, and next time you need parts for your vehicle, think of 1AAuto.com. Thanks.
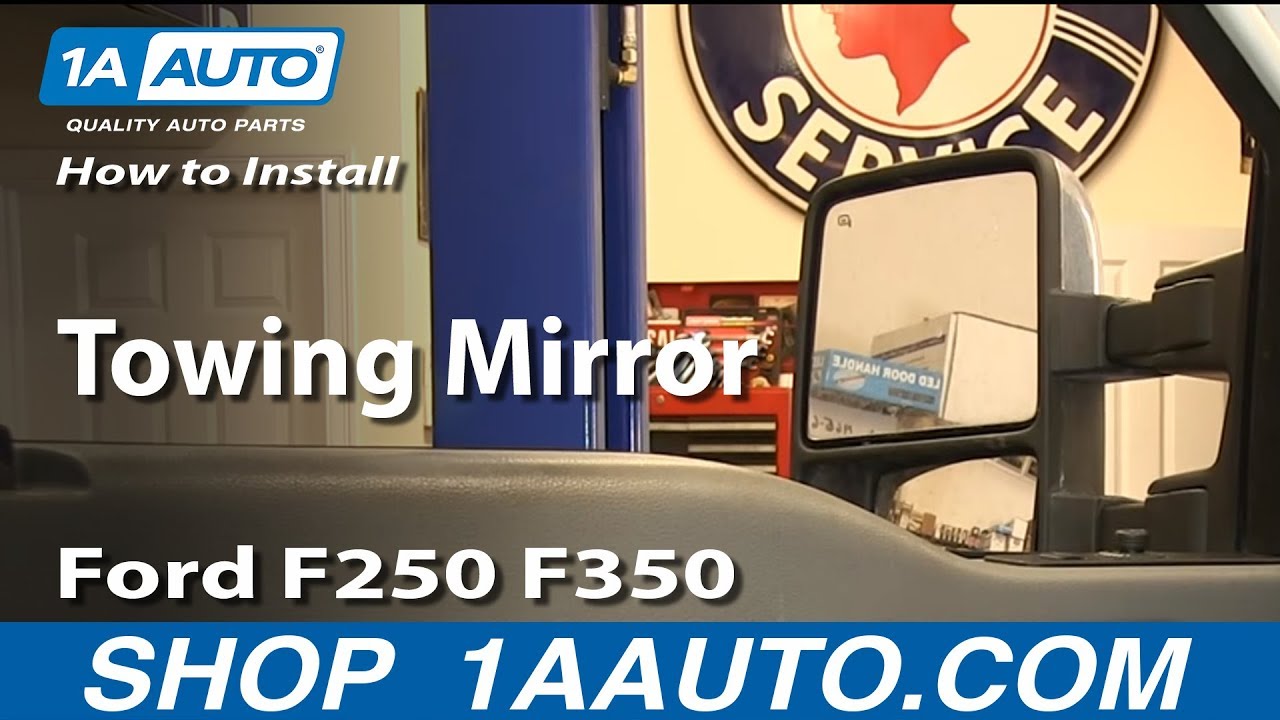
In this video, we're going to show you how to replace the mirrors on a 2011 Ford F250. This vehicle has the XLT trim, so if your vehicle has different trim, it may be a slightly different procedure. You'll need new mirrors from 1AAuto.com, a 7mm socket, 10mm deep socket, and a ratchet and extension.
To start, use a screwdriver and pry this little panel off. There are two 7mm bolts there, and there's another two down at the bottom. Two panels are clipped down. First, the one where your door lock switch is and your window switch, that just pulls straight up. I'm going to pull the front straight up and the back straight up, and then there are harnesses for each. Little tabs that you press with your thumb or finger, and pull the harnesses out. Then on top, you may need a plastic tool or a screwdriver to carefully pry straight up on the mirror switch panel. I try and do as much I can with just my fingers so I don't end up scratching the plastic on the door panel at all. Then pull straight up, and straight up on the sides, and then straight up on the end. Again, there are two harnesses that plug in, and use your fingers, push the tab, and disconnect. Pull straight out on this panel. Now pull the door panel up and off. Pull back the top corner of your water shield, and then there's the connector. Pull this orange safety connector out, and then push the button, disconnect, and then push that back into the door.
Pull up on the shield here and expose that hole down here. Expose that hole and then pull off these two rubber grommets. Inside you'll see the four 10mm nuts that hold the mirror on. Fast-forward here as I remove basically three of the four nuts, and most of the fourth one. Then as that last one comes out, hold onto the mirror. The mirror will break free, and then bring it out and then you have to lift the harness up and out.
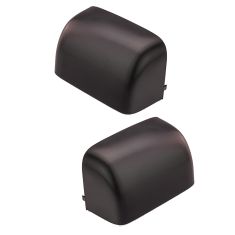
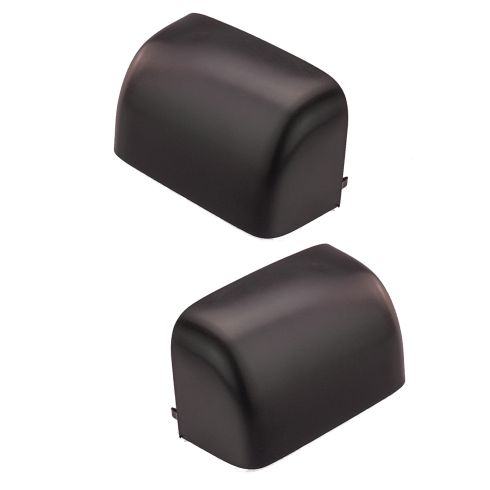
You can see here our old mirror's on top, and our new mirror from 1A Auto is on the bottom. They look exactly the same from this angle, and from the back they are the same. There's my face in the lower one. We went with the smoke signal on our new ones. We actually sell both the smoke signal and the regular orange signal. They are interchangeable.
You are going to want to remove your speaker. Four 7mm bolts or screws hold it in. We'll remove those; fast-forward a little bit. Then, once you get it loose, you press the tab on the connector and pull it free. Install the new mirrors. It's a good thing to have friend here. These are pretty heavy mirrors. You want to put the harness through the hole and guide it down. Then get the mirror lined up and in place. Have one of the 10mm nuts and your socket ready. Hold the mirror in place and start one of the nuts on there. I'm looking, checking, marking to make sure that the mirror pad is all lined up, and it is. We'll fast-forward here as we start the other three nuts on and then tighten them up. You want to get these really good and tight. Those are heavy mirrors, and you want to make sure they're held in place well.
Reach through the speaker hole and find the end of the harness, and put it through there. Then make sure you pull that safety back. Hook the harness in and set the safety. Reinstall the two rubber grommets and then put that little shield back in place.
Then make sure your water shield's back in place. Make sure you reconnect the speaker and use the four 7mm bolts and put it back in place. Reinstall, I lift the panel up in place. You'll want to put the door lock knob through at the top first. Actually, what I'm doing is pulling the wiring harnesses for the door locks and the power windows through, then put the panel up in place. Make sure the door lock goes through, and then look down and see the different clips that go into the door. Then you rest it on the bottom two at first, make sure again that your harnesses are through. Then put the door lock knob through, and push the panel against the door and slide it down into place. Then make sure it's fully engaged and it's nice and tight against the door handle all the way through, or all the way around. I apologize for the angle here, but I'm putting the two switch panels back in place. Connect the harnesses, and then snap them back into place. The mirror's done, and now I'm doing the window and door lock panel. A little high speed here as I put the four bolts back in. Then I replace that little trim panel. It does only go in one way. I'm trying to do it upside down right here, and then I figure out that it goes the other way and snaps right into place. Then the filler panel snaps right into place.
Thanks for tuning in. We hope this video helped you out. Next time you need parts for your car, please visit 1AAuto.com. Also check out our other helpful how-to and diagnosis videos.
Tools used
Tools used
Tools used
Tools used

TR00370