Replaces


Recommended for your 2010 Mercury Mariner
Part Details
Specifications
About TRQ:
TRQ is a trusted brand dedicated to making every repair a success story by combining premium parts with easy installation. Each TRQ part is engineered by a team of automotive experts to meet or exceed OEM standards, delivering enhanced performance and maximum longevity. With rigorous in-house testing, the brand ensures superior fit and function across every product line. TRQ also provides customers with best-in-class, step-by-step installation videos—so you can complete repairs with confidence, whether you're a first-time DIYer or an industry professional.
Product Features
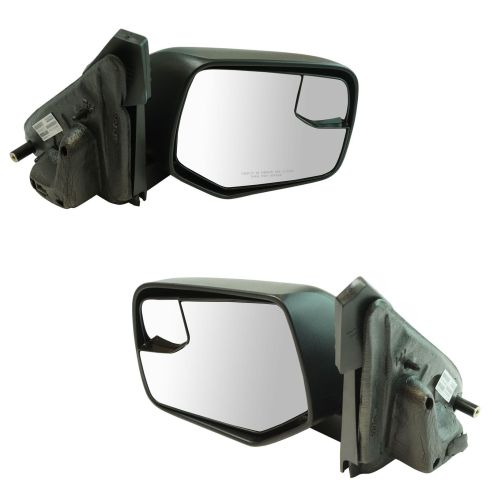
TRQ side mirrors and mirror components are designed to match the function, fixture, and performance of the original version for easy installation. TRQ mirrors are DOT certified, comply with all federal safety standards, and are independently lab tested to ensure our products comply with all government regulations. All products are fit and road-tested in our Massachusetts R&D facility to ensure we deliver on our promise of Trusted Reliable Quality.
Exact fit - To obtain proper fit and function confirm your vehicle has the exact mirror options listed.
Attention California Customers:
 WARNING: This product can expose you to chemicals including Chromium (Hexavalent Compounds), which is known to the State of California to cause cancer, and birth defects or other reproductive harm. For more information, go to www.P65Warnings.ca.gov
Lifetime Warranty
This item is backed by our limited lifetime warranty. In the event that this item should fail due to manufacturing defects during intended use, we will replace the part free of charge. This warranty covers the cost of the part only.
FREE Shipping is standard on orders shipped to the lower 48 States (Contiguous United States). Standard shipping charges apply to Hawaii and Alaska.
Shipping is not available to a P.O. Box, APO/FPO/DPO addresses, US Territories, or Canada for this item.
Expedited is available on checkout to the United States, excluding Alaska, Hawaii.
Final shipping costs are available at checkout.
Created on:
Tools used
Hi, I'm Mike from 1A Auto. We've been selling auto parts for over 30 years.
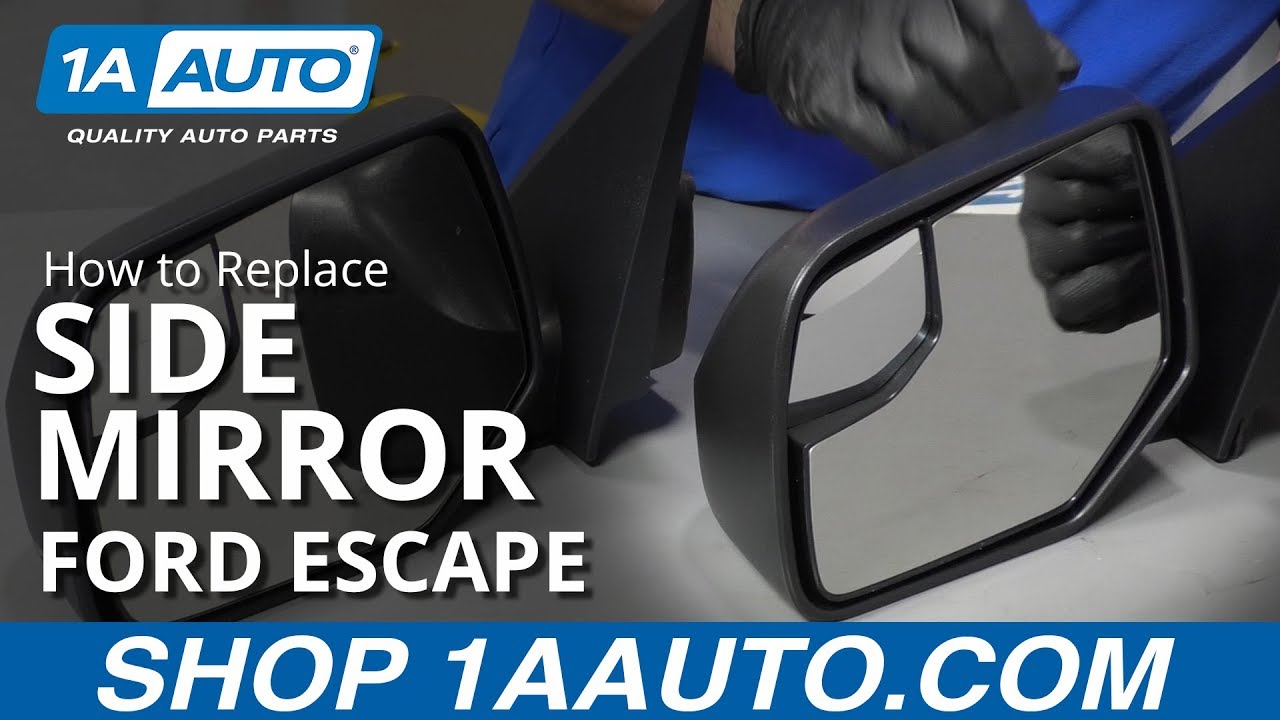
What's up, guys? I'm Andy from 1A Auto. In this video I'm going to show you how to replace a mirror on this 2012 Ford Escape. If you need this part or other parts for your vehicle, click the link in the description and head over to 1aauto.com.
We're going to remove this cover right here. This is for the switch for the mirrors and I'm just going to use a trim tool. Go behind here. Pop this out. Just like that. To disconnect the mirror switch. Push down right here, slide that out. Next thing going to take a pick tool. We just want to take this cover off behind the inside door handle. I'm just going to pull it forward. Pull that cover off. Next we're going to take this screw out. We're going to use that T30 socket extension and ratchet.
Take that screw out. It's a little cover that's right here. We're just gonna to remove that and use a little pick tool slide underneath here. Pull it up. Next is a screw down here. Just going to use a Phillips head screwdriver. Take this screw out. Take that screw out. There's some screws along here, the side right there, so take those two screws out. Just use the Phillips head screwdriver.
There's another screw that's right here on the front of the door. Just use a Phillips head screwdriver. Take this one out.
So I'm going to take a trim tool. Now normally you pry underneath here, pry up here and pry up here. This vehicle has two clips right here and right here and on this vehicle these clips are broken so normally you would have to struggle a little bit more to get this piece off, but just keep in mind this goes straight up. Take those clips off. I can disconnect the electrical connectors right here. Just push on this tab, slide it out, push on this tab, slide it up, and I'm just going to take a trim tool in between the door panel. Just pry out. There's clips all around the door, holding it on.
Grab the door panel and just slide up. There's a cable that's attached right here to the front. Just gonna slide this out just like that. And then slide the cable up, slide the retainer out and then there's a connector right here. Just disconnect this connector. Just push the tab and slide it down.
All right I'm just going to disconnect this electrical connector right here. Push down on the lock tab and slide it out. Right and then I'm going to take a 10 millimeter socket and I'm going to take these three bolts out. Now the reason why you take the door panel off is majority just to get that bolt out and disconnect this connector. You could try to snake your hand in there with the door panel on, but it's not going to be easy, so just easier to take the door panel off.
Remove that bolt. We get the top bolt kind of loose and we're gonna want to support the mirror from the outside. It's good to have the window down. Take that bolt out, then we can grab the mirror. Just slide it up.
Here's the old mirror. Here's the new mirror assembly from 1aauto.com. As you can see, the texture is the same. It's the same color. Turn it around. The mirror has the same shape. It's got this extra little mirror. It's got a mounting area is the same. It's got the same connector. Get yours at 1aauto.com and you'll be ready to rock and roll.
All right I'm going to take the mirror assembly. I want to make sure I have one of the bolts in my hand while I go to install this. Slide this from the outside, line it up.
Okay, with the mirror pushed on, take the bolt, get that started. Once you get that started you can grab the other bolts, get those started. You want to do that before you tight, tighten the down, get them all on evenly. Take our 10 millimeter ratchet, 10 millimeter socket extension, and ratchet. Just snug these up evenly.
All right, now I'll just go around again, make sure they're all snug. Take the connector, line it up, lock it in place. We'll take this door panel. We're going to slide these wires through here or at least get them in that area. Reconnect this electrical connector for the door locks. Lined that up, lock it in place, and I'll take this. I want to get this little retainer through the slot right here, just like that. Then we're going to slide this cable to the side and then lock it in right there. Just like that.
Take the door panel, make sure those wires are right there. Take this lock rod, you want this lock rod on here. Line that up. And then if the top, make sure you pull that wiring harness out the top of the door panel and you want to slide into place here. That looks good and I'll get the door pins to line up all the way around and just apply a little pressure just like that. We'll take this screw, use a T30 socket extension and a ratchet. Tighten this up. Snug that down. Not too tight cause it is plastic. Take this little cover. It's going to line up and here and just press it in place. Just like that.
Right now we're going to install these three screws. There's two on the backside here. One goes on the front side right here. We'll just take a Phillips head screwdriver. Get this started right here. Before I tighten it up, I'm just going to get them all started. Those are all started, so now I'll snug them down.
To reinstall this trim piece, take the electrical connectors, line them up, lock it in place, just like that. Then there's some tabs that should be right here on this vehicle they broke off. They go right there and right there, so you're going to want to line those up and then with them lined up, just push it down.
Okay we'll take this Phillips head screw and a screwdriver and get that started. We'll take this cover, slide it into position. Now we'll take the electrical connector get this lined up. Okay. Lock that down, and then line these two tabs up, retainers. Might have to pull this out a little bit there. Lock it in place.
Thanks for watching. Visit us at 1aauto.com for quality auto parts, fast and free shipping, and the best customer service in the industry.

MRA09340


