Replaces
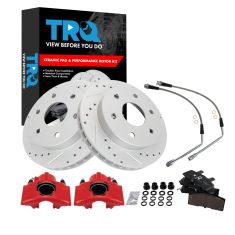
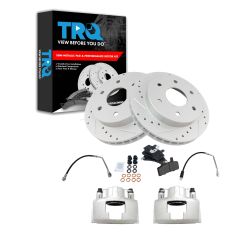
Replaces Chevrolet GMC Cadillac Front Ceramic Premium G-Coated Performance Brake Pad & Rotor Kit with Performance Calipers & Hoses TRQ Performance BKA33643
$344.95
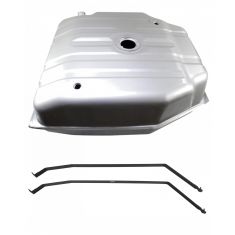
Replaces 1992-97 Chevrolet GMC Fuel Tank Kit TRQ FTA65943
$334.95
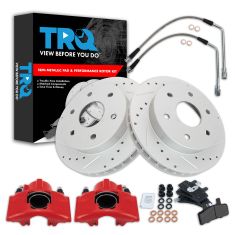
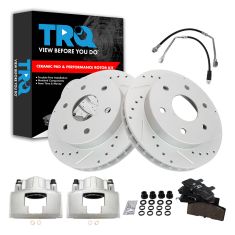
Replaces Chevrolet GMC Cadillac Front Semi-Metallic Premium G-Coated Performance Brake Pad & Rotor Kit with Calipers TRQ Performance BKA52175
$324.95
Replaces Chevrolet GMC Cadillac Front Semi-Metallic Premium G-Coated Performance Brake Pad & Rotor Kit with Calipers & Hoses TRQ Performance BKA34072
$309.95
Replaces Chevrolet GMC Cadillac Front Ceramic Premium G-Coated Performance Brake Pad & Rotor Kit with Calipers & Hoses TRQ Performance BKA34073
$309.95
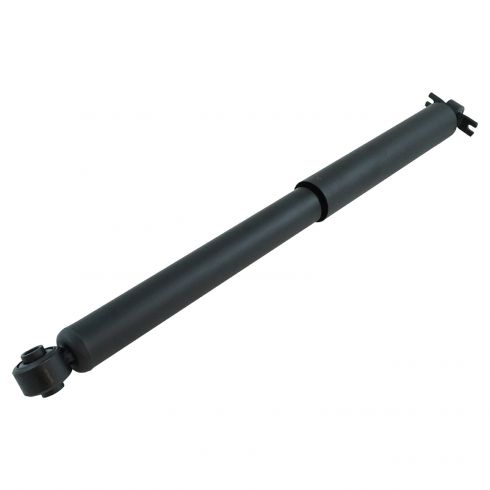
Why Buy KYB Excel-G?
KYB Excel-G shocks and struts will match your vehicle’s Original Equipment (OE). These shocks and struts are perfect for restoring or surpassing your original suspension performance. Some of their perks include:
Lifetime Warranty
This item is backed by our limited lifetime warranty. In the event this item should fail due to manufacturing defects during intended use, we will replace the part free of charge. This warranty covers the cost of the part only.
FREE Shipping is standard on orders shipped to the lower 48 States (Contiguous United States). Standard shipping charges apply to Hawaii and Alaska.
Shipping is not available to a P.O. Box, APO/FPO/DPO addresses, US Territories, or Canada for this item.
Expedited is available on checkout to the United States, excluding Alaska, Hawaii.
Final shipping costs are available at checkout.

Created on:
Tools used
Brought to you by 1AAuto.com, your source for quality replacement parts and the best service on the Internet.
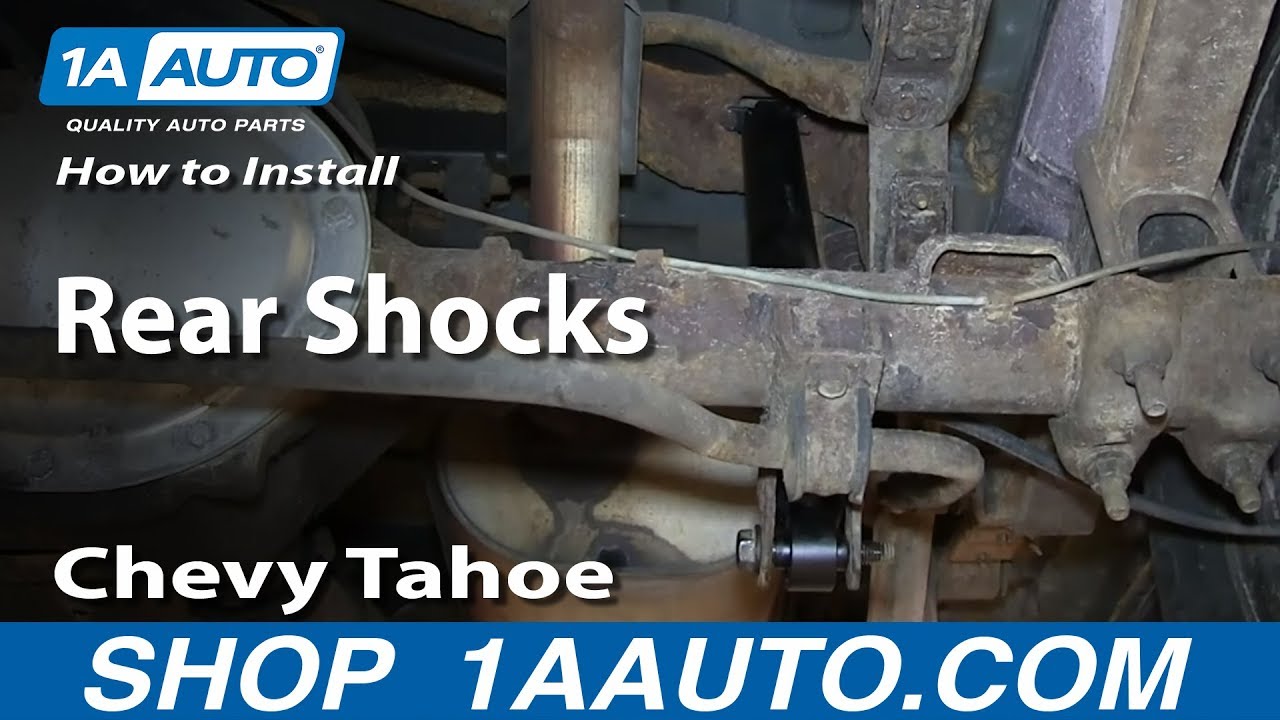
Hi, I'm Don from 1A Auto. I hope this how-to video helps you out, and next time you need parts for your vehicle, think of 1AAuto.com. Thanks.
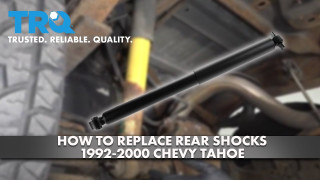
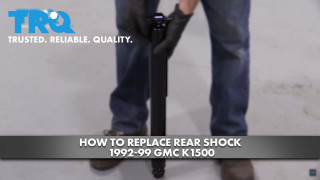
In this video, we're going to show you how to replace the rear shocks on this 1996 Chevy Tahoe. If you replace one of them, we do recommend that you replace both of them. We show you on the passenger side, but the driver's side shock is the same procedure. It's the same part and process for the Tahoes from '95 to 2000. The items you need for this are new rear shocks from 1AAuto.com, 14mm and 21mm socket and ratchet with extension, 21mm wrench, a torque wrench, and jack and jack stands.
You want to start off by removing this 21mm bolt and then you're going to remove these two 14mm bolts. Using a 21mm socket and ratchet and a 21mm wrench, you just want to remove that nut. Once the nut's removed, use the socket and ratchet on the other side and just start twisting out the bolt. Now, use a 14mm socket and ratchet with an extension to remove those two upper bolts and we'll just fast forward as Don does this. Once those are removed, the shock will pull down.
Up front is the old shock, in the back is the new shock from 1A Auto. You can see they're identical and they will fit the same. You will have to just apply some pressure to shrink the new shock. Feed your new shock up into place with a bolt and a 14mm socket and then just tighten it into place. Really, you only need to tighten it preliminarily and then you should start the other bolt. Once you have both bolts started, just got back and forth tightening them up until it's nice and firm. Now, push the shock in and then forward and then line it up and push the bolt through. Then, just replace the nut and washer on the other end and tighten that up with your socket and ratchet and the 21mm wrench. Torque this lower bolt to 75-80 foot pounds and you're all set.
We hope this helps you out. Brought to you by www.1AAuto.com, your source for quality replacement parts and the best service on the Internet. Please feel free to call us toll-free, 888-844-3393. We're the company that's here for you on the Internet and in person.