Replaces


Frequently bought together
Returns: Parts with electrical components cannot be returned once installed.
Attention California Customers:
 WARNING: This product can expose you to chemicals including Lead and Lead Compounds, which are known to the State of California to cause cancer, and birth defects or other reproductive harm. For more information, go to www.P65Warnings.ca.gov.
Lifetime Warranty
This item is backed by our limited lifetime warranty. In the event that this item should fail due to manufacturing defects during intended use, we will replace the part free of charge. This warranty covers the cost of the part only.
Returns: Parts with electrical components cannot be returned once installed.
FREE Shipping is standard on Orders shipped to the lower 48 States (Contiguous United States). Standard shipping charges apply to Hawaii, Alaska and US Territories. Shipping is not available to Canada.
Expedited is available on checkout to the United States, excluding Alaska, Hawaii and US Territories as well as P.O. Boxes and APO/FPO/DPO addresses. Final shipping costs are available at checkout.
Created on:
Tools used
Brought to you by 1AAuto.com, your source for quality replacement parts and the best service on the Internet.
Hi, I'm Mike from 1A Auto. I hope this how-to video helps you out, and next time you need parts for your vehicle, think of 1AAuto.com. Thanks.
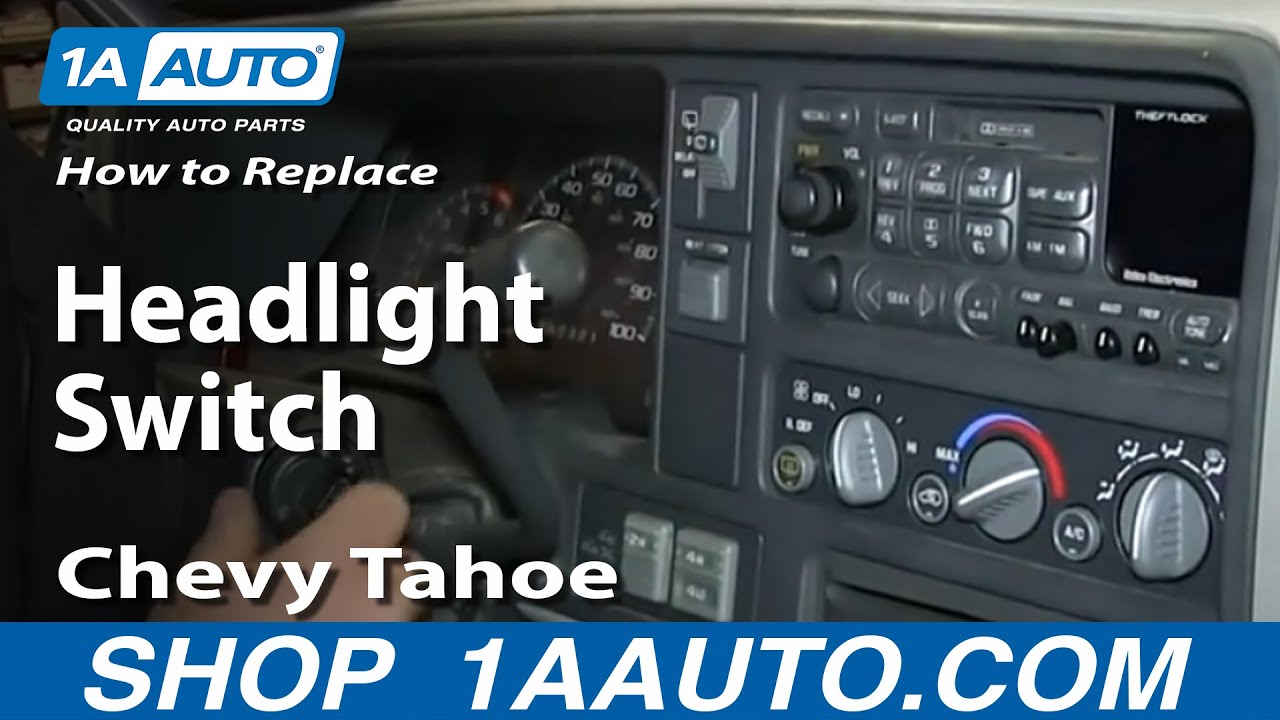
In this video, we're going to show you how to replace the headlight switch on this 1996 Chevy Tahoe. The items you'll need for this include a new headlight switch from 1AAuto.com, an 8mm wrench, and a flat blade screwdriver.
The first thing that you're going to want to do is disconnect your negative battery terminal. Using an 8mm wrench, just loosen that up and pull it free. Push the break, turn on the vehicle, and pull the shifter all the way down. Pull out on the dash panel, and you want to do this all the way around it. Then once you have it pulled free, look back behind it, and you want to disconnect the series of harnesses. Just push the tabs and pull them free. Then do the same thing on this one on the other side and then your dash panel is free.
To remove your headlight switch, you want to pry out these four tabs on the back of your dash panel, and it does help if you use two flat blade screwdrivers. You can pry one tab out, leave the screwdriver in there, and use another screwdriver to pry out another tab, and then it lifts up and out.
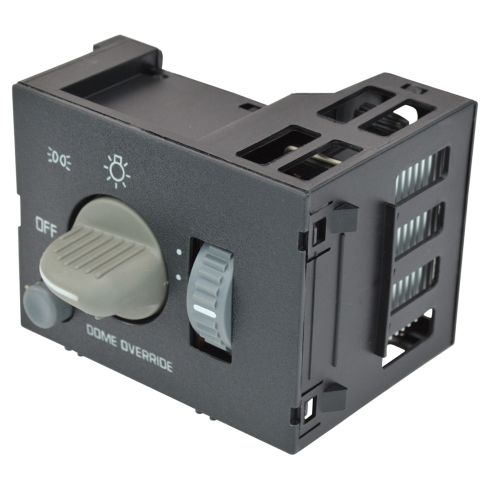
On the right is the old headlight switch; on the left is the new one from 1A Auto. You can see they're identical, and they'll fit exactly the same. Take your new switch and just push it down into place.
To reinstall your dash panel, you want to just put it back over the steering wheel and then reconnect those four harnesses. Now, push the dash panel back into place. You will need to pull that cup holder ashtray out, put your shifter back up, and turn the vehicle off. Now, push your negative battery cable back into place, tighten up that 8mm bolt, and you're all set.
We hope this video helps you out. Brought to you by www.1AAuto.com, your source for quality replacement parts and the best service on the Internet. Please feel free to call us toll-free, 888-844-3393. We're the company that's here for you on the Internet and in person.
Tools used
Hi, I'm Mike from 1A Auto. We've been selling auto parts for over 30 years. We're dedicated to delivering quality auto parts, expert customer service, fast and free shipping, all backed by a 100% satisfaction guarantee. So visit us at 1AAuto.com, your trusted source for quality auto parts.
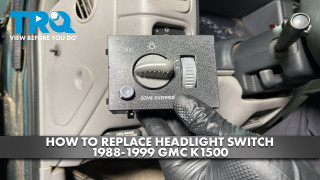
In this video, we're going to be working with our 1996 GMC Sierra K1500. We're going to show you how to remove and replace your vehicles headlight switch. If you like this video please click subscribe. We have a ton more information on this truck, as well as many other makes and models, and if you ever need parts for your car you can follow the link down in the description over to 1AAuto.com.
Tilt your steering column to the lowest position, turn the key to the run position and our battery is disconnected--this will work either way. Put your foot on the brake and put the gear selection in the lowest position. You can then simply put your fingers behind the dash panel and carefully go around, open the cup holder a little to get that clip out, and pop all the clips out. You've got to kind of scooch it forward, and then pop that real panel over the instrument cluster up so you can move it around a little.
We'll then disconnect all of the electrical connectors behind our dash. Now this connector is a little tricky. You have this little T here on the top of the push button. That needs to be depressed to just the right level to sneak it under. And it's almost easier to just use a flat blade screwdriver. Pry it down and back. You can then push down and release the connector from the four-wheel drive selector buttons. Flip the panel out and release the headlight switch connector as well. You can now remove the entire dash panel from the vehicle.
To remove your headlight switch from the dash, carefully pry back the plastic tabs holding it in place. There are two on each side. We're just using a small flat blade screwdriver here. You want to keep some upward tension while you do that. Then pop the switch out of the dash.
To install your new switch, simply make sure it's facing the correct direction, and push it back in until the tabs lock into place. Reconnect the electrical connectors. Don't forget to do the headlight switch on the other side. Line the dash back up and pop all of the retainers back into place. Remember to pull the cup holder out because of that lip. And you're good to go.
Thanks for watching. Visit us at 1AAuto.com for quality auto parts, fast and free shipping, and the best customer service in the industry.

SWA41681


