2015 BMW ActiveHybrid 5 Interior
9
1
10
9
-
Notify When Available
VIDEO
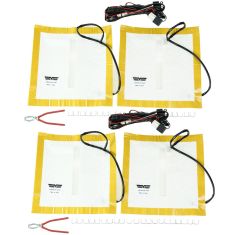
 $164.95Save 32%List $243.95 Save $79.00
Guaranteed to Fit 2015 BMW ActiveHybrid 5
Guaranteed to Fit 2015 BMW ActiveHybrid 5
VIDEO
Brand: TRQ - ADA05291$164.95Save 32%List $243.95 Save $79.00Guaranteed to Fit 2015 BMW ActiveHybrid 5
Guaranteed to Fit 2015 BMW ActiveHybrid 5
-
Notify When Available
VIDEO
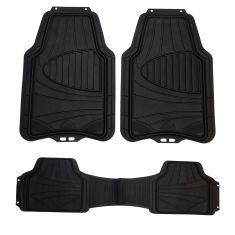
 $39.95Save 22%List $50.95 Save $11.00
VIDEO
Brand: DIY Solutions - MIR03423$39.95Save 22%List $50.95 Save $11.00 -
Notify When Available
-
Notify When Available
-
Notify When Available
-
Notify When Available
-
Notify When Available
VIDEO
Out of Stock
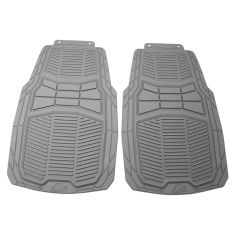
$ 144.95VIDEO
Brand: Dorman OE Solutions - DMIMK00001Out of Stock
$ 144.95 -
Notify When Available
-
Notify When Available