Replaces


Recommended for your 2007 Cadillac CTS
Part Details
Specifications
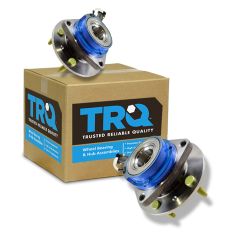
About TRQ:
TRQ is a trusted brand dedicated to making every repair a success story by combining premium parts with easy installation. Each TRQ part is engineered by a team of automotive experts to meet or exceed OEM standards, delivering enhanced performance and maximum longevity. With rigorous in-house testing, the brand ensures superior fit and function across every product line. TRQ also provides customers with best-in-class, step-by-step installation videos—so you can complete repairs with confidence, whether you're a first-time DIYer or an industry professional.
Attention California Customers:
 WARNING: This product can expose you to chemicals including Lead and Lead Compounds, which are known to the State of California to cause cancer, and birth defects or other reproductive harm. For more information, go to www.P65Warnings.ca.gov.
Lifetime Warranty
This item is backed by our limited lifetime warranty. In the event that this item should fail due to manufacturing defects during intended use, we will replace the part free of charge. This warranty covers the cost of the part only.
FREE Shipping is standard on orders shipped to the lower 48 States (Contiguous United States). Standard shipping charges apply to Hawaii and Alaska.
Shipping is not available to a P.O. Box, APO/FPO/DPO addresses, US Territories, or Canada for this item.
Expedited is available on checkout to the United States, excluding Alaska, Hawaii.
Final shipping costs are available at checkout.
Created on:
Tools used
Brought to you by 1AAuto.com, your source for quality replacement parts and the best service on the Internet.
Hi, I'm Mike from 1A Auto. I hope this how-to video helps you out, and next time you need parts for your vehicle, think of 1AAuto.com. Thanks.
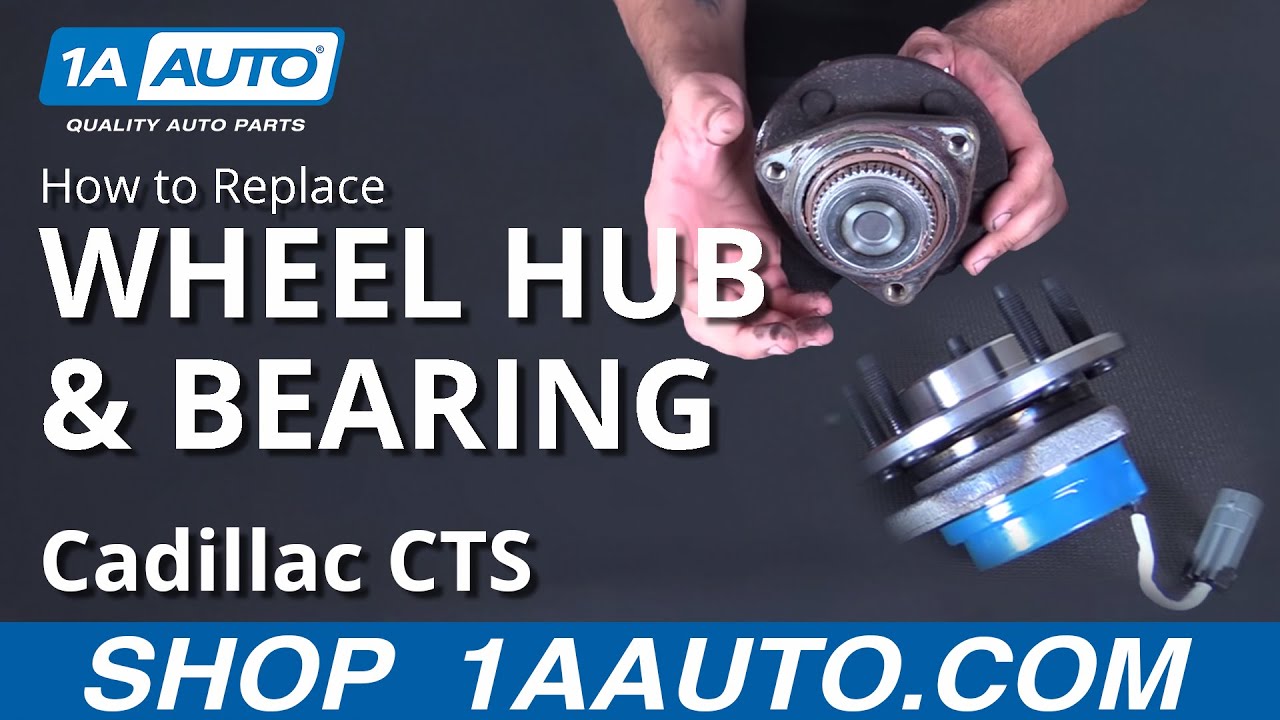
In this video, we're going to show you how to replace the front wheel bearing and hub assembly in this 2006 Cadillac CTS.
Here are the items you'll need for this repair: 18mm, 19mm, socket, ratchet, socket extension, torque wrench, breaker bar, pry bar, T30 Torx bit, 18mm wrench, hammer, penetrating, bungee cord, wire brush, brake grease, jack and jack stands
Using your 19 millimeter socket and breaker bar, crack the lug nuts loose. Just about a turn is fine. You just want to make sure that there's no tension on them when you jack it up. Obviously, you can't remove it with the weight of the vehicle on the tire. Once your lug nuts are loose, you can jack up the vehicle and secure it with jack stands.
You'll see on the rocker panel, there's a small arrow. This indicates where the jack point is on the pinch weld under the vehicle. We'll place our jack under there, bring the vehicle up until the wheel is off the ground, and we have enough height to get a jack stand underneath the car. Directly in front of your jack, you'll notice this boxed, frame-like piece of the unibody. That's the point we're going to use for our jack stand.
Slowly lower the vehicle onto the stand. Once the vehicle has been raised and supported, then finish removing the lug nuts. Remove the wheel from the hub.
We're going to use a lift to make this easier to show you guys at home. You should be able to do this in the driveway with a jack and jack stands. Use a T30 Torx bit to remove this bolt securing the rotor the hub. Remove the two 18 millimeter bolts securing the caliper bracket to the spindle. This way we can remove the caliper and carrier as an assembly to save time. Be sure to support the caliper and carrier when you remove the last bolt. Remove the caliper carrier and secure it to the upper control arm with a bungee cord or mechanic's wire. Remove the rotor, place it face down somewhere clean and dry.
Push in on these tabs to release the connector from its retainer on the backing plate. Undo the tab. Disconnect the ABS sensor. Remove these three 18 millimeter bolts with a socket and ratchet. You may need to use a wrench or a ratcheting wrench to remove the top bolt. This bolt may not come out all the way, but as long as it's unthreaded from the hub, we'll be able to remove our wheel bearing. Remove the final 18 millimeter bolt with a socket and ratchet.
Tap on the back of the hub to release the wheel bearing assembly from the spindle. You may have to tap the bottom ears, get behind it with a chisel or pry bar. Just work it out however you need to. When tapping your wheel hub out, be sure to keep a hand on the dust shield, as it usually falls of as the hub comes out. We'll also have to tap out this backing for the ABS sensor. We're using a pry bar, but you could use a screwdriver or a long, flat punch to tap the back of the ABS sensor out of the spindle.
Here we have our old part that we removed from our vehicle and a new part from 1AAuto.com. As you can see, the hubs are identical. Comes with new studs. You have the same bolt pattern here. Same three bolt flange on the back. It even has a new ABS sensor already installed on it.
Our old ABS sensor got stuck in the hub, which is not uncommon, so we had to break that to get it out. You can see these little teeth on the back are what allow the sensor to pick up the rotational speed of this wheel bearing. What happens with these is the sensors can go bad or the bearing itself can go bad. This one's actually got a little bit of play in it, so it makes a whirling sound when we're driving. This new part has a nice, tight bearing in it, brand new ABS sensor.
Use a wire brush to clean the bore of the spindle, as well as the contact surface for the flange to make sure that everything goes in smoothly and sits nice and flush. These surfaces don't have to be perfect, but you do want to make sure you remove any heavy build up. Line up your dust shield. Send the ABS sensor through. Line up your flange. The ABS sensor is going to sit here at about the 11:00 position. Start by lining up the top bolt that we weren't able to fully remove. Start your other two bolts before tightening anything down. Tighten these bolts down with a socket and ratchet, a wrench on the top if you need. Again, that top bolt is pretty tight access, so you may have to start it with a wrench before you can get a ratchet in there. Torque the wheel hub bolts to 100 foot-pounds.
Reconnect the retainer to the ABS harness and the electrical connector. Apply a thin coat of brake grease to the hub to make sure that the rotor doesn't seize on there, and make sure you get it around the actual bore of the hub as well. Install the brake rotor onto the hub. Be sure to line up one of the beveled holes with the thread for the brake rotor screw. We're just going to start that right now to make sure that our rotor stays on nice and flat when we install the rest of our brake components with a T30 Torx socket and an extension.
We'll just spin it in by hand for now. Remove whatever you used to tie up your brake caliper. Line up your caliper carrier. Start your two 18 millimeter bolts. Tighten these down with a socket and ratchet. Torque these bolts to 96 foot-pounds. Reinstall the wheel onto the hub.
We're going to bring them down as tight as we can, while the tire is still in the air. We'll finish tightening them once the vehicle has been taken off the jack stands. Always be sure to tighten your lug nuts in a cross pattern. We'll jack our vehicle off the stands. With the weight of the vehicle back on the tire, if you don't have a torque wrench, get them as tight as you can by hand with a breaker bar.
It takes a lot of force to break one of these lug studs, so you don't need to go crazy tight, but don't be afraid to put a little bit of your weight into them to make sure they're tight. Of course, if you do have a torque wrench available to you, you'll want to torque your lug nuts to 100 foot-pounds. You can see with the breaker bar, we actually got it pretty close.
Thanks for tuning in. We hope this video helped you out. Next time you need parts for your car, please visit 1AAuto.com. Also check out our other helpful how-to and diagnosis videos.
Tools used
Brought to you by 1AAuto.com, your source for quality replacement parts and the best service on the Internet.
Hi, I'm Mike from 1A Auto. I hope this how-to video helps you out, and next time you need parts for your vehicle, think of 1AAuto.com. Thanks!
In this video, we're going to be working with our 2006 Cadillac CTS 2.8-liter V6. We're going to be removing and replacing the rear wheel bearing and hub assembly. If you like this, please click subscribe. We have a ton more information on this vehicle, as well as many other makes and models. If you want these parts for your vehicle, they're available from 1AAuto.com. You can follow the link down in the description.
Here are the items you'll need for this repair: 15mm, 18mm, 19mm, 33mm, socket, ratchet, socket extension, pry bar, flat blade screwdriver, T30 Torx bit, torque wrench, breaker bar, flat punch and hammer, hub puller, vice grips, jack,, and jack stands.
We're going to start by removing the wheel and tire. You're going to need a 19 millimeter socket and a breaker bar. We'll crack all the lug nuts loose, and then we're going to raise and support our vehicle on a lift. You can do this at home with a jack and jack stands. Once the vehicle's in the air, we'll finish spinning off the lug nuts with the same tool, and remove the tire and wheel from the vehicle.
We're going to use a pry bar to brace the studs on the hub. We're going to use a 35 millimeter socket and breaker bar. Odds are, if you don't have a very big breaker bar, you're going to need to use a cheater pipe to get the leverage to loosen this axle nut. We'll brace it, break it loose, and remove our axle nut the rest of the way.
Remove this T30 Torx screw with a T30 Torx bit and a ratchet. You may need to brace the studs for this as well, but we just did our brakes recently, so ours should come right off. Remove the two 18 millimeter bolts securing the caliper carrier onto the spindle with an 18 millimeter socket and ratchet. Remove the caliper carrier and caliper itself as an assembly from the rotor and spindle, and secure it out of the way with a bungee cord, mechanics wire, or a zip tie. Remove the rotor from the hub. Place it face down on a dry, flat surface.
Remove the electrical connector to the ABS sensor, just pull up on this white tab and pull back. Remove the two 15 millimeter bolts, securing the E-brake cable bracket to the back of the spindle. We're going to use a 15 millimeter socket and an extension to try to get in there. Now we'll pull down on the caliper bracket, unhook the E-brake cable from this lever, and move that out of the way. Flat punch in the center of the axle shaft to tap it out and disengage it from the splines of the bearing hub. Loosen these 18 millimeter bolts on the back of the spindle, and the bolt through to the wheel bearing hub.
We're going to use a combination of an 18 millimeter socket, ratchet, and some extensions. We may have to use a wrench at some point when it gets tight. We've loosened up all three of our bolts to the best of our ability.
Now we're going to install a hub puller on here. Use the lug nuts, make sure we bring it down so that it's nice and centered. Tighten down the lug nuts with a 19 millimeter socket and a breaker bar. Thread the slide hammer into the hub puller. Now we're going to use the slide hammer to start tapping out our hub until we bottom out the bolts, at which point we'll loosen them up some more.
Our CV axle hasn't fully dislodged from the splines and the wheel bearings so we'll have to remove our hub puller and tap it in a little bit farther now that we have the hub part of the way out. Pry the ABS sensor clip off of the bracket, and allow it to hang down so it'll come out with our hub. Remove the wheel hub. You may have to manipulate the CV axle a little to be able to sneak that ABS wire by it. Remove the wheel hub and the vacuum plate.
Here we have our new part. You can see it's exactly the same as our old part that we removed from the vehicle. We have the same lug pattern with new studs in it, same hub-centric center here, same splines for the CV axle, same three bolt flange. When we remove this little plastic shipping retainer here, we even have a new clip on the connector for our ABS tone ring, which is a part of this assembly as well.
What can happen with these wheel bearings is over time the bearing can go bad and create a little bit of a vibration or a grinding, maybe a humming kind of sound in the rear of the vehicle where the ABS sensor is internal to this part as well. It's possible that you could have an ABS fault related to the sensor that is a part of this assembly, and you'll have to remove the entire thing and change it out in order to get a good reading from that sensor and restore operation to your ABS.
If any of your symptoms sound like they could be this wheel bearing, this new part from 1A Auto is going to go in, direct-fit just like your original equipment and fix you up right. Using a wire brush, clean the bore as well as the mounting surface for the flange. Be sure to wear safety glasses and a dust mask whenever you're creating airborne debris from cleaning a metal surface like this. It doesn't have to be perfect as long as it is clear of all large debris and build-ups.
Reinstall the backing plate, just let that hang on the bolts for now. Send the ABS sensor wire back through. Rotate the sensor ring so that the ABS sensor comes out at the 12:00 position, at which point we'll line up our hub to the splines, start it in. Line it up to the bolts, start those in by hand. We'll tighten up this bolt behind the control arm first, because if we tighten down the others, this bolt will get hung up against the stud, and we won't be able to tighten it down later.
This one we need to use an 18 millimeter open end wrench for. The rest can be done with an 18 millimeter socket and ratchet. Reconnect the connector for the ABS sensor onto its bracket. Torque the bolts to 92 foot-pounds. The easiest way I've found to reinstall these E-brake cables is to pull them out as far as you can. You need to carefully install a pair of vice grips onto the end of the cable, careful to get it just tight enough that it'll hold without crushing or damaging that coating on the cable.
Now we can move our spring up and out of the way. Hook it over the actuator. You may need a small flat blade screwdriver to help get it up and on there. Once the cable is hooked on release your vice grips, line up the E-brake cable bracket, and start your two 15 millimeter bolts. Tighten up these bolts with a 15 millimeter socket and ratchet. Reconnect the ABS connector.
Install the rotor with the beveled hole lined up to the threads for the rotor screw. Start the rotor screw in with your T30 Torx bit. We'll finish tightening this down after we've reinstalled the brakes.
Reinstall the axle nut. Remove the bungee cord, mechanics wire, or other means of securing the caliper that you used earlier. Reinstall the caliper and caliper bracket onto the rotor. Install the larger of the two screws into the top hole, the smaller in the bottom. Using an 18 millimeter socket and ratchet bring down the bolts for the caliper carrier. Torque these bolts to 88 foot-pounds.
Counter brace the studs on your hub with a pry bar. Torque to 118 foot-pounds. Finish tightening your T30 Torx screw with a T30 Torx bit and a ratchet.
Reinstall the wheel and tire onto the hub. Using a 19 millimeter socket to get a better grip, start all of your lug nuts. Put your vehicle back on the ground. Tighten your lug nuts down with a breaker bar or a torque wrench if you have one available to 100 foot-pounds in a cross pattern.
Thanks for tuning in. We hope this video helped you out. Next time you need parts for your car, please visit 1AAuto.com. Also check out our other helpful how-to and diagnosis videos.

BHA54215