2003 Toyota Sequoia Fuel & Emissions
9
1
10
9
-
Notify When Available
VIDEO
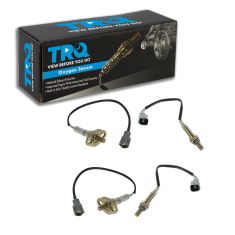
Replaces 2003 Toyota Sequoia V8 4.7L Upstream & Downstream 4 Piece O2 Oxygen Sensor Set TRQ OSA61643
Brand: TRQ- OSA61643$159.95Save 13%List $183.95 Save $24.00Guaranteed to Fit 2003 Toyota Sequoia
Guaranteed to Fit 2003 Toyota Sequoia
Replaces 2003 Toyota Sequoia V8 4.7L Upstream & Downstream 4 Piece O2 Oxygen Sensor Set TRQ OSA61643
VIDEO
Brand: TRQ - OSA61643$159.95Save 13%List $183.95 Save $24.00Guaranteed to Fit 2003 Toyota Sequoia
Guaranteed to Fit 2003 Toyota Sequoia
-
Notify When Available
VIDEO
 $42.95Save 23%List $55.95 Save $13.00
Guaranteed to Fit 2003 Toyota Sequoia
Guaranteed to Fit 2003 Toyota Sequoia
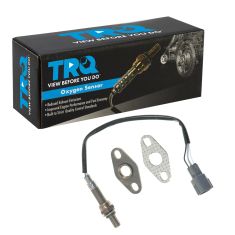
Replaces O2 Oxygen Sensor TRQ OSA61310
VIDEO
Brand: TRQ - OSA61310$42.95Save 23%List $55.95 Save $13.00Guaranteed to Fit 2003 Toyota Sequoia
Guaranteed to Fit 2003 Toyota Sequoia
-
Notify When Available
VIDEO
$47.95Save 17%List $57.95 Save $10.00Guaranteed to Fit 2003 Toyota Sequoia
Guaranteed to Fit 2003 Toyota Sequoia
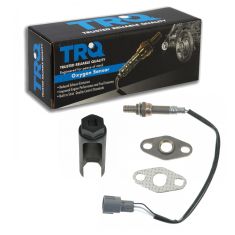
Replaces O2 Oxygen Sensor TRQ OSA61216
VIDEO
Brand: TRQ - OSA61216$47.95Save 17%List $57.95 Save $10.00Guaranteed to Fit 2003 Toyota Sequoia
Guaranteed to Fit 2003 Toyota Sequoia
-
Notify When Available
VIDEO
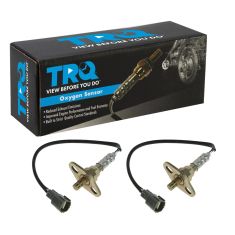
Replaces 2003 Toyota Sequoia V8 4.7L Upstream 2 Piece O2 Oxygen Sensor Set TRQ OSA60267
Brand: TRQ- OSA60267$71.95Save 17%List $86.95 Save $15.00Guaranteed to Fit 2003 Toyota Sequoia
Guaranteed to Fit 2003 Toyota Sequoia
VIDEO
Brand: TRQ - OSA60267$71.95Save 17%List $86.95 Save $15.00Guaranteed to Fit 2003 Toyota Sequoia
Guaranteed to Fit 2003 Toyota Sequoia
-
Notify When Available
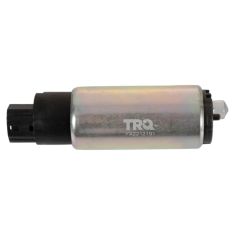
Replaces 2003 Toyota Sequoia Japan Built Models (1st VIN Digit J) Fuel Pump Module Assembly TRQ FPA61252
Brand: TRQ- FPA61252$35.95Save 29%List $50.95 Save $15.00Guaranteed to Fit 2003 Toyota Sequoia
Guaranteed to Fit 2003 Toyota Sequoia
Replaces 2003 Toyota Sequoia Japan Built Models (1st VIN Digit J) Fuel Pump Module Assembly TRQ FPA61252
Brand: TRQ - FPA61252$35.95Save 29%List $50.95 Save $15.00Guaranteed to Fit 2003 Toyota Sequoia
Guaranteed to Fit 2003 Toyota Sequoia
-
Notify When Available
Replaces 2003 Toyota Sequoia V8 4.7L Downstream 2 Piece O2 Oxygen Sensor Set TRQ OSA60268
Brand: TRQ- OSA60268$71.95Save 13%List $82.95 Save $11.00Guaranteed to Fit 2003 Toyota Sequoia
Guaranteed to Fit 2003 Toyota Sequoia
Brand: TRQ - OSA60268$71.95Save 13%List $82.95 Save $11.00Guaranteed to Fit 2003 Toyota Sequoia
Guaranteed to Fit 2003 Toyota Sequoia
-
Notify When Available
VIDEO
Out of Stock
$ 61.95Guaranteed to Fit 2003 Toyota Sequoia
Guaranteed to Fit 2003 Toyota Sequoia
Replaces O2 Oxygen Sensor TRQ OSA61658
VIDEO
Brand: TRQ - OSA61658Out of Stock
$ 61.95Guaranteed to Fit 2003 Toyota Sequoia
Guaranteed to Fit 2003 Toyota Sequoia
-
Notify When Available
VIDEO
Out of Stock
$ 50.95Guaranteed to Fit 2003 Toyota Sequoia
Guaranteed to Fit 2003 Toyota Sequoia
VIDEO
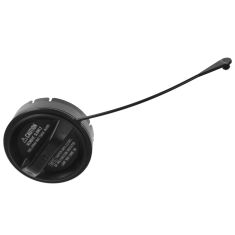
Brand: Toyota OEM - 77300-53010Out of Stock
$ 50.95Guaranteed to Fit 2003 Toyota Sequoia
Guaranteed to Fit 2003 Toyota Sequoia
-
Notify When Available
VIDEO
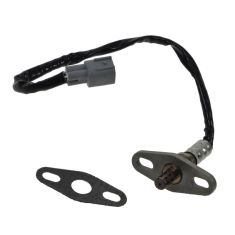
Replaces 2003 Toyota Sequoia V8 4.7L Downstream O2 Oxygen Sensor Walker Products 250-24154
Brand: Walker Products- 250-24154Out of Stock
$ 71.95Guaranteed to Fit 2003 Toyota Sequoia
Guaranteed to Fit 2003 Toyota Sequoia
VIDEO
Brand: Walker Products - 250-24154Out of Stock
$ 71.95Guaranteed to Fit 2003 Toyota Sequoia
Guaranteed to Fit 2003 Toyota Sequoia