Replaces
This part doesn’t fit a . Select from parts that fit.
Part Details
Complete Repair in One Purchase - Stop searching for parts individually and complete your repair with a customized kit or set from DIY Solutions.
High-Quality Parts from Trusted Brands - DIY Solutions' kits and sets are selected from the best automotive brands and include hard-to-find and even obsolete parts you may need for your vehicle.
Guaranteed Fit - DIY Solutions ensures its selected parts are quality-tested to guarantee fit and function.
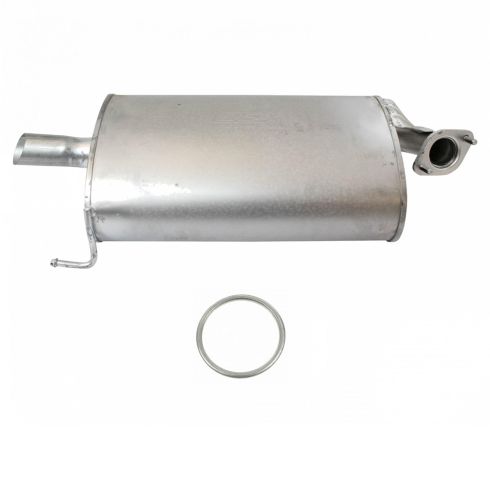
Item Condition:
New
Attention California Customers:
 WARNING: Cancer and Reproductive Harm - www.P65Warnings.ca.gov.
Lifetime Warranty
This item is backed by our limited lifetime warranty. In the event that this item should fail due to manufacturing defects during intended use, we will replace the part free of charge. This warranty covers the cost of the part only.
Due to the nature and size, exhaust parts may incur minor dents or scratches from handling and load shifting during shipping. These damages do not affect the fit or function of the part. Neither our 60 Day satisfaction guarantee, nor the manufacturer's warranty, cover these insignificant damages.
FREE Shipping is standard on Orders shipped to the lower 48 States (Contiguous United States). Standard shipping charges apply to Hawaii, Alaska and US Territories.
Shipping is not available to a P.O. Box, APO/FPO/DPO address, US Territories, or Canada. Shipping to: CA California, CO Colorado, NY New York or ME Maine is prohibited due to state emissions regulations.
Expedited is available on checkout to the United States, excluding Alaska, Hawaii, and US Territories.

Created on:
Tools used
Brought to you by 1AAuto.com, your source for quality replacement parts and the best service on the Internet.
Hi, I'm Don from 1A Auto. I hope this how-to video helps you out, and next time you need parts for your vehicle, think of 1AAuto.com. Thanks.
In this video, we're going to show you how to replace the exhaust manifold and catalytic converter on this 1998 Honda Civic. Pretty much the same process for the Civics from 1996 to 2000.You'll need a new manifold and catalytic converter assembly from 1AAuto.com, 10 to 14mm sockets and ratchet with an extension, a 7/8 O2 socket, a piece of pipe for leverage, torque wrench, jack, and jack stands. If you have trouble with your O2 sensor you can use clippers that clip the wire and then use a regular deep 7/8 socket to remove the O2 sensor.
Start off using your 7/8 inch O2 socket to remove your upstream O2 sensor here. Just put the socket on the O2 sensor, and then, with a ratchet and an extension, put it down into the socket and remove that sensor. Once it's removed, just set it aside. If you can't get your O2 sensor off with your O2 socket, there is always plan B. Just cut the wire on the O2 sensor and use a regular 7/8 inch socket. If you are forced to do this, you will have to buy a new O2 sensor.
Then you want to remove these two 12mm bolts. Now you need to remove these nine 12mm nuts. We'll fast forward here. We doused them with penetrating oil, let them sit for a little while and now we're just removing them with a socket, ratchet and extension. Now, right here there's a 14mm bolt, just go ahead and remove that. Under the hoses, on this bracket, there's a 10mm bolt. Go ahead and remove that. Then pull those hoses back once you have that bolt removed.
Now lift your vehicle and under here you'll see your downstream O2 sensor. You want to use your O2 socket and just remove that. Once it's removed, just set it aside. Again, if your O2 socket isn't working, you can always cut the wire and use a regular one but you will have to replace the sensor.
Next to where your downstream O2 sensor is, there are these three 13mm nuts go ahead and remove those. You can see we doused them with penetrating oil. If you break these off, it's not too big of a deal because the new manifold and catalytic converter assembly from 1A Auto comes with new studs. Once those bolts are removed, you can maneuver your catalytic converter up and out.
On the right, is the old catalytic converter. On the left, is the new one from 1A Auto. You can see that the gaskets are exactly the same and on the catalytic converters, the heat shield is a little bit different but they'll mount exactly the same. Before you can install the new catalytic converter, you need to first remove these two 12mm bolts so you can get this shield off. Next you need to remove this 14mm bolt securing this bracket to your old catalytic converter. We'll fast forward as Don does this. Now to remove this lower gasket, just use a flat blade screwdriver and pry it out and put your new one down into place.
Pull off your exhaust gasket and put your new one into place there. Just take the nuts off the studs on the bottom and put them aside, then lower your manifold and converter assembly down in. Make sure that you line up the lower studs into the exhaust pipe flange and get them into place. Once you make sure those are in place then line up your top ones and push the manifold on. I'm just going to keep fast forwarding here as Don puts all the nuts back in place and preliminarily tightens them. Use a torque wrench and torque all those nuts to 25 to 30 foot-pounds.
Take the bracket from your old catalytic converter and bolt it to your new catalytic converter. Then replace the bolt from that bracket into your engine. We'll just fast forward as Don tightens those up. Reinstall the heat shield with the two 12mm bolts. Reinstall your O2 sensor, and tighten it up with the O2 socket. Once you have it tight, reconnect the harness. Place the 10mm bolt underneath those hoses and tighten that up. Now, under the car, replace those three 13mm nuts. Again tighten these to 25 or 35 foot pounds, maybe a little more, if you need to. Then, twist your O2 sensor into place and tighten it up with your O2 socket, reconnect the harness and attach it to the bracket and you are all set.
We hope this video helps you out. Brought to you by www.1AAuto.com, your source for quality replacement parts and the best service on the Internet. Please feel free to call us toll-free, 888-844-3393. We're the company that's here for you on the Internet and in person.


