How to Replace Tail Light 2000-03 Ford Taurus
Created on: 2010-11-03
Check out this video for quality and detailed instructions on how to replace or service the tail light and bulbs on your 00-03 Ford Taurus.
-
step 1 :Remove the tail light assembly
- Remove the thumb screw securing the cargo net
- Pull back the upholstery covering the back of the tail light assembly
- Remove the 11mm nuts from the tail light
- Disconnect your wiring harness
- Pull out the tail light
- Unplug the bulbs
-
step 2 :Servicing the Bulbs
- Twist the bulb socket counterclockwise out of the light
- Pull the bulb off of the socket
- Push on the new bulb
- Twist the bulb clockwise into the light
-
step 3 :Install the new tail light assembly.
- Remove the protectors on the new tail light
- Line up the bolt holes on the tail light bracket to the bolt holes on the vehicle
- Replace the 11mm bolts into the tail light
- Reconnect the wiring harness to the headlight
- Replace the upholstery and secure with the last thumb screw/cargo net hook
Tools needed
-
Ratchet
11mm Socket
Brought to you by 1AAuto.com, your source for quality replacement parts and the best service on the Internet.
Hi, I'm Mike Green. I'm one of the owners of 1A Auto. I want to help you save time and money repairing or maintaining your vehicle. I'm going to use my 20-plus years experience restoring and repairing cars and trucks like this to show you the correct way to install parts from 1AAuto.com. The right parts installed correctly. That's going to save you time and money. Thank you and enjoy the video.
In this video, we're going to show you how to remove and replace the tail lights, both to service your bulbs or to replace the whole tail light assembly itself. This is a 2001 Ford Taurus. Procedure is basically the same for any 2000 to 2007, although the 2004 to 2007 lights are a little different in shape.
Behind, you want to remove this pin that holds your cargo net on, if you have one, and, then, you pull your trim back, and you can see that there is three bolts: one here and then two up here. You remove those three bolts. As I fast-forward through this, these are 11-mm bolts or nuts, whatever you want to call them.
If you like, you can disconnect your harness right here by pulling back on this tab and pulling out, and the harness is kind of just threads through the body there, and then you just come to the outside. Give the plug a good pull, and the whole assembly comes out. You don't have to take it all the way out. I was just doing it to make it easier. Obviously, if you're just looking to replace your bulbs, you just twist, and it comes out, but then the bulbs pull out. Push back in and twist. Do the same thing here. Twist and pull out. The bulb comes out. Here's the new light from 1A Auto.
Obviously, the tail light on this is in good shape, so I'm just going to put the old one back in. The new light from 1A Auto is going to bolt in there exactly the same. Your lights will plug in just like they did originally. These are just little protectors to make sure nothing gets in there, and if you have a broken tail light, then you'll be all set and fixed up with a new light from 1A. Obviously every installation, make sure your bulbs are in there good and tight. Feed your harness through. Pull from the other side to make sure it comes all the way through. You can kind of pull this plug through.
Make sure it's tight. Then, the white has a couple of guide pins that go into holes that help you find your way. The lower one first, then the upper one. Push it right in and back outside. Make sure that's through. Start our bolts on or our nuts on. This one here, you just want to make sure that you pull this plastic out and put the nut in behind. Now, we'll speed up just putting the nuts back on, and when you tighten these up, you want to tighten them firm but not too tight, because you don't want to break the - the tail light is just made of plastic, so you don't want to break anything. Get them firm but not too tight. Reconnect your harness. Push that back on. Put this back on.
We hope this helps you out. Brought to you by www.1AAuto.com, your source for quality replacement parts and the best service on the Internet. Please feel free to call us toll free 888-844-3393. We're the company that's here for you on the Internet and in person.
Shop Products

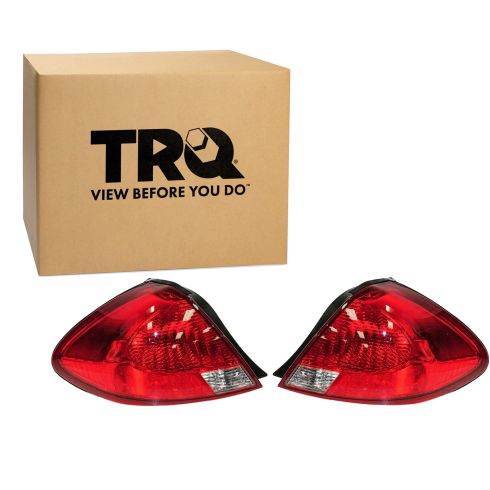
Ford Taurus Driver & Passenger Side 2 Piece Tail Light Set TRQ LTA79931
Part Details:
- 2 Piece
- (1) Passenger Side Tail Light
- (1) Driver Side Tail Light

How to Replace Back up Reverse Light 1998-2005 Volkswagen Beetle
This video shows how to change the reverse light bulbs and remove and install the reverse light housings yourself on the 98-05 Volkswagen Beetle


