How to Replace Intake Variable Valve Timing Solenoid 2010-14 Toyota Prius
Created on: 2018-04-26
How to repair, install, fix, change or replace a broken or snapped variable valve timing solenoid on 10, 11, 12, 13, 14 Toyota Prius
-
step 1 :Removing the Variable Valve Timing Solenoid
- Remove the plastic cover
- Disconnect the wiring harness
- Remove the 10mm bolt from the solenoid
- Remove the solenoid
-
step 2 :Installing the Variable Valve Timing Solenoid
- Insert the solenoid into place
- Tighten the 10mm bolt to the solenoid
- Connect the wiring harness
- Replace the plastic cover
Tools needed
-
Socket Extensions
10mm Socket
Ratchet
Hi, I’m Mike from 1A Auto. We’ve been selling auto parts for over 30 years!
Remove the plastic cover. We have removed our cowl panel here, so you can see what we're doing better, but you can snake out this variable valve timing solenoid with the cowl piece installed, however, this gives us little better access and it's easier for you to see in a video what we're doing.
To remove this connector, we'll spray a little bit of water displacement oil in here to help free it up. It's got some dirt in it. Lock's on this side. We'll push it in. It's because you push the hole connector in this way, it'll open the lock. And then pull it off. Makes it easy to work it back and forth a couple of times. Try not to pull on the wires. If need be, use a little small flat bladed screwdriver to help you push the lock open. And there it is. Spray some rust suspension here. Use a 10 millimeter socket and ratchet to remove the 10 millimeter bold that's holding it into the head. Put the bolt and washer aside once I take it out.
With the bolt removed, you can kind of spin it this way. Then, it's sitting on an o-ring. Just have to work it out, back and forth and it should come out.
This is the original variable valve timing solenoid we pulled from our vehicle. Our brand new one from 1AAuto.com, same exact style design, same style connector, same mounting hole. This will work great and fit great for you.
Install the new one. Slide it into the same opening. The o-ring will fit pretty tightly. Slide it down. Get the bolt started by hand. It's a steel bolt going into the aluminum valve cover. You don't want to cross-thread it. I need to adjust the position of it. Tighten it up. You don't want to over tighten it. When it feels tight, just stop. Put the oil connector back in. It's keyed. It can only go in one way. It will click when it locks in place.
Put your plastic engine cover back on. These three rubber mounts, just push over these three ball sites, line it up with the oil cap hole. And that's it.
Thanks for watching. Visit us at 1AAuto.com for quality auto parts, fast and free shipping, and the best customer service in the industry.
Shop Products
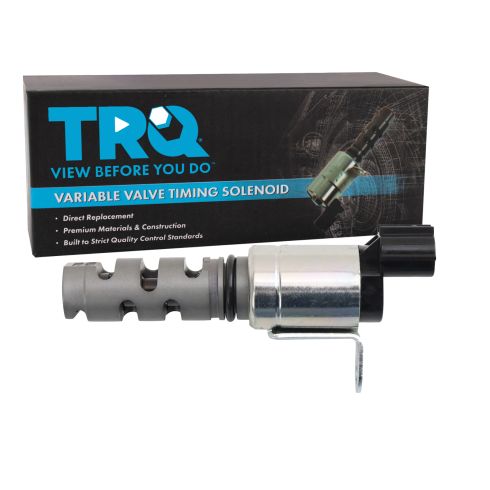
Toyota Lexus Pontiac Scion Intake Variable Valve Timing Solenoid TRQ VTA93431
Part Details:
- No
- 1
- Female
- 2
- Blade

How to Replace Intake VVT Solenoid 2009-16 Toyota RAV4
This video shows you how to replace the VVT solenoid on your 09-16 Toyota RAV4. 1A Auto helps you DIY, and save some money!
