How to Replace Ignition Coil 2006-11 Chevy Impala
Created on: 2013-09-04
Check out this video to learn how to replace the ignition coil on your 06-12 Chevy Impala.
-
step 1 :Removing the Engine Cover
- Twist off the oil fill tube
- Pull off the engine cover
- Twist the oil fill tube back on
-
step 2 :Removing the Ignition Coil Pack
- Disconnect the ignition coil wiring lead
- Disconnect the wires from the coil pack
- Remove the four 10mm bolts from the coil pack
- Pull off the coil pack
-
step 3 :Installing the New Coil Pack
- Push the new coil pack into place with the wiring lead connector facing the driver side
- Start the four 10mm bolts by hand
- Tighten the bolts to between 8 - 10 foot-pounds of torque
- Familiarize yourself with the ignition wire diagram
- Reinstall the wires as indicated by the diagram
- The wires for the front cylinder bank are, left to right: 2, 4, and 6
- The wires for the rear cylinder bank are, left to right: 1, 3, and 5
- The wires at the ignition coil are, left to right: 1, 4, 2, 5, 3, and 6
- Reconnect the ignition coil wiring lead
-
step 4 :Reattaching the Engine Cover
- Twist off the oil fill tube
- Put on the engine cover
- Twist on the oil fill tube
Tools needed
-
Torque Wrench
10mm Wrench
10mm Socket
Ratchet
Brought to you by 1AAuto.com, your source for quality replacement parts and the best service on the Internet.
Hi, I'm Don from 1A Auto. I hope this how-to video helps you out, and next time you need parts for your vehicle, think of 1AAuto.com. Thanks.
In this video we're going to show you how to replace an engine ignition coil on this 2006 Chevy Impala, pretty much the same for any 2006 to '12 Impala with the 3.5 liter V6. The only tool you'll need is a 10mm wrench or socket and ratchet.
Start out by removing your oil fill tube and pop the engine cover off, put it to the side, and put that tube back in so that nothing gets into the engine.
Your coil is located at the back of the engine. There's a coil assembly there and you'll want to disconnect the lead by pressing down on the tab that's on top and pulling it off. Now, you'll want to disconnect all of the wires to the coil. We will, later in this video, show you a diagram that shows you the proper way to reconnect these. There are four 10mm bolts. You see one there, one that's down in the back .you can barely see it a little bit there . another one there, and another one in behind that. Those are 10mm and we'll just fast forward as we remove those. You can see as we remove that last bolt the whole coil pack comes up and out.
Now, install the new coil. Make sure that you have the harness connection facing toward the driver's side of the vehicle. Put it down in, and start your bolts on. I'm going to fast forward here. We always recommend you start the bolts first by hand to make sure you don't cross thread anything, and then tighten them up. These bolts should be probably tightened to about 8 to 10 foot pounds or 80 to 90 inch pounds.
Here's a very important diagram. You need to make sure you put the plug wires back on the right place on the ignition coil. As you can see if you're looking at the engine from the front of the vehicle, the front side of the engine is plugs number 2, 4, and 6. The back side is 1, 3, and 5. Then, you can see the ignition coil on the back, the first one you plug in is 1 . that's the first one on the left . then 4, then 2, then 5, then 3, then 6. You can see, here, Don is plugging those wires back in. Every once in a while you'll see him looking over his left shoulder there. He's got a little handwritten diagram next to him, the same as that one we just showed you just to show him how to put those plug wires on correctly.
Reconnect the electrical connection on the driver's side and then remove your oil fill tube and put the cover back on. It's just got a couple of rubber plugs that go over studs. Push it down on and put the tube back in and you're all set.
We hope this video helps you out. Brought to you by www.1AAuto.com, your source for quality replacement parts and the best service on the Internet. Please feel free to call us toll-free, 888-844-3393. We're the company that's here for you on the Internet and in person.
Shop Products
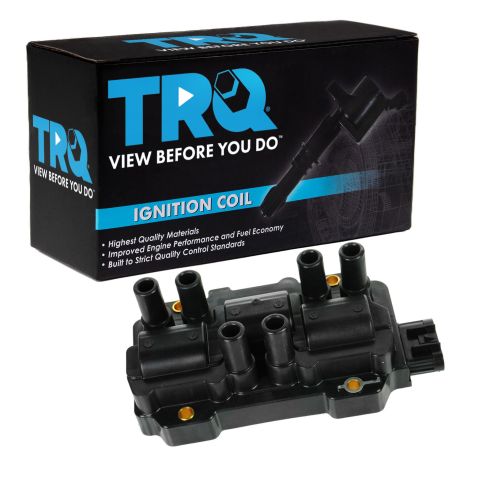
Chevrolet GMC Buick Pontiac Saturn Ignition Coil TRQ ICA61845
Part Details:
- No
- 10.7 Ohms
- Male
- No
- No
- Female
- 6
- Blade
- 30000 VDC
- Direct Replacement
- Black
How to Replace Ignition Coil 1999-2000 Chevy Tahoe
This video shows you how to install a new ignition coil in your 1992-2000 Chevy Tahoe.
