How to Replace Fog Lights 2007-14 Chevy Suburban 1500
Created on: 2017-08-01
How to install, repair, fix, change, or replace a broken, damaged, burned out, cracked, faded, cloudy or chipped fog lighton 07, 08, 09, 10, 11, 12, 13, 14 Chevy Suburban 1500
-
step 1 :Removing the Fender Liner
- Remove the 7mm bolts from the fender liner
- Pry out the barbed clips in the liner with a flat blade screwdriver
- Peel back the fender liner to access the bulbs
-
step 2 :Removing the Fog Light
- Disconnect the wiring harness
- Press the tabs on the housing and push them through
- Hold the fog light and remove it
-
step 3 :Installing the New Fog Light
- Insert the fog so that it matches the slots until it clicks
- Connect the wiring harness
-
step 4 :Reinstalling the Fender Liner
- Press in the clips to the fender liner
- Tighten the 7mm bolts to the liner
Tools needed
-
Flat Blade Screwdriver
7mm Socket
Ratchet
Trim Tool Set
Hi, I'm Mike from 1A Auto. We've been selling auto parts for over 30 years. We're dedicated to delivering quality auto parts, expert customer service, fast and free shipping, all backed by our 100% satisfaction guarantee. Visit us at 1AAuto.com, your trusted source for quality auto parts.
So we're going to peel this splash shield back. It also will make it easier if you turn your wheel to the inside of whatever side you're working on so you can open this up. You can it’s in with some 7mm self-tapping screws and some push clips.
I'll start with the 7mm self-tapping screws. Using a flat-bladed screwdriver or trim clip tool, you're going to work these barbed clips out. Now we fold this up. Now you can peel you fender liner back and reach in and disconnect your fog lamp.
These three tabs or clips are tabbed on them on either side. You can squish them together with your fingers and push them out. Two top ones, now you reach out with your other hand to hold the fog light from the front. Squeeze the bottom one, sort of push them out, and then you're going to push from the middle to remove your fog light lens.
To install it, I'm going to leave these clips on here. Feed it in from the front, get it lined up with the holes, push it in, and that will click into place.
Reconnect the harness and your fog light lens is replaced. Pull that down. And then pull this down and push it back into place.
Replace the barbed clips if you took them out. Reinstall the 7mm self-tapping screws.
Thanks for watching. Visit us at 1AAuto.com for quality auto parts, fast and free shipping, and the best customer service in the industry.
Shop Products


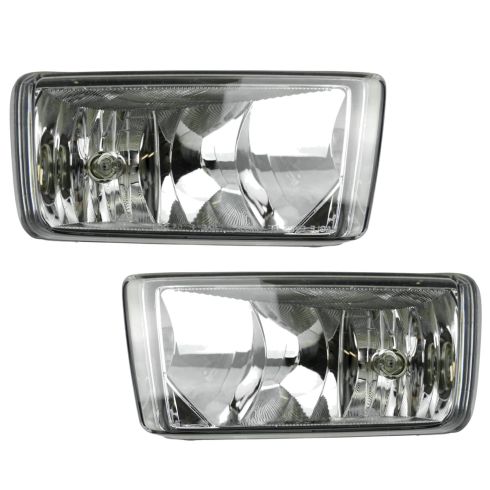
Chevrolet Driver & Passenger Side 2 Piece Fog Light Set TRQ LTA87948
Part Details:
- 2 Piece
- (1) Passenger Side Fog Light
- (1) Driver Side Fog Light

How to Replace Fog Lights 1993-99 Volkswagen Jetta
Check out this helpful video on how to replace the fog lights on your 93-99 Volkswagen Jetta.
