How to Replace Tail Lights 2005-07 Chevy Monte Carlo
Created on: 2014-07-09
How to install, repair, fix, change or replace a broken, damaged, burned out, cracked, faded, cloudy or chipped tail light / brake light on 05, 06, 07 Chevy Monte Carlo.
-
step 1 :Removing the Tail Light
- Twist and remove the thumb screw in the trunk
- Pull down the insulation
- Twist and remove the thumb screws on the back of the tail light
- Pull the tail light out
-
step 2 :Servicing the Bulbs
- Twist the bulb socket counterclockwise out of the light
- Pull the bulb off of the socket
- Push on the new bulb
- Twist the bulb clockwise into the light
-
step 3 :Preparing the New Tail Light
- Removing the packing stickers
- Twist the sockets back into the tail light
- Re-clip the harness into the tail light bracket
- Make sure no wires are in front of the studs
-
step 4 :Installing the New Tail Light
- Line up the studs and push the tail light into place
- Replace the thumb screws
- Replace the insulation
- Replace the thumb screw inside the trunk
Brought to you by 1AAuto.com, your source for quality replacement parts and the best service on the Internet.
Hi, I'm Mike from 1A Auto. I hope this how-to video helps you out, and next time you need parts for your vehicle, think of 1AAuto.com. Thanks.
In this video, we're going to show you how to service your bulbs as well as replace the entire tail light assembly on this 2003 Chevy Monte Carlo. We show you on the passenger's side, but the driver's side is the same procedure. It's the same part and similar process on these Monte Carlos from 2000 to 2005. There are no tools required for this.
Behind your tail light in the trunk you'll see this thumb screw. Just remove it. Once you remove it, pull down the insulation and you'll see two more thumb screws on the back of the tail light. Just go ahead and remove these. Now, to service your bulbs, just pull the tail light out. For this bulb right here, you want to just twist it counterclockwise and pull it free. You can just pull the bulb out, push your new one in, and twist the socket back in clockwise. Make sure it lines up and is locked back in place.
For this bulb, twist it out counterclockwise, and pull the bulb out. Push your new one in, and twist the socket back in clockwise. This one is the same procedure. If you're looking to replace the entire assembly, just twist out each of your sockets and pull your harness from this bracket.
On the left is the old tail light; on the right is the new one from 1A Auto. You can see they're identical and they'll fit exactly the same. Remove the packing stickers from your new tail light. Take your sockets and just twist them back into your new tail light. Re-clip your harness to that bracket, and make sure none of the wires are in front of those studs. Line up the studs with the holes on the car and push it back into place. Now, we'll just fast forward as Mike replaces those two thumb screws, replaces the insulation and replaces that last thumb screw.
We hope this video helps you out. Brought to you by www.1AAuto.com, your source for quality replacement parts and the best service on the Internet. Please feel free to call us toll-free, 888-844-3393. We're the company that's here for you on the Internet and in person.
Shop Products
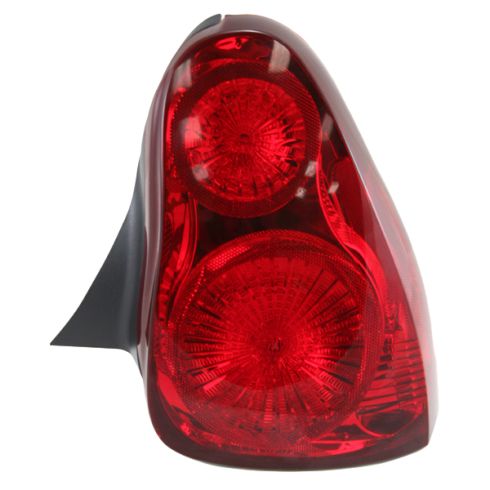
Chevrolet Monte Carlo Passenger Side Tail Light DEPO 335-1936R-US
Part Details:
- Features and Benefits

How to Replace Back up Reverse Light 1998-2005 Volkswagen Beetle
This video shows how to change the reverse light bulbs and remove and install the reverse light housings yourself on the 98-05 Volkswagen Beetle
