How to Replace Tail Light Housing 2009-15 Honda Pilot
Created on: 2018-06-18
How to install, repair, fix, change or replace a broken, damaged, burned out, cracked, faded, cloudy or chipped tail light / brake light on 10 Honda Pilot
-
step 1 :Removing the Tail Light
- Open the lift gate
- Remove the two 8mm bolts from the tail light
- Pull the tail light off the body
- Pull the wiring harness plug out of the body
- Pull the wiring harness out of the body
- Disconnect the tail light electrical connector
-
step 2 :Installing the Tail Light
- Connect the tail light electrical connector
- Feed the wiring harness into the body
- Push the wiring harness plug into the body
- Line up the tail light using the locating pins
- Push the tail light onto the body
- Install the two 8mm screws into the tail light
- Close the lift gate
Tools needed
-
Socket Extensions
Flat Blade Screwdriver
8mm Socket
Ratchet
In this video, we are going to replace the rear tail lights on a 2010 Honda Pilot. If you need these parts or other parts for your vehicle, click the link in the description and head over to 1AAuto.com
Open the rear lift gate. Then, we're going to take these two 8 millimeter screws out. Use an 8 millimeter socket and extension and a ratchet. Pull that one out. Now pull the next one out. Pull that out. You can grab the light, we're just going to pull, like that. Those two little pins right here, they're secured in there, so sometimes it takes a little bit of effort to pull it.
The wiring goes through here, just pull that. I'm going to try to feed the connector out here a little bit. This is the connectors there. Then push this little tab right here down on that, and disconnect that, and there's your tail light.
As you can see, this is our old driver's side tail light. This is our new driver's side tail light, from 1AAuto.com. As you can see, just looking at it, it looks brand new compared to the old one. There's a lot of scratches on this that make it hazy. For the bulbs, the configuration is the same, and the reverse light. As you can see on the back side, the wiring harness is the same. Connectors are the same. It has all the same wiring bracketry. Get yours at 1AAuto.com and you'll be ready to rock and roll.
Next we're going to connect this connector right here, so it snaps in. Fish this wire back in here. And then we're going to push this plug in here. You want this to go all the way around so that it seals. Push it. If you need to, you can use a straight blade screwdriver. That's good, like that. Then we're going to, remember, line those pins up with those two holes. Line those two pins up.
Then we'll install these 8 millimeter screws. Use our ratchet extension and 8 millimeter socket and snug these up. Remember, it is plastic, so don't tighten them too tight. The process will be the same on the passenger side.
Thanks for watching. Visit us at 1AAuto.com for quality auto parts, fast and free shipping, and the best customer service in the industry.
Shop Products
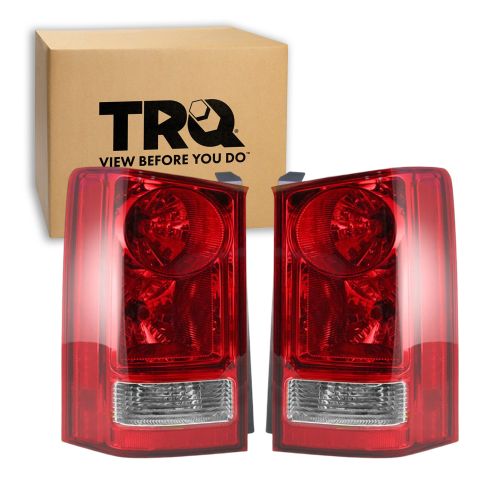
2009-15 Honda Pilot Driver & Passenger Side 2 Piece Tail Light Set TRQ LTA87618
Part Details:
- 2 Piece
- (1) Passenger Side Tail Light
- (1) Driver Side Tail Light

How to Replace Third Brake Light 2003-07 Cadillac CTS
How to install, repair, fix, change or replace a broken, damaged, burned out, cracked, faded, cloudy or chipped third brake light on 06 Cadillac CTS
