How to Replace Tail Light 1992-2000 Chevy Tahoe
Created on: 2020-12-29
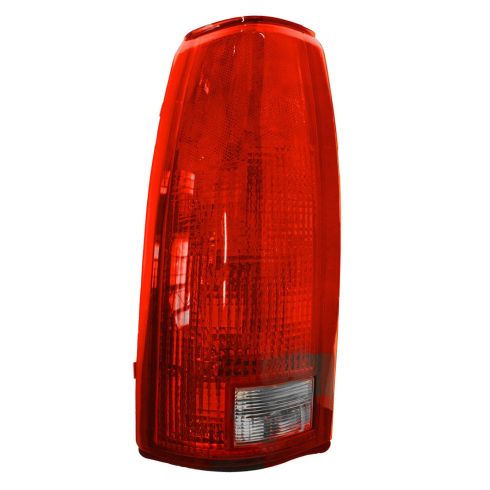
This video shows you how to replace the tail light housing on your 1992-2000 Chevy Tahoe.
Tools needed
-
Socket Driver
Phillips Head Screwdriver
Magnet - Extendable
Pocket Screwdriver
Okay, friends. To get started on our right rear tail lamp, we're gonna, of course, first, open up the rear door. Once this is open, you can continue on to seeing two mounting screws. You're gonna use a Phillips head screwdriver and remove the pair. There's one. Now, let's just go ahead and grab onto that tail lamp, slide it out of here, and then, we'll disconnect it. We're gonna go ahead and release this tab right here and draw off the pigtail. Always take a peek, make sure you don't see any funny colors, and let's move along.
Now, let's continue on to removing our two mounting bolts here. Let's grab this piece. Now is a perfect time to check all of your bulbs. Make sure that the filaments, which is the areas in the center, aren't broken, and, of course, make sure that they aren't discolored. If, of course, you want to replace them, now is the time.
All right. So let's grab our brand new tail lamp here. I'm just gonna remove all these paper covers and set those aside, recycle them later. Let's take our assembly, carefully slide it in here, start in both of your bolts, snug them up.
Now it's gonna be time to install our brand new tail lamp, let's go ahead and get our wiring harness back on here. Listen for a click. Make sure it's completely locked in. The next thing we wanna do is pay attention to our hooks that are coming along this side. They're gonna fit inside these square holes right here. Just like that. Now, let's start in our screws. I'm just gonna start my screw in using a magnet. It's easier to reach in there. Let's get it so it's hopefully started a little bit. Okay. That one is started. Do the same for the other one. Here we are. So they're both started. Let's go ahead and snug them up. Perfect.
Shop Products


How to Replace Taillight Bulbs 2007-14 Toyota FJ Cruiser
Check out this video from 1A Auto to learn how to replace the bulbs in the tail light assembly on your 07-14 Toyota FJ Cruiser!
