How to Replace Spark Plugs 2006-10 Dodge Ram 1500
Created on: 2016-05-03
Need to replace the spark plugs on your 06-10 Dodge Ram 1500? We'll show you how in this 1A Auto video!
-
step 1 :Removing the Ignition Coil
- Disconnect the ignition coil wiring harness
- Remove the 10mm bolts from the ignition coil
- Pull the ignition coil up and out
- To access the passenger side coils, lift the clips on the air box cover
- Loosen the intake hose clamps
- Pull the intake hose off
- Lift the intake box up and off
-
step 2 :Removing the Spark Plug
- Remove the spark plugs with a 5/8 spark plug socket
-
step 3 :Installing the Spark Plug
- Check the gap at 0.040 or 1.01mm
- Insert the spark plugs with a 5/8 spark plug socket
-
step 4 :Installing the Ignition Coil
- Apply dielectric or silicone grease inside the tube
- Insert the coil into place by pushing down firmly
- Tighten the 10mm bolts
Tools needed
-
Socket Extensions
Flat Blade Screwdriver
5/8 Inch Spark Plug Socket
10mm Socket
Ratchet
Brought to you by 1AAuto.com, your source for quality replacement parts and the best service on the Internet.
Hi, I'm Mike from 1A Auto. I hope this how-to video helps you out, and next time you need parts for your vehicle, think of 1AAuto.com. Thanks.
In this video, we're going to show you a spark plug replacement. This is a 2008 Dodge Ram. It has the Hemi 5.7L engine in it and this procedure is the same for a lot of different Hemi vehicles, although you'll need different sockets, ratchets, and extensions to get in to different angles and some vehicles you may have to go through the wheel well to get to some of the cylinders.
Items you'll need include new spark plugs from 1AAuto.com, and not a bad time to consider putting new coils on, which we sell at 1AAuto.com, 10mm socket ratchet and extension, flat-blade screwdriver, a 5/8 spark plug socket, dielectric or silicone grease, and you will, again, like I said, need various ratchets and extensions for different positions.
We do show you on one cylinder, but the procedure is the same for all the plugs. You need to use different tools due to different things impeding the workspace. Open up your hood. On each side of the engine, there are four coils. You can see the front one here, and then they go back. It's all the same procedure for each one. Those ones you need to use a short socket and a wrench. Disconnect, there's a little tab on the backside. Push them towards the coil a little bit. Push the tab and disconnect. Then 10mm socket and ratchet and remove the bolts that hold the coils. The bolts have little retainers on them so they don't come all the way out. Once you get it loose, move it around a little bit, and pull them up and out.
To access the plugs on the passenger side, we're going to remove the intake hose and the top air box. There's four clips, unclip them. Loosen this clamp here with the flat-blade screwdriver and pull this hose off, pull this hose off, and bring your intake box up and off and it gives you access.
On this side, you may want to have extension for this second one here. Again, push the connector towards the coil some, and press the tab and release. With our coil out, you can see the plugs are right down inside. 5/8 spark plug socket, very important you have a spark plug socket for this application and know you need various extensions to get down there.
This one's a certain size, so it goes down in, but I can also clear this hose. This is the reason you want the spark plug socket so that the plug will come up and out with it. You want to check the gap, it should be at .040, which is also 1.01mm and gap tool should slide in and out. Actually, it's a little bit big. We'll take the gap tool carefully bend it down just a hair. Lift it in and out.
Again, spark plug socket is the best so you can put it in and then they don't fall out. Put your plug down and in. Thread it by hand first to make sure it gets started, and torque these to 13 foot-pounds. You want to use some dielectric or silicone-based grease and put a little bit right inside the tube that fits over the spark plug. Put the coil down in, you want to push down firmly and start the bolts probably with your hand.
Once it's tight, reconnect the lead, put your air box lid back in, make sure you connect this hose, push it over, get it locked in right, put the tabs up and on. Then tighten up this clamp.
Thanks for tuning in. We hope this video helped you out. Next time you need parts for your car, please visit 1AAuto.com. Also check out our other helpful how-to and diagnosis videos.
Shop Products


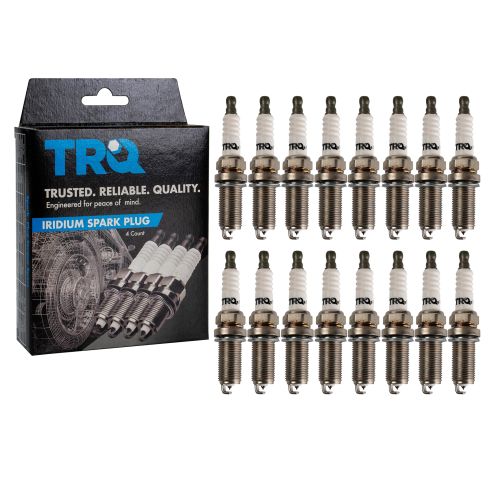
Jeep Dodge Chrysler 16 Piece Spark Plug Set TRQ SPA02182
Part Details:
- 16 Piece
- Iridium
- (16) Spark Plugs
- 5/8 IN
- 16 MM
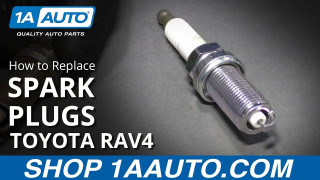
How to Replace Spark Plugs 2009-15 Toyota RAV4
Watch this video to learn how to replace the spark plugs on your 09-15 Toyota RAV4. 1A Auto shows you how to do it yourself so you can save money!
