How to Replace Side View Mirror 2003-08 Toyota Matrix
Created on: 2020-08-24
This video shows you how to install a new side view mirror on your 2003-2013 Toyota Matrix.
Tools needed
-
Gloves
Phillips Bit in a Ratchet
10mm Wrench
Drill
Magnet - Extendable
Trim Tool Set
Okay friends. To start this job, we need to be inside at the door panel. I'm going to come right up here and you're going to find a Phillips head screw to remove this little knob. Remove it. There it is. Go ahead and grab that knob, pull it off at the same time, set it aside. Now the next thing we need to do is remove this plastic piece of trim. I like to use one of these plastic trim tools. Try to pry it away. See if I can get it in there. Just pop it right off. It's got a little push clip there and it's got a little hooky-do here. Go ahead and set that aside.
Now we have a nice, clear view of our three mounting nuts. This one down here is going to be the hardest one to get to but it's definitely doable and you can do that with a 10 millimeter headed wrench. I like to also have a magnet handy because while it's all the way down there, you definitely don't want it to fall down inside the door panel. If it does, well, you're going to have to take off the door panel.
I'm going to start with the hardest one because that's how I roll. Once you break it free, you should be able to kind of get it off with just your fingers. I got my magnet here. Come on. There it is. Do the same to all the rest. Hold that mirror so it can't fall off. There we are. Now we need to just kind of shake the mirror free. You want to be very careful because obviously, we don't want to damage the paint on our vehicle. There we are. We are just going to carefully pull it away. There it is, friends.
Now, it's going to be time to install our brand new mirror. Pay special attention to the studs and make sure you remove the rubber covers that are on them. After you've done that, go ahead and line it up with the holes inside the door, be careful for your paint, of course. Slide it right on through. Start in one of the nuts so that way they definitely can't fall off before you release the mirror. Okay. Now we're going to start on the other two and then we'll snug them up. Now let's just make sure we snug up all of our mounting nuts. The last thing you want to do is have your mirror loose and wobbling around while you're driving down the road.
Okay, that pretty much bottomed out. I'm just going to go a teeny bit more because I don't want to break anything. Do the same to all the rest. Now the next thing we need to do is get this trim piece back on there. Remember about this little hooky-do, it needs to fit right in there and then of course we have our push clip that's going to go right there. I'm just going to line that up. Okay. Line up the push clip. A little loving bonk there. Make sure it's secure. It's definitely not falling off. That feels good. Let's grab the little handle it goes on here with the screw. Let's get the handle on there. If you look at it, you're going to be able to see that it has a cutout and it should match up with this, the way that you want it to aim. If I can get this on here. Just like that so it's aiming back. Now we're going to put in our little screw. Make sure it's nice and tight. Make sure this doesn't wobble, and of course we'll test the mirror itself. That's great.
Shop Products


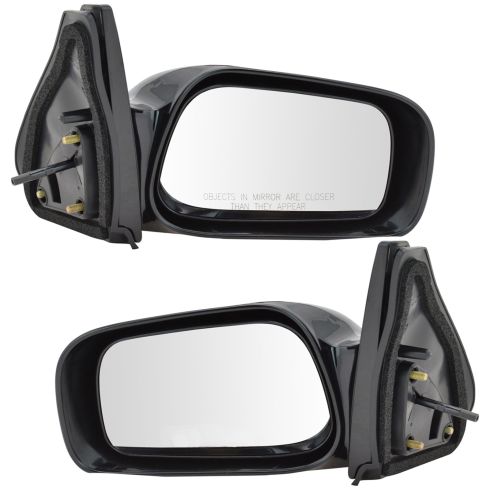
2003-08 Toyota Matrix Driver & Passenger Side 2 Piece Without Memory Paint to Match Mirror Set TRQ MRA09385
Part Details:
- 2 Piece
- Paint to Match
- (1) Passenger Side Mirror
- (1) Driver Side Mirror
- Manual
- 3
- No
- Black
- No
- No
- Manual
- No
- Plastic
- Yes
- No
- Without Memory
- Smooth
- Yes
- No
- Black
- Yes
- Smooth

How To Replace Side Rear View Mirror 1998-2002 Honda Accord
Check out this video tutorial by 1A Auto, and you can learn how to replace the side mirrors on your 98-02 Honda Accord!
