How to Replace Side Rear View Mirror 2002-05 Buick LeSabre
Created on: 2011-06-10
Need to replace the side view mirror on your 02-05 Buick LeSabre? Learn how in this video!
-
step 1 :Removing the Door Panel
- Pry the triangular panel straight out.
- Disconnect the speaker harness.
- Pry out the door handle bezel.
- Disconnect the harness from the bezel.
- Pry out the reflector.
- Remove the two uncovered Phillips screws.
- Using a putty knife pry out the clips around the door panel.
- Lift the door panel up and off.
- Disconnect the harness.
-
step 2 :Removing the Side Mirror
- Remove the insulation.
- Remove the harness from the clip in the door.
- Disconnect the harness.
- Remove the three 10mm bolts that secure the mirror.
- Pull the mirror out and off.
-
step 3 :Replacing the Side Mirror
- Run the harness through the door.
- Replace the three 10mm bolts.
- Re-clip the harness to the door.
- Reconnect the harness.
- Replace the insulation.
-
step 4 :Replacing the Door Panel
- Reconnect the harness to the door panel.
- Push the door panel lip into the weather strip groove.
- Line up the clips and hit them in around the door panel.
- Replace the two Phillips screws.
- Reconnect the speaker harness and push the triangular panel back into place.
- Replace the reflector.
- Reconnect the harness and replace the door handle bezel.
Tools needed
-
Flat Blade Screwdriver
Phillips Head Screwdriver
Putty Knife
10mm Socket
Ratchet
Brought to you by 1AAuto.com your source for quality replacements parts and the best service on the internet.
Hi, I'm Mike Green. I'm one of the owners of 1A Auto. I want to help you save time and money repairing and maintaining your vehicle. I'm going to use my 20+ years experience restoring and repairing cars and trucks like this to show you the correct way to install parts from 1AAuto.com. The right parts installed correctly. That's going to save you time and money. Thank you and enjoy the video.
In this video we're going to show you how to replace the mirror on this 2003 Buick LaSabre. Tools you'll need are Phillips screwdriver, a flat blade screwdriver and a door panel clip tool or putty knife, as well as a 10mm wrench or a socket and ratchet.
You start with a flat blade screwdriver and this panel actually kind of pulls. Carefully pry a little bit, up and out and then there's a little wire for your speaker. Pry on the side where you can see the tab. Pull the speaker lead out. Here, pry the front very lightly. Pull that out like that. Then again, the little tab right here, pry that out. Pull that out. Try not to drop that. Then back here on your reflector just kind of go in there and pry it out.
Now inside the door there's 2 screws. One there and one right there. And I'll just fast forward through removing those screws. They are Phillips screws. Then you use a putty knife or door panel clip tool, whatever you might have, and use your foot to hold it. Keep the door open. I'll give a yank there. It comes off. Here there's a master switch you kind of pull out on a couple of tabs. You pull out on these tabs and then that rotates down. The switch comes out and there's your door panel out.
Your mirror, a little piece of insulation, just kind of pull that up and out. Okay, this little clip, you just kind of bend it to the side. Pull that out. Let's clip it onto our module here and then there's a little pushbutton there. Push it in. Disconnect. 10mm socket and ratchet. You could use the wrench as well. I'll just fast forward as I remove the two bottom bolts.
Mirror is just kind of stuck a little bit to the gasket. Pull the mirror out. Here's the original mirror. New mirror from 1A Auto. Now our original mirror's in fine shape so I'm just going to reinstall this in the vehicle. But you can see the new mirror from 1A Auto is all the same. Just a couple of shipping safety things. It has the gasket and everything. Most importantly the connector is exactly the same. This is going to connect and bolt in. And connect just like the original. The only thing you might want to do is this little clip here is just kind of taped on to the harness so you could transfer that over to your new mirror so everything stays in place properly.
New mirror from 1A Auto is going to go on there and bolt on and be a great replacement. It comes molded in black plastic. You can obviously put that on there and it fixes your problem. If you want to match the vehicle I suggest going to an automotive parts store that has a good automotive paint shop and they can usually match the color of paint for your vehicle. Mix some up, put it in an air-charged spray can and you can spray it yourself and make it match. It wouldn't be perfect but it would be pretty good.
Like I said, this one's fine so I'm just going to reinstall my original. Put your harness through carefully. Then just look and make sure your studs go through correctly. Start one of the nuts. Carefully start my other two. Okay, fast forward through tightening up those nuts. You want to make sure they're snug, not overly tight. Then I did forget to film putting the gasket back in. I do that later when I'm putting the door panel back together. And take your wire, clip it in. Again, if you're putting a new mirror on you would want to probably change this clip over. It's just taped on here. Then go ahead and plug it in.
Just an explanation of what I'm going to do here. The door panel has a metal lip in it, I guess, kind of like a tongue and groove. It has the tongue side and then on the door itself on the rubber weather strip is the groove. You just need to make sure that you get that metal tongue into the groove and the best thing to do is kind of start it right where the hole for the door pull is. Start it there and then it kind of goes down in a lot easier.
You can see that I kind of look into that hole there and I kind of push the tongue into the groove a little bit. Make sure it's kind of lined up and it kind of pushes right down on. Now there are line-up tabs or line-up pins. Just make sure those are lined up. Make sure all your pins are lined up with the holes they're going into. Then once you're confident that they're lined up you can just kind of press the door panel on. Give it good hit in the corner at the bottom in the front and the rear. Make sure that the leads are out, the door lock leads and the speaker lead. Now you can start the two screws. I'll fast forward through that first one.
Best to start with your fingers first like this. Push it down in there. You might want to just take a screwdriver and push that pin down into the hole. Push it right in. Reflector snaps in. Our power lock connects. Pull the door handle out. Push that through. Push it back in. Push that in place and you're all set.
We hope this helps you out. Brought to you by www.1AAuto.com your source for quality replacement parts and the best service on the internet. Please feel free to call us toll-free 888-844-3393. We're the company who's here for you on the internet and in person.
Shop Products
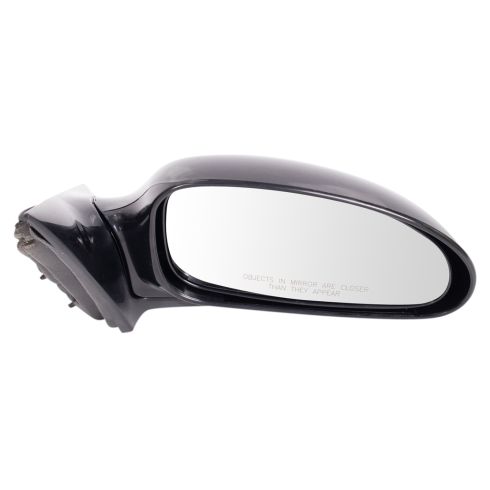
2002-05 Buick LeSabre Passenger Side Power Paint to Match Mirror TRQ MRA05539
Part Details:
- Paint to Match
- Electric
- No
- No
- Clear
- Curved
- Plastic
- Yes
- 3
- Black
- No
- No
- No
- No
- No
- No
- No
- No
- Manual
- Yes
- No
- No
- Black
- No
- 6
- 29.53 in
- No
- Yes
- Smooth
- Smooth
- Yes

How To Replace Side Rear View Mirror 1998-2002 Honda Accord
Check out this video tutorial by 1A Auto, and you can learn how to replace the side mirrors on your 98-02 Honda Accord!
