How to Replace Serpentine Belt Tensioner Idler Pulleys 2007-17 Ford Expedition
Created on: 2020-12-04
This video shows you how to install the complete kit on your 2007-2017 Ford Expedition.
Tools needed
-
Torque Wrench
Gloves
Serpentine Belt Tensioner Tool
Safety Glasses
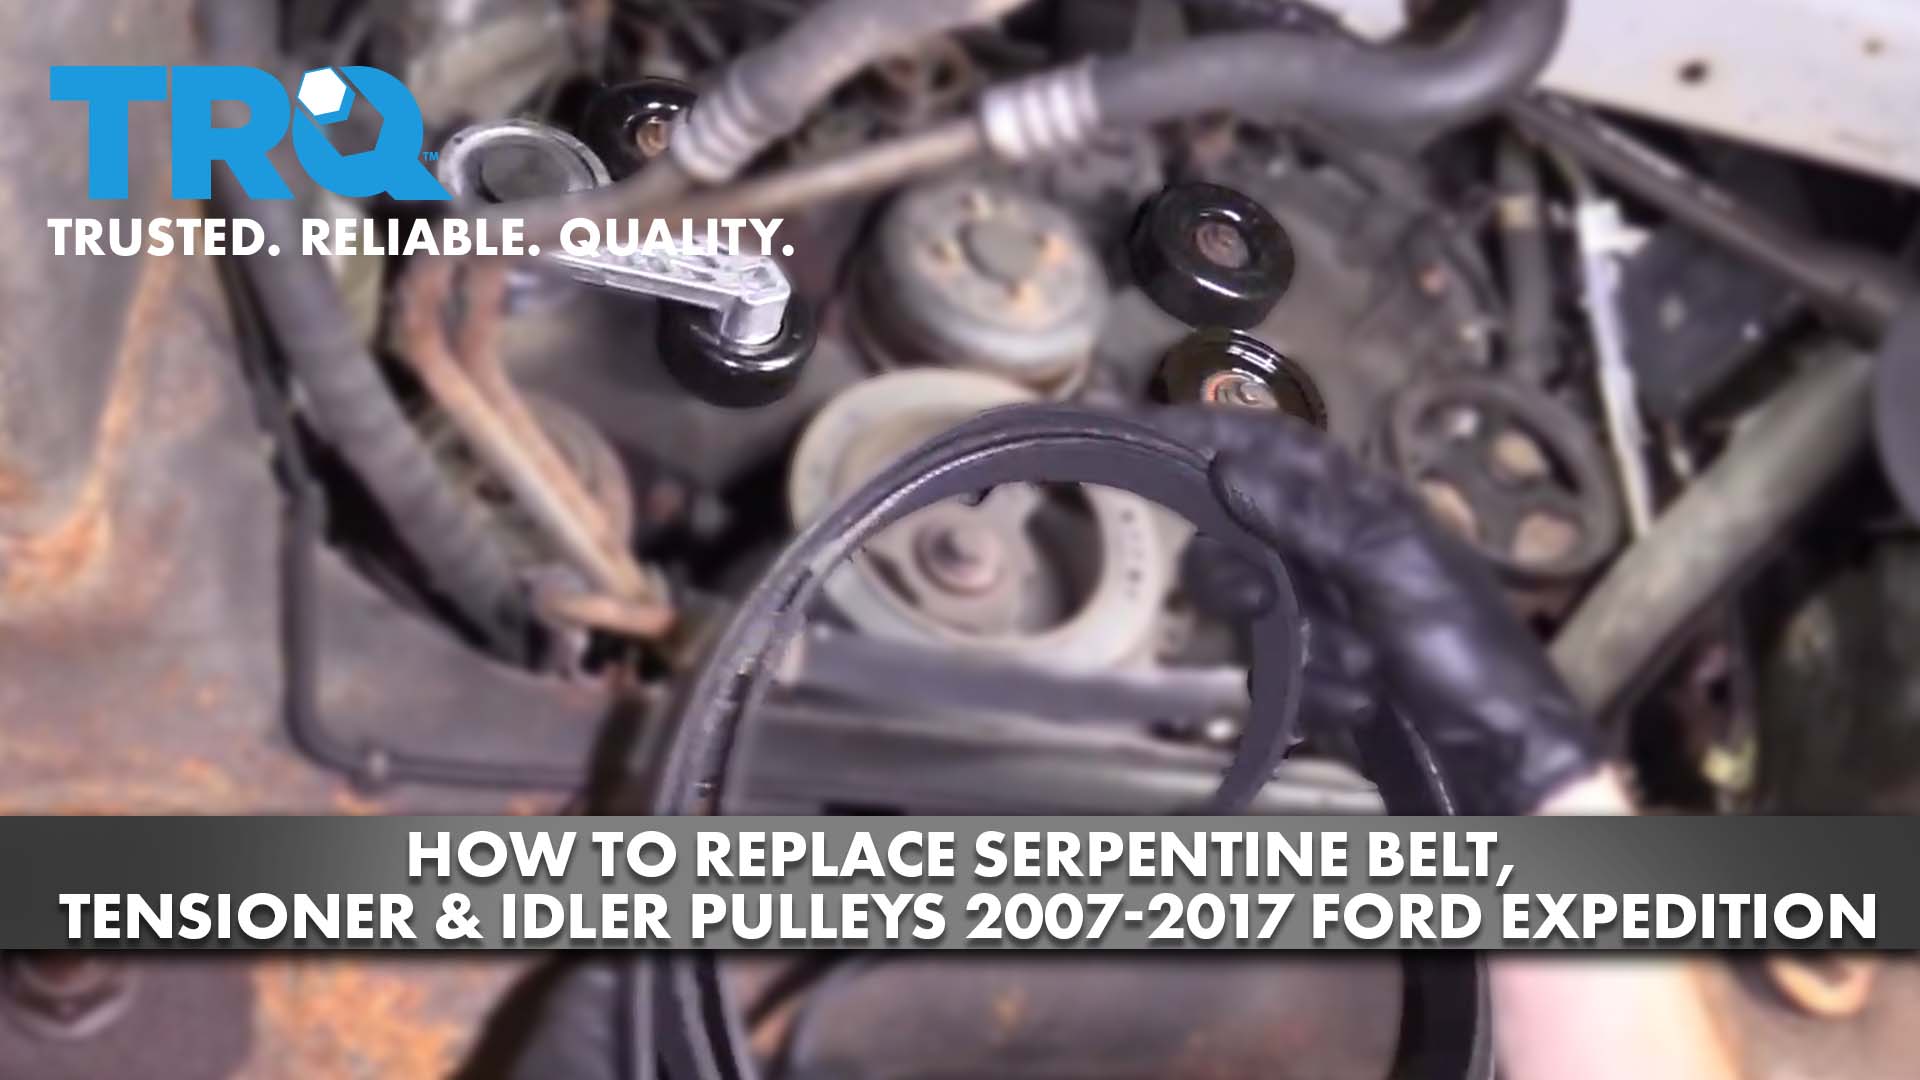
Okay, friends, before we get started, I just wanted to give you a heads up. You can access the serpentine belt and all the pulleys from right up along here, but it's actually much easier from the down underneath. So let's get under there. Now, coming underneath the truck, you wanna make sure if you have a skid plate, you take it down and out of the way. That's gonna give you a nice, clear view of what's going on on the front of the engine. This right here is the serpentine belt tensioner. We're gonna relieve tension on this, and then we'll take our belt right off of this pulley. And then we can release that tensioner and get our tool out of here as well. If you wanted to, you could try to pay attention to which way the belt is routed, but we're gonna be showing you how to put it on anyway.
Let's go ahead and get the belt right out of the way. You'll notice it comes right in between there. Let's go ahead and remove this pulley. Let's go ahead and get our ribbed idler pulley on here. Let's go ahead and bottom this out, and then we'll torque it to 18 foot-pounds. Now we would do the same to the other two. It's gonna be very easy because they're both the same. Now it's gonna be time to remove our tensioner. You're gonna have three bolts, one, two, three. Let's go ahead and install our tensioner, line it up with where it needs to go, start in all three of your bolts, and then snug them up. Let's torque this to 18 foot-pounds.
Now it's gonna be time to install our brand new belt. Before you go ahead and put it on though, make sure you inspect it and make sure it's the same size as your original belt. Once you've done that, take one corner like this, and we're gonna come right in between this area right here. Gonna bring this down and bring it over the AC compressor. The top aspect of the belt, let's bring it underneath this pulley right here, up and over the alternator, around under this pulley, and then around the power steering all the way down at the far end. Right down here with my left hand, I'm gonna start putting this down and around the crack, and then I'm gonna come up nearing the water pump, just like this. Let's grab our serpentine belt tool. I'm just gonna pull down on this, and now we'll pull this up and over the water pump. This looks great.
Go ahead and relieve tension, but we're not gonna remove our tool yet. You need to double-check all of your pulleys, especially the ribbed ones, and make sure the belt's situated perfectly inside all the ribs. This feels amazing. All right. Let's get our tool out of here. All right. Now, if you had a cover under here, make sure you go ahead and put that back on. The next thing we're going to want to do is carefully start up the truck, let it run for about 10 seconds, turn it back off. We're gonna come back out and we're gonna double-check those pulleys. Assuming they're good, take it for a road test.


Ford Lincoln Mercury 5 Piece Serpentine Drive Belt Component Kit TRQ BPA05090
Part Details:
- 5 Piece
- (1) Accessory Drive Belt Tensioner
- (1) Serpentine Belt
- (3) Serpentine Belt Idler Pulleys

How To Replace AC Compressor Serpentine Belt 2005-10 2-5L VW Jetta
How to repair, install, fix, change or replace a broken, noisy, squeaky, worn or groaning AC compressor serpentine belt on 05, 06, 07, 08, 09, 10 Volkswagen Jetta.
