How to Replace Serpentine Belt Tensioner 2008-12 Chevy Malibu
Created on: 2020-08-20
This video shows you how to install a new TRQ tensioner pulley in your 2008-2012 Chevy Malibu.
Tools needed
-
13mm Socket
15mm Wrench
Torque Wrench
Socket Extensions
15mm Socket
18mm Wrench
Jack Stands
18mm Socket
Pocket Screwdriver
Flat Blade Screwdriver
Socket Driver
Serpentine Belt Tensioner Tool
8mm Socket
Wheel Chocks
10mm Socket
Ratchet
Floor Jack
Swivel
Okay, friends. We need to get under the hood. Once you've done that, we need to get this air filter housing out of the way. I always like to unplug the mass airflow sensor first and get the wiring right out of the way. We'll just move this lock, so it's in the unlocked position, and then you press on the little black tab in the center and you should be able to draw this away. Take a peek, make sure you don't see any funny colors. Set it aside safely. Now, we need to remove our air filter inlet from one side. I'm going to go on this side right here. That comes off nice and easy. Let's go ahead and pop these clips. Give this a little wiggle, lift it up, and away from the vehicle. Let's grab that air filter, give it a quick inspection. Make sure it's in good condition. I also like to take a peek inside the box. Well, we're going to have to clean that out. Looking along the backside of the box, you're going to find a 10-millimeter mounting bolt. Remove that. All right. Next thing we need to do is get this AC line off of the box. Just lift up a little bit, take a nice pry bar. Carefully get under here and just pop it up. At this point, we should be able to move the box around. We're going to try to lift it up and out in this direction. There we are. Let's make sure we empty that out.
The next thing we need to do is have a floor jack with a nice pad or even a chunk of wood and we're going to try to jack up right under this portion of the engine. We just wanna apply a gentle amount of pressure so we can take off that mount. There we are. Now let's go ahead and take out our 3 15-millimeter mounting bolts for this bracket. Next, let's remove these 2 18-millimeter bolts. Let's get the mount out of here. It's always a great idea to look at the rubber right here. You want to make sure that it's in good condition. If it looks as though it's cracked or damaged in any way or even separated, it's a good time to replace it. The next thing we need to do is get this bracket off of here. You're going to find there's four mounting bolts. There's two located on the rear side of it, and then there's going to be one here and then one smaller one on the forward side. What we need to do right now is to try to jack up the engine a little bit. I want to try to have easy access to this bolt right here and that one right there. And then once I've done that, I'll go ahead and remove this one down here with a wrench.
Try to get it on that bolt. Break it free. Okay. There's that bolt. Leave that loose like that. Now, let's remove the forward bolt. Get my 13 on there. There we are. Let's get this up and out of there. Relieve tension with a 3/8 drive ratchet or serpentine belt tool. Get the belt off there. Use a 15-millimeter wrench to remove this center bolt. There it is, friends. Once you've compared to a new serpentine belt tensioner to your old one and you're sure you have the correct one, it's going to be time for our install. Take your mounting bolt, put it right inside the tensioner. What you're going to realize on the tensioner is you have a little nub right here and then on the engine, right up along the top, 12:00 basically, you're going to see where the hole is. We need to line that up, put the bolt in with the tensioner, and snug it up. Should set right in. Okay. That's snug. Now let's torque it. Let's torque this bolt to 33 foot-pounds. Let's get the serpentine belt back up on here.
The next thing you need to do is double-check all your pulleys. You want to make sure that that belt's sitting completely around the pulleys and it's also sitting in the grooves. This looks great. Now, it's gonna be time to get this bracket back on there. Slide it down. I'm going to line up the lower hole first. Let's put in our two bolts, the shorter bolt's going to go towards the rear. Let's do the forward bolt. And, of course, this forward bolt. Let's bottom all these out and then we'll torque them. Now, we need to torque down our bolts. You want to start with the left side upper, move your way down to the lower, and then finish with this one right over here. Torque them to 74 foot-pounds. For the small bolt, you just want to kind of bottom it out and then just give it a little bit more. Let's get this mount back in here now. Okay. As you can see, it's going to be sitting at an angle, so we need to bring the engine down a little bit so it sits level. So, now that we have this level, let's go ahead and start in all of our bolts. I'm going to start with the two closest to the engine and then I'll do the other three. For the other three, the shortest one goes towards the outer portion and then the other two will go down along the sides. Let's torque our bolts to 37 foot-pounds. Let's get our air filter housing back in here. Line up the pitons with the hole in the body. This needs to slide underneath the AC line of course. There we are. Line this up. You're gonna see you have a bracket. We want the bracket area to come along the top of that. Let's put in our bolt. Go ahead and snug that right up.
Time to install our air filter. You're going to see you have this area right here, that goes towards the passenger side. Let's get the cover on here. Pay attention to these ears right there, they need to go into the little hooky-dos down there. Let's come in at an angle. I'm gonna line this up. Get those in. Latch this in. I like to give it a nice tug to make sure it's completely secured. Make sure you completely secure your hose on there as well. And then, of course, tighten the clamp because you don't want any dirty air getting sucked into your engine. Make sure it's nice and tight. Reconnect your mass airflow sensor. And, of course, lock it in. Double-check it. That feels great. Let's remove the jack from under the vehicle.
Okay, friends. The next thing you need to do is start up the vehicle. Let it run for a couple seconds, turn it off, and recheck the belt. Make sure it's situated the way that it needs to be. If everything checks out okay, close the hood, take it for a road test.
Shop Products


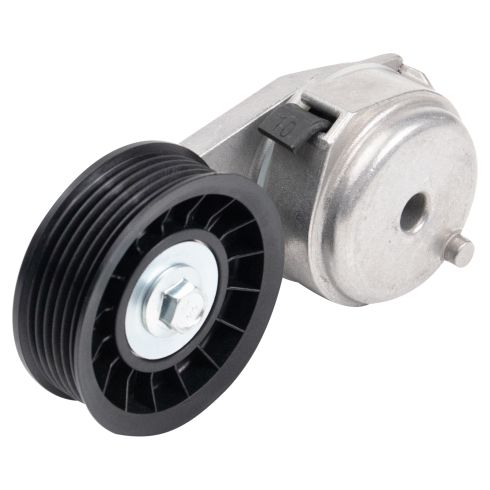
Chevrolet Buick Pontiac Saturn Accessory Drive Belt Tensioner TRQ BPA03844
Part Details:
- Pulley
- 17 mm
- 1
- 1.06 in
- Silver; Black
- 17 mm
- 74.7 mm
- 27 mm
- 0.67 in
- 0.67 in
- Grooved
- Aluminum & Thermoplastic
- 2.94 in

How to Replace Serpentine Belt Tensioner 1999-2014 Chevy Silverado 1500
Learn how to replace the serpentine belt tensioner in your 99-06 Chevy Silverado with this 1A Auto video.
