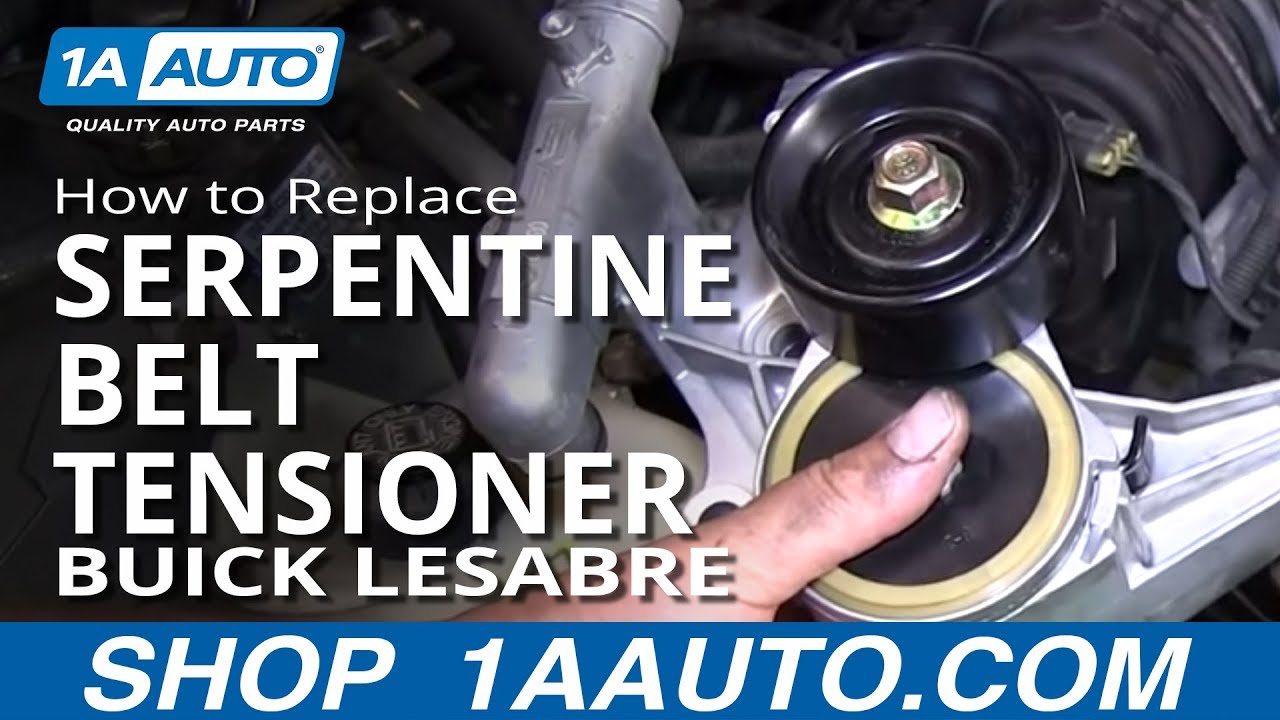
How to Replace Serpentine Belt Tensioner 1996-98 Buick LeSabre
Created on: 2013-06-27
Use this step-by-step instructional video to help guide the replacement of the serpentine belt tensioner on your 96-98 Buick LeSabre.
-
step 1 :Removing the Serpentine Belt
- Disconnect the negative battery cable with an 8mm wrench
- Familiarize yourself with the route of the serpentine belt
- Insert a 15mm socket & ratchet into the tensioner
- Turn the tensioner clockwise to loosen the belt
- Pull the belt off the alternator
- Release the tensioner
- Pull the belt off by hand
-
step 2 :Removing the Alternator
- Remove the three 13mm bolts from the alternator
- Remove the 10mm bolt from the alternator bracket
- Remove the 13mm nut from the bracket below the coils
- Lift the alternator up
- Disconnect the alternator wiring harness
- Remove the alternator
-
step 3 :Draining the Coolant
- Remove the 10mm bolts from the splash pan
- Remove the 7mm bolts from the splash pan
- Place a drain pan beneath the coolant
- Turn the plastic drain plug
- Drain the coolant
- Turn the plastic drain plug
- Reattach the 7mm bolts to the splash pan
- Reattach the 10mm bolts to the splash pan
-
step 4 :Removing the Tensioner
- Remove the two 8mm bolts from the tensioner that hold the coolant pipes
- Pull up and wiggle the coolant pipes to remove them
- Remove the two 13mm bolts from the tensioner
- Place a flat blade screwdriver between the engine block and tensioner
- Pry the tensioner free
-
If a piece of the elbow is stuck in the engine block, pull the O-Ring and broken elbow free with a pick
step 5 :Installing the New Tensioner
- Check to make sure the surfaces where the seal will be inserted are clean
- Place the new elbow into the new tensioner
- Line up the tensioner with the engine block and press it in
- Insert and tighten the 13mm bolts into the tensioner
- Remove the seals from the coolant pipes with a pick tool
- Fit the new seal onto the coolant pipes
- Insert the coolant pipes
- Insert and tighten the two 8mm bolts that hold the coolant pipes
-
step 6 :Installing the Alternator
- Place the alternator on top of the tensioner
- Insert the 13mm bolts into the alternator
- Insert the 10mm bolt into the alternator bracket
- Place the bracket into place
- Insert the 13mm bolts on the alternator and below the coils
- Connect the alternator wiring harness
-
step 7 :Reinstalling the Serpentine Belt
- Loop the belt around the A/C compressor pulley
- Bring it around the crankshaft pulley
- Bring it around the water pump pulley
- Bring it around the idler pulley
- Bring it around the power steering pulley
- Pull the belt over the alternator
- Pull the tensioner clockwise with the 15m socket and ratchet
- Pull the belt over the tensioner
- Release the tensioner
-
step 8 :Filling the Coolant
- Remove the radiator cap
- Refill the coolant bottle as needed
- Reconnect the negative battery cable
Tools needed
-
13mm Socket
Flat Blade Screwdriver
15mm Socket
Pry Bar
8mm Wrench
Drain Pan
10mm Socket
Ratchet
Anti-Freeze
Pick
Brought to you by 1AAuto.com, your source for quality replacement parts and the best service on the Internet.
Hi, I'm Don from 1A Auto. I hope this how-to video helps you out, and the next time you need a part for your vehicle, think of 1AAuto.com. Thanks.
In this video, we're going to show you how to replace the serpentine belt tensioner assembly on this 1997 Buick LeSabre. It's basically the same operation for the model years 1997 through 1999 with the 3.8-liter engine. The items needed are going to need include a new belt tensioner from 1AAuto.com, 10mm, 13mm, and 15mm sockets and socket wrench, pry bar, 8mm wrench, a hook tool, and something to drain your coolant into.
I'm also using an 8mm wrench to remove the negative terminal on the battery, pushing it off to the side. The belt tensioner pulley is right below the alternator. The alternator being here, here being the belt tensioner, and I'm going to use a 15mm socket and socket wrench to loosen up the tension on the belt. Once I've got that, slide it off the alternator pulley.
Here, I'm pointing out the nuts and bolts that hold in the alternator that we're going to remove. Those are 13mm. There are three of them. On the back side of the alternator there's a 10mm bolt that holds the bracket to the alternator. We're just going to fast-forward as we remove those nuts and bolts that hold the alternator in. Underneath the coils is another nut that holds this bracket into place, and we need to remove that nut so that we can access the nut and stud right here.
We'll continue to fast-forward here as we remove that bracket and remove the rest of the bolts that hold the alternator. You can go ahead and lift out your alternator. On the back side, you'll see a clip with the wiring harness. Disconnect that. Pull your alternator out.
Under the front spoiler, you're going to find the splash pan and several 10mm bolts that hold the splash pan in. Remove a few of those, three or four of them, to get access to the underside of the radiator where the coolant drain is. I'm going to fast-forward as I remove those. Once you have the 10mm's down, and you can gain access, if you feel like you need further access, there is a couple 7mm screws that are held here, just by removing these and getting it totally out of the way might benefit you in that the coolant isn't going to splash against the pan before it gets into your container.
Here I'm feeling around for the plastic drain plug. You're going to want to turn it. You can use a pair of pliers if you need to. When the coolant comes out, it's going to come out of the hole at the bottom of the radiator where we're looking. You're going to want a coolant catch pan or something to catch the coolant as it's coming out. I'm going to go ahead and fast-forward while I drain the coolant out.
With our coolant drained out, we can go ahead and put the splash pan back into place. Secure it with the 10mm and 7mm screws we took out. On the tensioner there are two 8mm screws that hold the coolant pipes in. We're going to remove those two 8mm screws. Wiggle your pipe back and forth, pulling it up at the same time. Pull it out and set it aside. Same for the bottom and the other hose. You might need to use something for leverage to free it up. Once you've got the pipe free and out, go ahead and rest it to the side, and make sure you've got a drain pan underneath to catch any leftover coolant.
The two 13mm bolts: one down here and the other is back behind here. Here, I'm pointing out the coolant pipe that goes into the block. This is actually part of the casting of the tensioner, so we have to work that free. Use a screwdriver in between your tensioner and the block. Just try to work it free. As you pull the tensioner out, you'll see how the coolant flows through the tensioner casting, through the elbow on the right hand side, and now through the bottom. You can see that the end of our elbow broke off inside the intake. It's tough to see, but down inside of here you can see where the elbow broke inside. I'm going to use a small hook tool to pull it out.
Got the O-ring. The hook tool wasn't enough to get the broken piece from coming out. It's seized in there. Seated. So, I'm going to use a small blade screwdriver and a little hammer and give it a little tap to try and free it up. Then I'm going to go back in with the pick tool and pull that out. This was just an FYI, you may or may not experience this issue with the elbow.
We've got the old; we've got the new part from 1A Auto. They're identical, and will go back in just the way it came out plus it comes with a new elbow and seals. I want to make sure that the surfaces where my seals are going to be sitting is clean. Run your finger inside and make sure that's okay, as well as in here with this elbow. On your new tensioner you're going to want to make sure your gasket is on. You've got your elbow with the two gaskets. You can go ahead and put in one side of the elbow. Seat that. Go ahead and put the tensioner back inside in place. Line everything up and press in.
In here, I'm going to reinstall the first of the two 13mm bolts that hold the tensioner in place. I'm going to go ahead and fast-forward while I reinstall and tighten up those 13mm bolts. I'm going to reinstall the other 13mm. It goes on the bottom, right underneath the tensioner. Now, I'm going to replace the seal on the end of the top hose and on the bottom hose. I'm just going to use a pick tool to pick them out. Here, I'm using a small pocket flat head screwdriver to run it through the groove on the pipes so that the seal sits nice and flush. Fit your new seal. On the other side. Press them in.
Reinstall the 8mm bolts that hold the coolant pipes to the tensioner. I'm going to go ahead and fast-forward while I reinstall those bolts. Reinstalling the alternator. Go ahead and start your bolts. I'm going to put the cable on the back. Secure that. Reinstall the 10mm on the backside of the alternator. Reinstall your bracket. We took it off so now it's re-secured. And let it hang. Plug your harness back in, back on the back side of the alternator.
Line your belt back up on the pulleys. Put it over the alternator. Leave it off of idler pulley and then proceed to pull up and snake the belt back onto the idler pulley. Here, you see the belt up over the alternator, tensioner pulley, water pump, crank, A/C compressor and power steering pump. Remove your radiator cap. Refill your coolant into the radiator and then fill your coolant bottle as needed. Reconnect the battery.
We hope this video helps you out. Brought to you by www.1AAuto.com, your source for quality replacement parts and the best service on the Internet. Please feel free to call us toll-free, 888-844-3393. We're the company that's here for you on the Internet and in person.
Shop Products
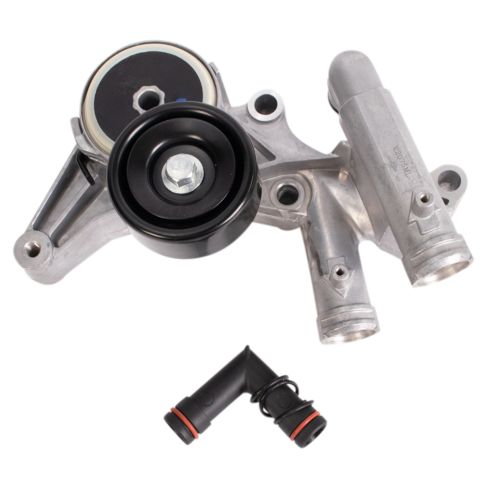
Chevrolet Buick Pontiac Olds Accessory Drive Belt Tensioner TRQ BPA03820
Part Details:
- Pulley
- Smooth
- 17 mm
- Silver; Black
- 17 mm
- 2.99 in
- 1.22 in
- 0.67 in
- 0.67 in
- 31 mm
- Aluminum & Steel
- 4
- 76 mm
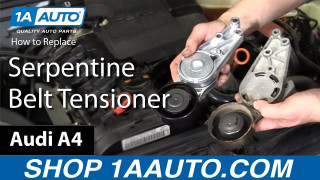
How to Replace Serpentine Belt Tensioner 2002-08 Audi A4
Watch this video to learn the steps needed to replace the serpentine belt tensioner on your 02-08 Audi A4.
