How to Replace Rear Wheel Bearing Hub Assemblies 2004-2009 Mazda 3
Created on: 2025-06-30
This video shows you how to install a new wheel hub and bearing on your 2004-2009 Mazda 3.
Tools needed
-
14mm Wrench
Hammer
Socket Extensions
Jack Stands
Safety Glasses
E7 Inverted Torx Socket
21mm Socket
Gloves
Pole Jack
Wheel Chocks
T30 Socket
Ratchet
Floor Jack
Wire Brush
Shop Products


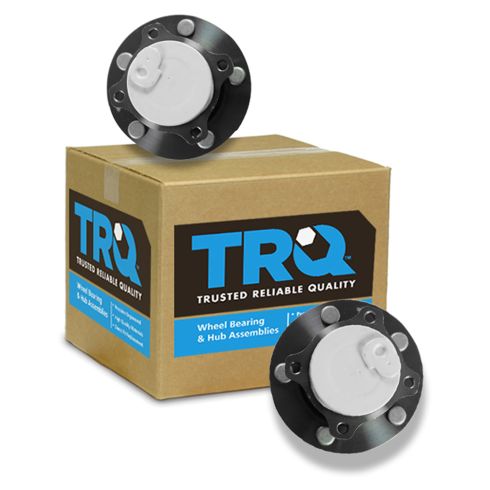
Mazda 3 5 Rear Driver & Passenger Side 2 Piece Wheel Bearing & Hub Assembly Set TRQ BHA53704
Part Details:
- 2 Piece
- (1) Rear Passenger Side Wheel Bearing & Hub Assembly
- (1) Rear Driver Side Wheel Bearing & Hub Assembly
- Ball
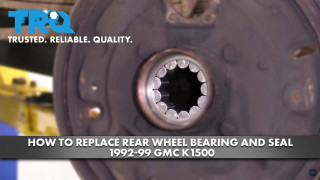
How To Replace Rear Wheel Bearing and Seal 1992-99 GMC K1500
If you hear a grinding or groaning noise while your vehicle is rolling, it might have a worn out wheel bearing. A worn bearing can allow the wheel to wobble, creating a host of other issues. To save yourself from more headaches down the road, replace your bearing right away. For solid rear axles, you'll need to replace the axle seal too. How to install a new TRQ wheel bearing and axle seal on your 1988-2002 GMC K1500.
