How to Replace Rear Sway Bar Link 2011-15 Hyundai Sonata
Created on: 2019-06-04
Check out this video to learn how to replace the rear sway bar links on your 11-15 Hyundai Sonata. It's a quick job, and 1A Auto will show you how.
-
step 1 :Removing the Rear Sway Bar Link
- Raise and support the vehicle
- Remove the 19 mm nut securing the rear sway bar link to the lower control arm
- Remove the 19 mm nut securing the rear sway bar link to the sway bar
- Remove the rear sway bar link
-
step 2 :Installing the Rear Sway Bar Link
- Insert the straight end of the rear sway bar link into the lower control arm
- Insert the right angle end of the rear sway bar link into the sway bar
- Tighten a 17 mm nut onto each rear sway bar link stud
- Lower the vehicle
Tools needed
-
Socket Extensions
17mm Socket
Jack Stands
19mm Socket
Ratchet
Floor Jack
Hey friends. It's Len here at 1A auto. Today I'm working on a 2011 Hyundai Sonata. We'll be doing rear sway bar links. It's very easy. I want to be the guy that shows you how to do it. If you need this or any other part, you can always check us out at 1Aauto.com. Thanks.
So for the purpose of other videos, I removed the wheel. That doesn't have anything to do with this sway bar link video. You can do it all completely without removing the wheel. Okay. Time for the rear sway bar link.
I'm going to take off this nut right here. This one right here. And then theoretically it should come right out. 19. 19. Use your air gun. Use your ratchet, whatever you want to do. Take them out. Those are our two nuts. We're going to be replacing with new ones anyway, but that's all I did. Just take those off. Put those aside for recycling. Take it out of there. Little stuck in here. It's okay.
I'm just gonna grab my hammer. Hold my link so it doesn't come and hit me in the face. And there's our sway bar link. Now we're clear to replace it with a quality 1A auto part.
All right everyone, a quick product comparison for you. We have our rear sway bar link from our 2011 Hyundai Sonata. Just pulled it out. Easy job. Two nuts. And we have our brand new quality 1A auto part right here. We'll just compare them next to each other. Same length. Looks pretty good.
Really isn't much to say, right? This is nice and sealed. No water is ever going to get in there. Nice and sealed. No water's ever going to get in there either. So as you can tell, this is a quality part and if you need this or any other part, you can always check us out at 1Aauto.com. Thanks.
So here we go. Time for the install. We've got our quality part. We're going to go ahead and put it in the bottom first. So I'm going to go up and over. Drop that stud in. Looks pretty good. I can start a nut if I want. Just a 17 millimeter head. I'm not going to tighten it up yet though. I'm going to get it started into this sway bar. Okay. I'm gonna put on a nut. There we are.
Now we're clear to start tightening these up. Just going to use a 17 millimeter. If you have access to an air gun, you can use that, or if you want to use a ratchet, can use that as well. Okay, so now I've got both my nuts tightened on. They're nice and snug. They're going nowhere. Perfect. We are good to go. Great job everybody.
Thanks for watching. Visit 1Aauto.com, your place for DIY auto repairs, for great parts, great service, and more content.
Shop Products

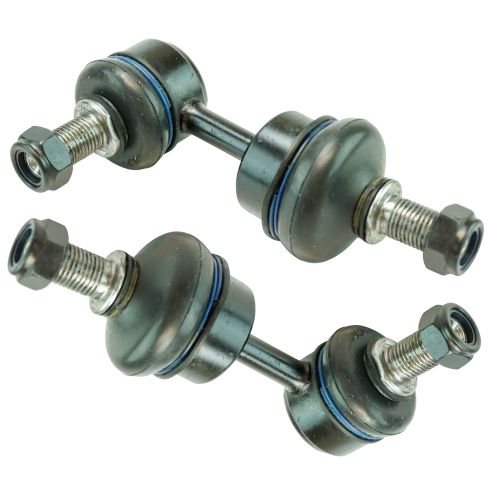
Hyundai Kia Rear Driver & Passenger Side 2 Piece Sway Bar Link Set TRQ PSA56001
Part Details:
- 2 Piece
- (1) Rear Passenger Side Sway Bar Link
- (1) Rear Driver Side Sway Bar Link

How to Replace Front Sway Bar Links 1998-2008 Ford Ranger
Check out this video to learn how to replace the front sway bar links on your 98-08 Ford Ranger.
