How to Replace Rear Shocks 2008-16 Nissan Rogue
Created on: 2017-05-03
How to repair, install , fix, change or replace your front shocks with their loaded struts on 08, 09, 10, 11, 12, 13, 14, 15, 16 Nissan Rogue
-
step 1 :Removing the Wheel
- Loosen the five 21mm lug nuts
- Raise and support the vehicle
- Remove the lug nuts
- Pull off the wheel and tire
-
step 2 :Removing the Shock Absorber
- Support the suspension with a jack
- Remove the 18mm nut and bolt from the bottom of the shock
- Remove the 18mm bolt from the top of the shock
- Remove the shock from the vehicle
-
step 3 :Installing the Shock Absorber
- Lift the new shock into place
- Insert the 18mm bolt into the top of the shock
- Fasten the 18mm bolt and nut to the bottom of the shock
- Tighten the 18mm bolts and nut
- Lower the jack from the suspension
-
step 4 :Installing the Wheel
- Slide the wheel into place
- Start the five lug nuts
- Lower the vehicle to the ground
- Torque the lug nuts to 80 foot-pounds in a crossing pattern
Tools needed
-
21mm Socket
Socket Extensions
Torque Wrench
Jack Stands
18mm Socket
Ratchet
Floor Jack
1/2 Inch Breaker Bar
Hi, I'm Mike from 1A Auto. We've been selling auto parts for over 30 years. We're dedicated to delivering quality auto parts, expert customer service, fast and free shipping, all backed by our 100% satisfaction guarantee. Visit us at 1AAuto.com, your trusted source for quality auto parts.
In this video we're going to be working with our 2009 Nissan Rogue all-wheel drive. We're going to show you how to remove and replace your vehicle's rear shock. We're doing this on the passenger side but the procedure is the same on the driver's and we do recommend you replace them as a pair. If you like this video please click subscribe. We have a ton more information on this and many other vehicles. If you need these parts for your car, you can follow the link down in the description over to 1AAuto.com. Here are the items you'll need for this repair.
Loosen your lug nuts with a 21 millimeter socket and a breaker bar. You want to loosen them all about one turn. Raise and support your vehicle. We're using a lift to make it easier to show you what's going on but this job can easily be done at home with a jack and jack stands. Now, normally you can remove lug nuts by hand but these are recessed pretty far into the wheel, so I'm just going to use the 21 millimeter socket and my hand to remove the rest of our lug nuts. Remove your wheel and tire.
Using an 18 millimeter wrench and a socket and ratchet, remove the 18 millimeter nut and bolt at the bottom of the shock. With the vehicle jacked up, the shock does partially limit the travel of the suspension so you'll need to use a floor jack or screw jack to take some of the weight off in order to remove that bolt more easily. Using an 18 millimeter socket, ratchet, and the appropriate extension, remove the bolt on the top of the shock. You can access this over the back of the rear sub-frame. Once the bolt is out you can remove the shock from the vehicle.
Install the new shock. It's usually easiest to do the upper bolt first. Before you tighten that down you'll want to get the lower one into place as well. With that weight still on the vehicle, we'll tighten down all of our 18 millimeter hardware. Once everything's tight you can lower your jack or screw jack.
We'll reinstall the wheel and tire. I'll get one nut started on there. We'll get the rest on as best we can and then tighten them down by hand with our 21 millimeter socket. We'll then torque our lug nuts to 80 foot-pounds in a cross pattern.
Thanks for watching. Visit us at 1AAuto.com for quality auto parts, fast and free shipping, and the best customer service in the industry.
Shop Products


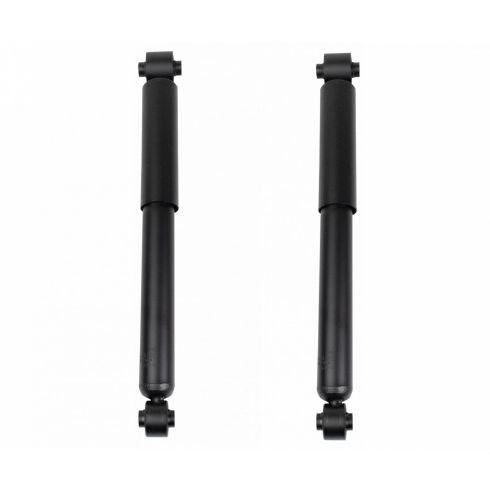
Nissan Rear Driver & Passenger Side 2 Piece Shock Absorber Set KYB Excel-G KYSSP00507
Part Details:
- 2 Piece
- (1) Rear Passenger Side Shock Absorber
- (1) Rear Driver Side Shock Absorber

How to Replace Front Struts 1994-97 Honda Accord
Learn how to replace clunking or bouncy struts on your 94-97 Honda Accord by watching this tutorial video from 1A Auto.
