How to Replace Rear Shock Absorber 2005-14 Ford Mustang
Created on: 2020-04-02
Watch this video to learn how to install new rear TRQ shocks on your 2005-14 Ford Mustang. TRQ struts are direct replacements engineered for your vehicle.
Tools needed
-
Torque Wrench
Socket Extensions
15mm Socket
Socket Driver
Jack Stands
Large Locking Pliers
Wheel Chocks
Ratchet
Floor Jack
Swivel
1/2 Inch Impact Gun
Okay, friends. So what I did is I raised the vehicle. I put jack stands underneath the differential tube, and then I lowered the vehicle back down so it's pretty much taking the weight off of the shock. I have the wheel off because it makes it easier for me to work. You don't necessarily have to remove it. I'm gonna remove this bolt right here using a 15-millimeter. After that, I'm gonna go up top.
I'm just gonna take that bolt. Just put it in there just a teeny bit just to hold that shock so it doesn't fall. So next we're going to go inside the trunk. You can pull down this little felt panel here, then you see the upper portion of that shock. Remove this 15-millimeter as well.
Now I'm gonna grab the shock, and remove that bolt, and then carefully slide this out. There it is.
So once you cut the ribbon off of your shock, it's important to use this cap and then press straight down on this. What this is gonna do is it's gonna charge the shock. The gases inside need to mix. Every time you do this, this is going to come up a little faster, and it's gonna get a little bit harder to push down. You need to do this three to five times.
So the next thing we're gonna do is take this grommet right here. A little bit of lube. I'm just gonna go right along this like that. I'll show you why. We're gonna come under here and just help this up into the body of the vehicle just like that.
So next, you're gonna take your shock. I'm gonna put this little metal piece so it's facing up. You've got a cup there. Come in here just like this. If you wanted to, you could put a little bit of lube on that shock as well. I'm going to do it. All right. Grab that shock bolt, start putting it through.
You've got the nut. You've got the little flippy do here, that's gonna line up with right there. Start this in. Let's go up top. I've got these three pieces left so I'm gonna take this little rubber grommet right on top just like that. My cup is going to face down. Then, of course, you've got your locking nut with the neoprene. The neoprene faces up and away from the shock. Awesome.
So now I'm just gonna snug this up a little bit. All right. Now I'm gonna bottom-up the bottom side and then we'll torque these to manufacturer specifications. So to torque the upper mounting nut up there, you're going to need to hold this because it's going to want to spin. Just use some nice locking pliers. Carefully go up along the top here and lock them in. Now we're gonna torque this nut to 30 foot-pounds. There it is right there.
Now we're gonna bottom out this bolt. Torque this to 85 foot-pounds. Torqued. Let's get this back up in here. Lift up on this liner, just go all the way around. Something nice like that. Perfect. Now, with the wheels, make sure you torque your lug nuts in a crisscross manner to 100 foot-pounds. Torqued.
Shop Products


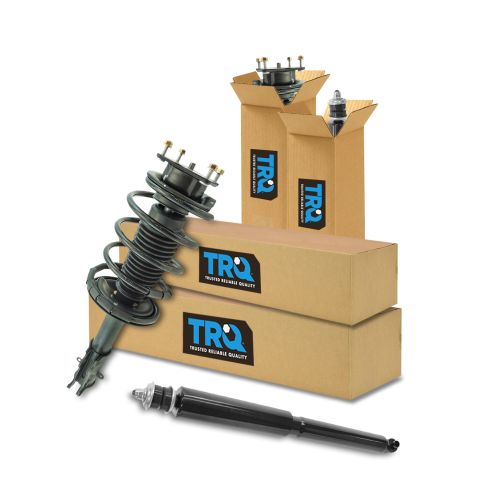
2011-14 Ford Mustang Front & Rear 4 Piece Complete Strut Assembly & Shock Absorber Kit TRQ SKA85167
Part Details:
- 4 Piece
- (2) Front Strut & Spring Assemblies
- (2) Rear Shock Absorbers

How to Replace Strut Assembly 2005-10 Chevy Cobalt
Follow along to learn how to replace a front strut assembly on your 05-10 Chevy Cobalt.
