How to Replace Rear Hatch Support Struts 2009-17 Chevy Traverse
Created on: 2018-02-27
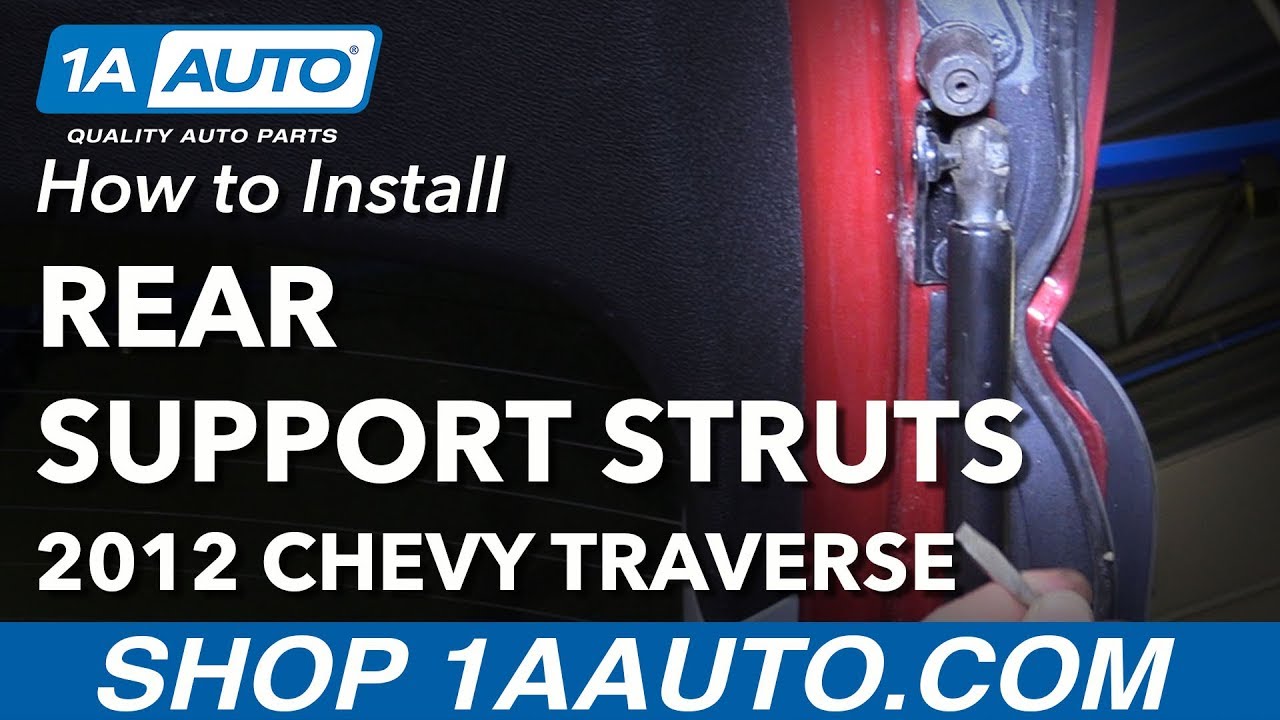
How to repair, install, fix, change or replace a weak or sagging hood or hatch strut on 12 Chevy Traverse
-
step 1 :Removing the Hatch Support Strut
- Have an assistant hold the hatch
- Pull the locking strip out with a flat blade screwdriver
- Remove the hatch strut
-
step 2 :Installing the Hatch Support Strut
- Insert the hatch strut into place
- Clip the locking strip in
Tools needed
-
Flat Blade Screwdriver
Assistant
Hi, I’m Mike from 1A Auto. We’ve been selling auto parts for over 30 years!
To remove the hatch struts, you'll need an assistant to help you hold the hatch. It's very, very heavy. As soon as you release one of these, the hatch is going to want to fall, or maybe they're not working great and it won't stay up on it's on anyways. You're going to use a flat bladed screwdriver to pull the lock out. It doesn't have to come all the way out, but just enough because you're going to pop off ball stud. Just like that. Somebody's holding it for me. We're going to do the same thing for this one. Pry it up and out. Take it off the ball stud here.
Take your new one. These were working fine, so we're just going to reuse them. The lock will be in place like that. Just push it right over. It locks in place. Got to readjust the lock clip on this one. Push it right back in. Push this up a little bit. Clip it in place. This will be the same for both sides.
Thanks for watching. Visit us at 1AAuto.com for quality auto parts, fast and free shipping, and the best customer service in the industry.
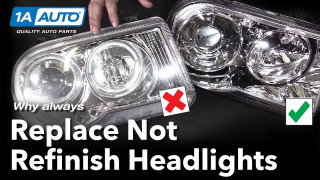
Why you Should Replace Not Restore Headlights
See why replacing your cloudy headlights with new ones is always better than refinishing them Why should you replace your headlights and not clean or refinish them? Three reasons: It's a simple fix, it increases visibility, and it enhances the overall look of your vehicle. Headlights are made from a polycarbonate plastic that can be damaged by UV rays from the sun or suffer pitting caused by road debris light salt and rocks. If you look closely at an old set of headlights, you'll see that the lens is full of micro-cracks. This is called crazing. This crazing, along with pinning, will turn your headlights from crystal clear to hazy yellow and it cuts the output in half, making it very difficult to see at night. It also makes your car look old and dated. With parts from 1AAuto.com and our how-to videos, you can make your vehicle look new and stay safe on the road. To get new headlights for your vehicle, visit 1AAuto.com and visit our YouTube page for do-it-yourself and how-to videos.
