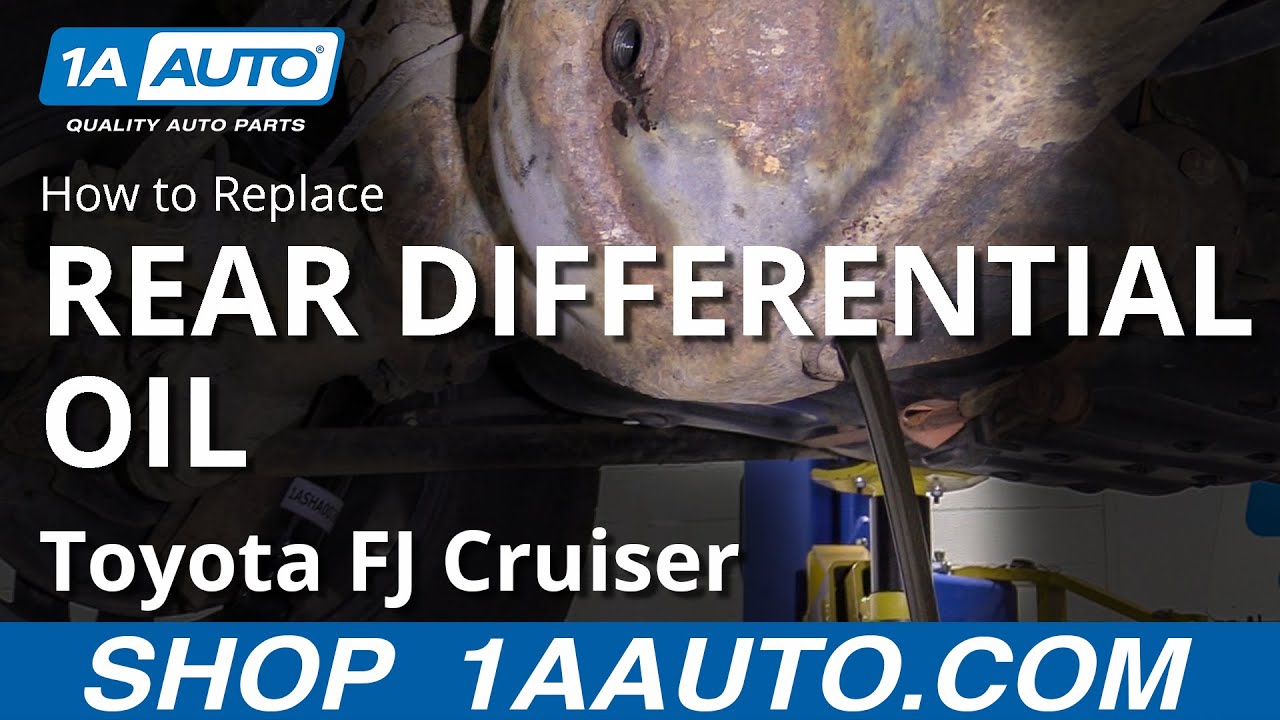
How to Replace Rear Differential Oil 2007-14 Toyota FJ Cruiser
Created on: 2019-07-30
Doing your own fluid maintenance is a great way to save money! Watch to learn how to change the differential fluid on your 07-14 Toyota FJ cruiser!
-
step 1 :Changing the Rear Differential Oil
- Remove the 24 mm fill plug
- Remove the 24 mm drain plug, and allow the oil to drain into a pan
- Clean the magnetic 24 mm drain plug and reinstall it
- Fill the differential with 80W-90 gear oil until it begins to spill out the fill hole (Approximately 3 quarts)
- Clean and reinstall the 24 mm fill plug
- Torque both 24 mm plugs to 27 ft-lb
Tools needed
-
24mm Socket
Torque Wrench
Drain Pan
Ratchet
Hey, friends. It's Lenny, here. 1A Auto. Today we're working on a 2007 Toyota FJ Cruiser. We're going to be servicing the rear differential. It's going to be a very easy job, and I want to be the guy that shows you how to do it. If you need any parts, you can always check us out at 1aauto.com.
We're going to remove this fill plug, using our 24 millimeter socket. Just put it on there. You probably don't necessarily need to use a ratchet this long. It's just what I had on my cart, so I grabbed it. Make sure our collection bucket's under there, just in case the fluid comes out, You don't want any fluid getting on the ground if we can avoid it.
Okay, here's our fill plug. That flat thing's the gasket. Just make sure it's in decent condition. Looks all right. We'll clean that up in a minute. Now that we know the fill plug comes out, we're clear to drain the oil, which is right down here.
Oh, to check the fluid, all you do is you just take your gloved finger. You can put it in there. Just try to curl it in and down a little bit. The fluid should be maybe right below, right about this lip area right here, above my finger. Not necessarily up there, but at least to where that is. So I would just go in, get a little feel. The fluid is full. So that's good. If you were just checking the fluid, then you can go ahead and close it. I'm going to service the fluid. So I'm going to put this one here, 24 millimeter.
And the importance of removing the fill plug before the drain plug is, just in case the fill plug is stripped, and/or doesn't want to come out for some reason, you won't have an issue with having an empty differential. It's basic, but I just want to state it.
This is going to come out, into our collection bucket. We've got eye protection, hand protection. Here we are. All right, we'll let that do its thing. But you might notice when you're back here is that when you took out the plugs, there's actually two different plugs. Maybe you noticed it. Maybe you didn't, but I'm going to show you there is a difference.
I will clean it off first. `This one right here, in the center, actually has a magnet. The other one, not so much. Okay? The reason for that is the lower one, or the drain, would have the magnet. It's going to catch any flakes of metal that might get swirled around inside your fluid. You're off-roading, You're doing whatever you do, small chunks of metal come off. I mean ,it is what it is. They're going to get caught on the magnet, hang out down here, and they won't keep swirling around inside the differential.
Okay, so the magnet one goes in the bottom. The one without the magnet goes in the top. So we'll just continue cleaning this off real quick. Get it so it's always clean. So we've got the one with the magnet. It's going in the drain hole, which is the lower hole. I'm just going to bottom this out, 24 millimeter. Here we are. We're going to torque that when we're done, but first we're going to fill this up with 80W-90 gear oil.
So when you get your bottles, generally speaking they're going to come with a little tip on them like this, and the tips have a little cover. The cover comes off, and you just trim the tip to the size that you want. I usually like to go above the nub right here, and that's just so if I don't end up using this whole bottle, I can just go ahead and put the cover on. Clips in. I mean, it's not going to be a airtight? I can tip it upside down or throw it in the trunk of my car or anything, but at least it'll make it so nothing gets in, and I can store it on a shelf if I needed to. Okay? So I just cut off up above that line, like I told you. Now I'm going to go ahead and add.
Sometimes these make funny noises, just so you know. You might think it's the camera guy, but oh, camera guy. All right, we get the majority of that in there. I'm just going to keep trying to make sure I get in. I don't want to waste any of this fluid. We're going to continue adding. It's pretty likely this is going to take over three quarts, probably 3.1, or maybe even almost three and a half quarts by the time we're done. So don't start thinking, if you get in one you're probably pretty close to full.
We'll leave that there and grab some more. Quart number three. Looks like we've got a fair amount of fluid coming out. I would say that it's full at that point. I'm just going to grab my flashlight. Take a peak. Yeah. All right, so it took a little less than I was expecting. Just under three quarts.
We'll clean up our fill plug. Just make sure that the seal is nice and clean. There we are. Automat-o. Now we're going to torque these down to 27 foot pounds. We're going to make sure we torque both of these to 27 foot pounds. There we are. We'll go ahead and hit this one again. Definitely tight. Definitely tight, tight, tight. We'll clean up our mess, and we're clear to move along.
Thanks for watching. Visit 1aauto.com for quality auto parts shipped to your door. The place for DIY auto repair. And if you enjoyed this video, please click the subscribe button.

Can a Car or Truck Run with No Battery How Vehicle Alternator and Electrical System Works
Len demonstrates how the alternator both charges the battery, and provides the electrical needs of your car or truck while it's running.
