How To Replace Passenger Side O2 Sensor 1997-2005 Ford F-150
Created on: 2017-07-10
Watch this video to learn how to replace the passenger side oxygen sensor on your 97-05 Ford F-150. 1A Auto makes it easy with step by step instructions!
-
step 1 :Removing the O2 Sensor
- Loosen the bolt on the sensor with a 22mm wrench
- Twist out the sensor
- Disconnect the wiring harness
- Remove the O2 sensor
-
step 2 :Installing the O2 Sensor
- Twist the O2 sensor into place
- Tighten the 22mm nut
- Connect the wiring harness
Hi, I'm Mike from 1A Auto. We've been selling auto parts for over 30 years. We're dedicated to delivering quality auto parts, expert customer service, fast and free shipping, all backed by our 100% satisfaction guarantee. Visit us at 1AAuto.com, your trusted source for quality auto parts.
Right here on the passenger side of the tuck, on the rear, right behind the catalytic converter, is your rear O2 sensor. It's also known as a downstream O2 sensor, and it's quite easy to take out on this truck. This one actually has a newer exhaust system in it, which is actually making it even easier for us. If yours is old and rusty, it'll take a little bit more force, but it'll still work the same exact way. We're going to start with a 22 millimeter wrench on the O2 sensor itself. We should be able to loosen it up just like that. There is such a thing as an O2 sensor socket, which also makes life a little bit easier. There you go, it's actually out of the pipe that easily.
An O2 sensor socket will make it easier because it fits around the whole socket, or the whole O2 sensor itself, and it allows the wires to go through. So you can use a big breaker bar if you need to instead of a wrench that might slip.
Up at the top of the sensor is a connector, which you need to disconnect to get the sensor out of the truck. Looks like it's going to be a two handed thing. I apologize for kind of blocking the camera there, but you can see this is how the clip works. You push down the tab right here and it releases it from the other connector. Whenever you install an O2 sensor, you never want to plug it in first. You always want to install it first, because when you install it. It's going to spin and if the connector doesn't spin, you're going to bind up all the wires and sometimes it'll actually damage the wire. If you're ever putting an O2 sensor in, make sure you screw it in first. Then once it's all the way screwed in, then you plug it in.
Same 22 millimeter wrench is what we're going to use to tighten it. At that point, you can go up to where you disconnected it. It's the blue connector right on top of the transfer case. Where the transfer case meets the transmission, I should say. At this point, it should snap right into place. Just like that. You'll feel it click.
Thanks for watching. Visit us at 1AAuto.com for quality auto parts, fast and free shipping, and the best customer service in the industry.

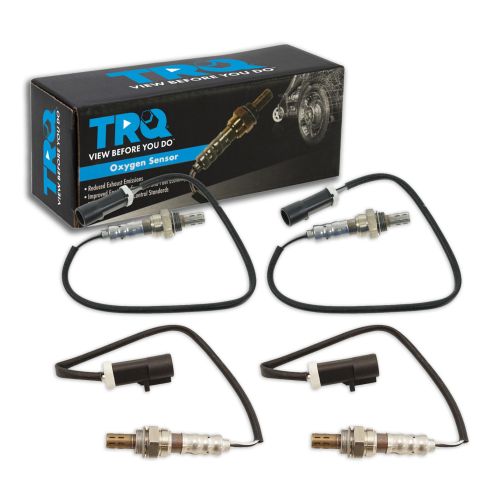
Ford Lincoln Mercury Jaguar 4 Piece O2 Oxygen Sensor Set TRQ OSA61637
Part Details:
- 4 Piece
- (2) Downstream O2 Oxygen Sensors
- (2) Upstream O2 Oxygen Sensors

How To Replace Rear Downstream Oxygen O2 Sensor 2003-07 Cadillac CTS
Need to replace the downstream O2 sensor on your 03-07 Cadillac CTS? We'll show you how in this video!
